
How to pre-charge an inverter easily
In this mini-article, we will explain why you need to pre-charge some inverters, when it is required and how to do it. We’ll keep things quick and simple so you can get your inverter up and running with minimal stress!
Want to learn more about inverters? Our page on campervan inverters takes a look at everything you need to consider before buying one.
Why do you need to pre-charge an inverter?
All inverters have a large bank of capacitors at the DC input. This ensures that the voltage output remains consistent when you switch around their AC loads. When you connect a battery bank to the inverter, a surge of current known as an inrush current flows to fill the capacitors.
Initially, the voltage in the capacitors is zero, and they offer no resistance. So, for a very short amount of time, the connected components act as if they were short-circuited. Here, the current leaving the batteries into the capacitors is only restricted by the internal resistance within the batteries, cables, fuses and connectors. As you can see in the graphs below, the rate of current flow rapidly drops off as the capacitor charges and the voltage increases.

For some lithium batteries with short, wide cables, the total internal resistance can be as low as 5mΩ or 0.005Ω. Using ohms law, we can work out that the initial current at 12V would be 2400A! This current drops off in less than a millisecond, and the entire capacitor charging process only takes a few milliseconds. Whilst this isn’t long enough to blow a fuse, it can easily damage sensitive MOSFET transistors, found in a lithium battery’s BMS.
If the internal resistance in your circuit is higher, the current may not be high enough to damage your BMS. However, it can still throw out a lot of sparks and damage your battery terminals.
It’s in your best interest to avoid the inrush current to protect yourself and your batteries. You can easily achieve this by limiting the current flow to the inverter whilst the capacitors charge. We call this process pre-charging.
How do you pre-charge an inverter?
Pre-charging an inverter is simple. You just need to connect a suitable resistor between the DC load and inverter for a few seconds. Then, remove the resistor and connect the DC load to the inverter.
The following method breaks this down, step by step.
- Purchase a power resistor that meets the following requirements
- 12V system = 7Ω resistor (50W)
- 24V system = 15Ω resistor (100W)
- 48V system = 30Ω resistor (200W)
- Connect the inverter to your negative and positive busbars.
- Connect your positive battery terminal to the positive busbar and the negative battery cable to the negative busbar, but not the battery.
- Wrap one of the resistor wires around the negative battery terminal and the other around the free cable lug of the negative battery cable.
- Keep the resistor connected for ten seconds.
- Remove the resistor and connect the battery. You don’t need to rush, as the capacitors will hold their charge for a while.

A more permanent solution
Some of you may need to regularly disconnect your inverter from your batteries. In this case, it could make sense to wire a resistor and switch into your system. The diagram below shows an example of how to do this.

To precharge the circuit, you can simply move the switch from the off position to the resistor for a few seconds. Then, move it to the on position.
When should I pre-charge my inverter?
You need to precharge any inverter 2000W or above. It’s important to do this any time that you’ve disconnected the batteries for a prolonged period. Smaller inverters have smaller capacitors that charge even quicker than those in larger inverters. This means that the current flow slows quickly enough to avoid any BMS damage and large sparks. Therefore, it’s safe to connect your inverter directly to your busbars.
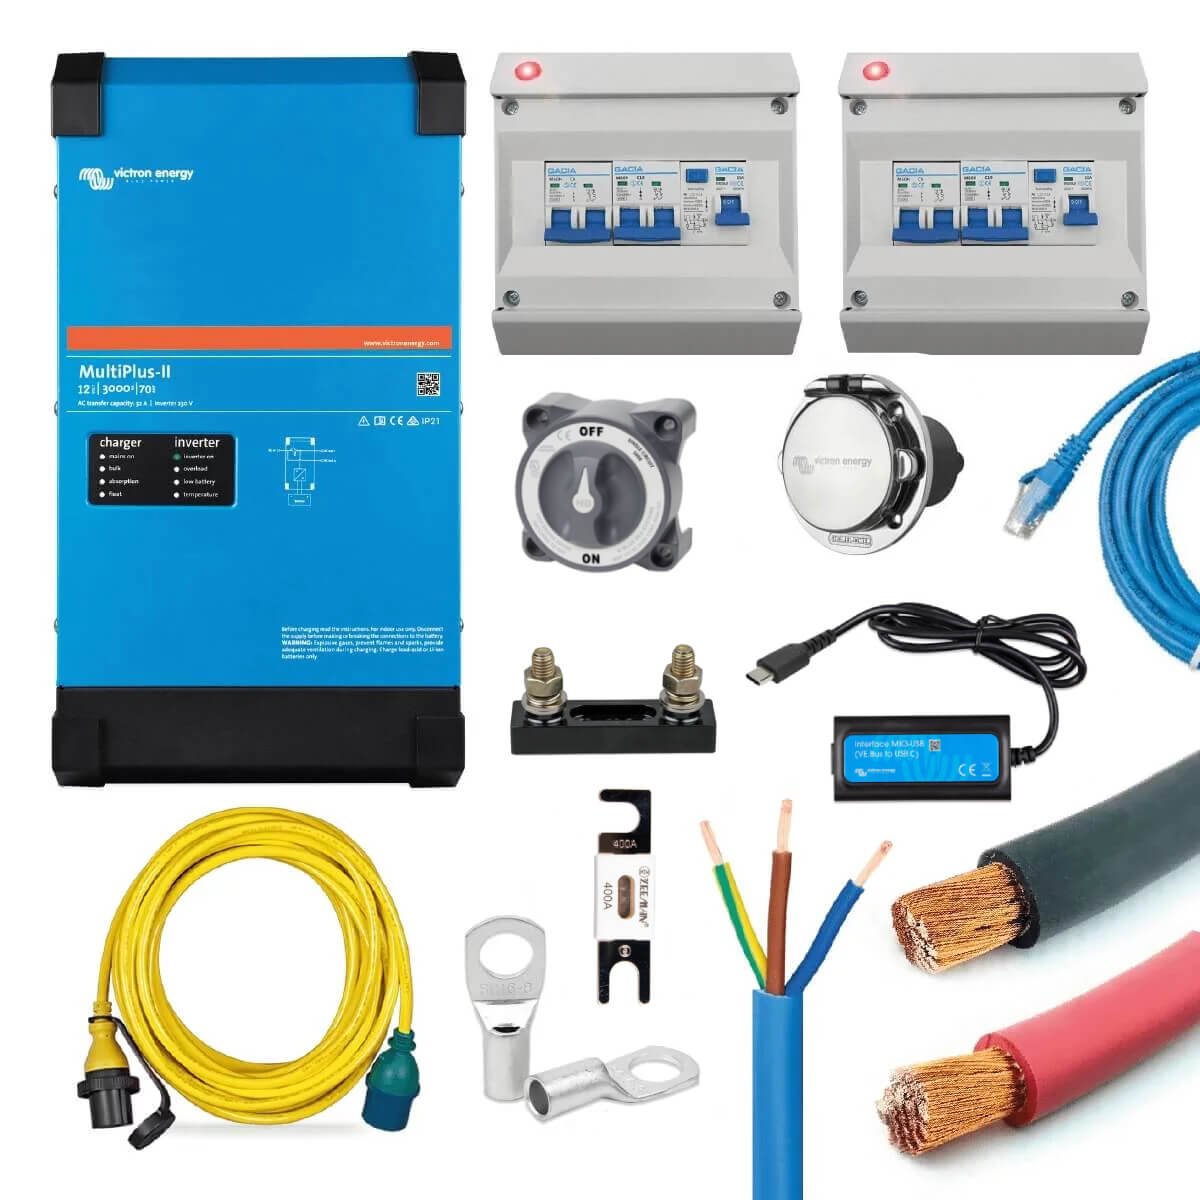
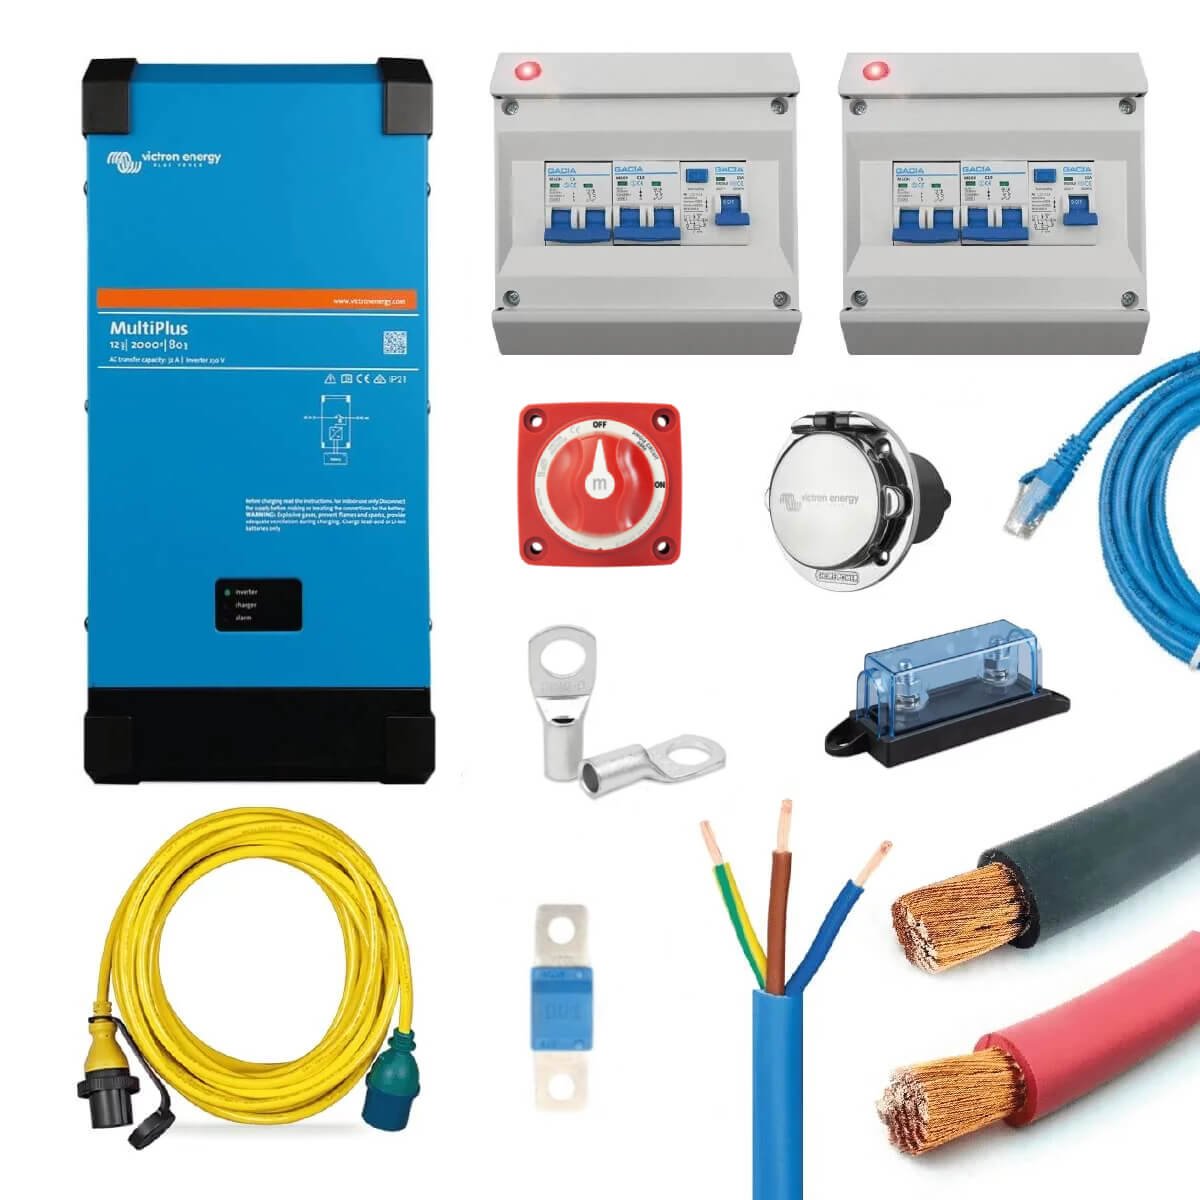
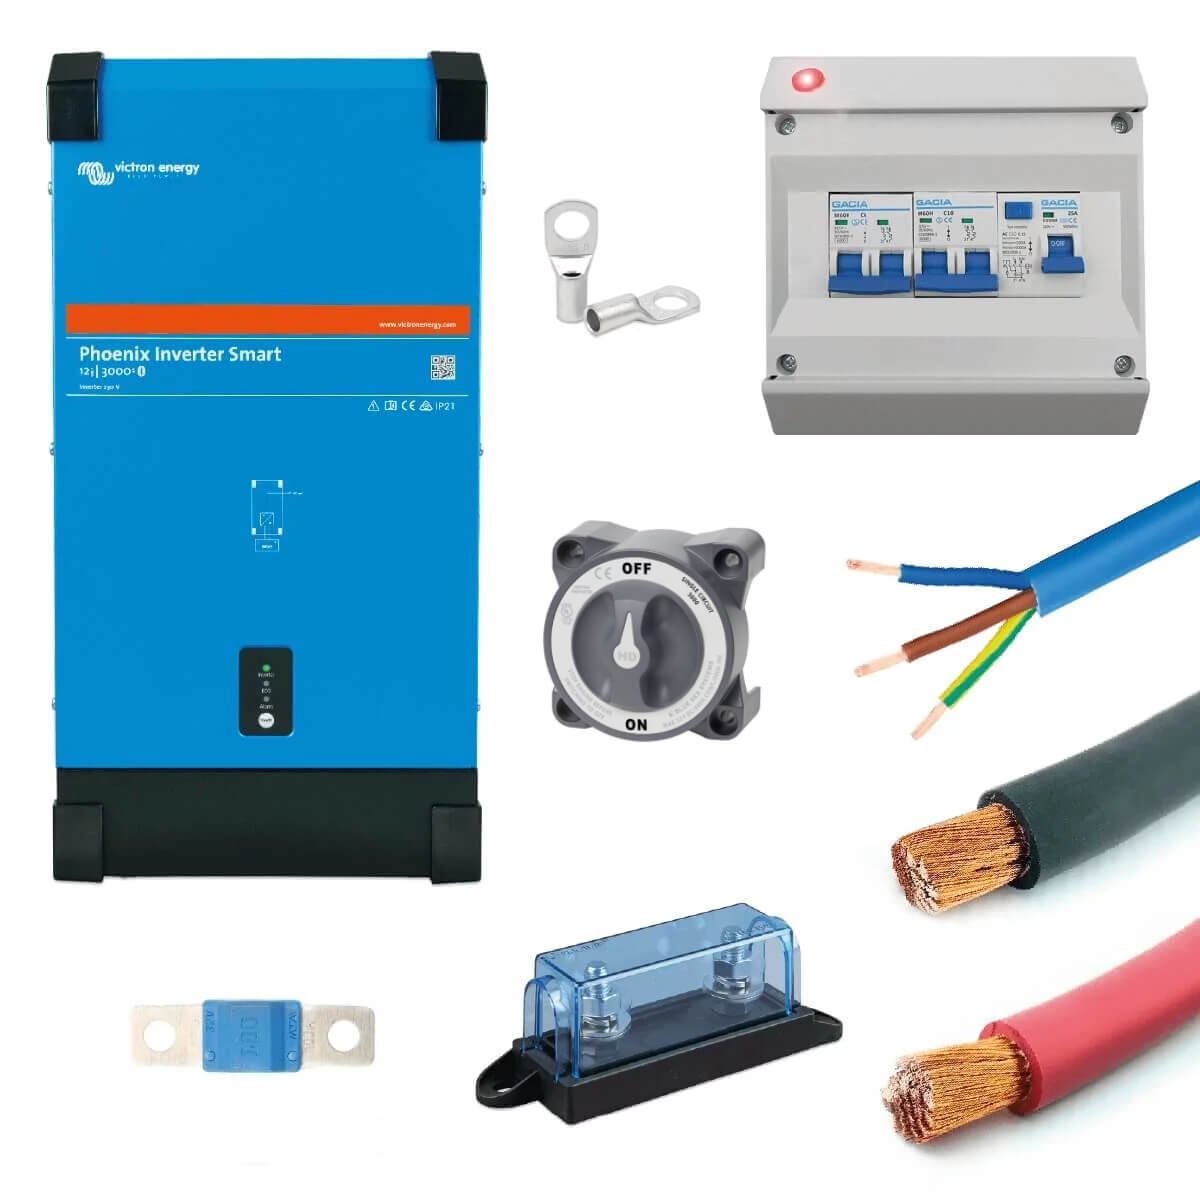
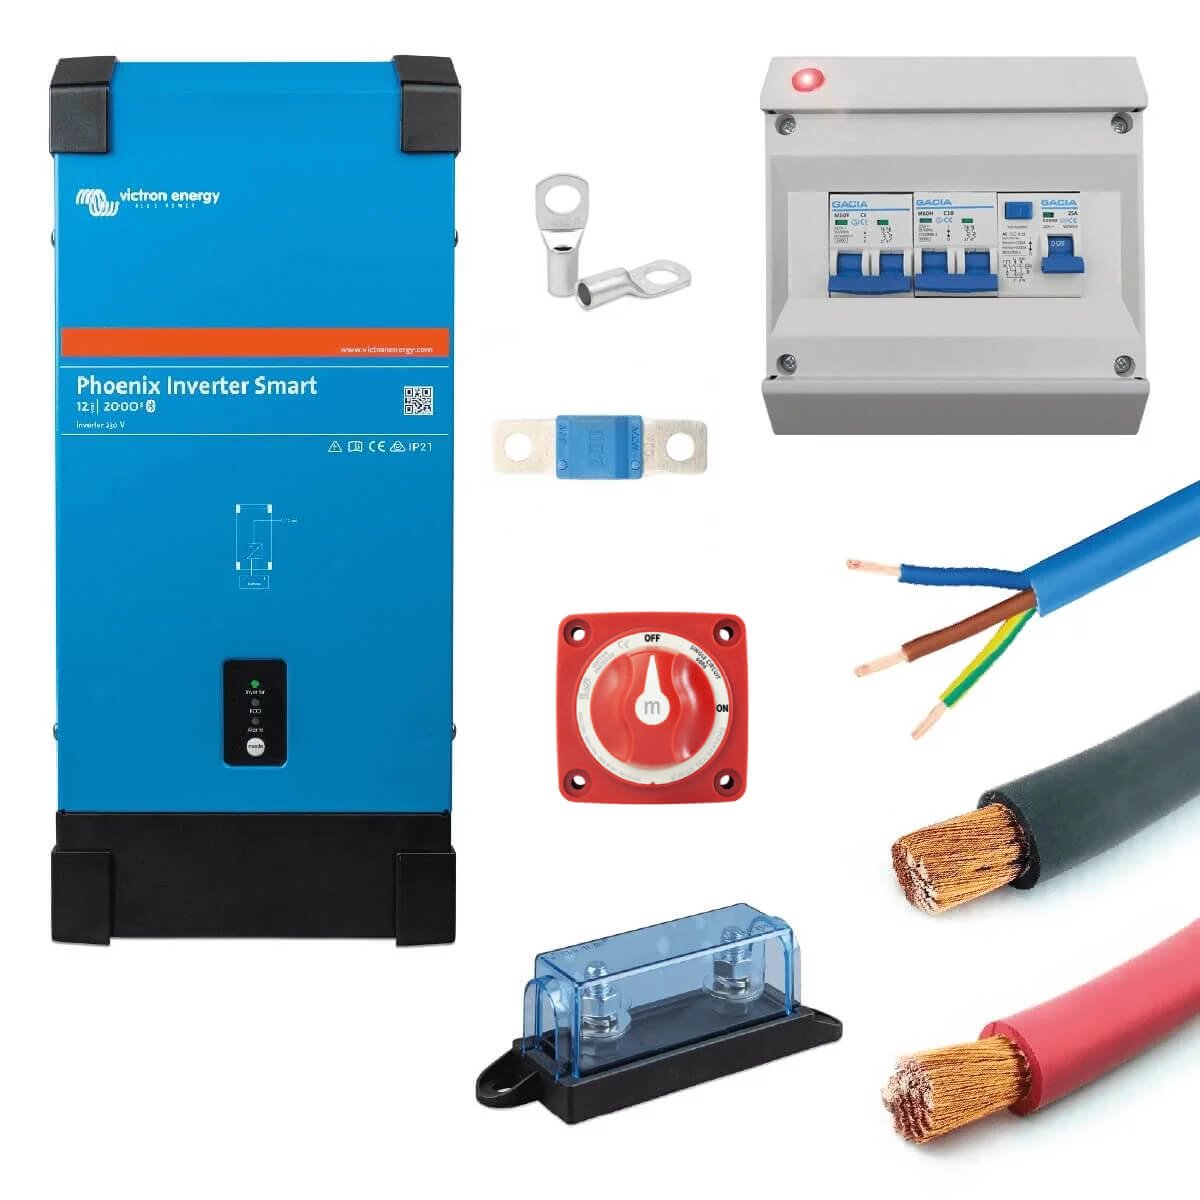
All of our large inverter and inverter/charger kits include the required resistor to allow you to safely pre-charge it.
 Wiring diagram included
If you have a lithium battery bank, it’s really important to pre-charge your inverter (2000W+) to protect your BMS. Nevertheless, pre-charging is still necessary if you have AGM batteries. This is because the sparks produced could send small bits of metal flying towards you. Additionally, the high current damages the terminals over time as it effectively arc welds the cable to the terminal!
Thankfully, this often overlooked and potentially dangerous task can easily be navigated thanks to an inexpensive resistor and a simple procedure.
Remember to use the correct resistor
For 12V systems use a 7Ω resistor (50W)
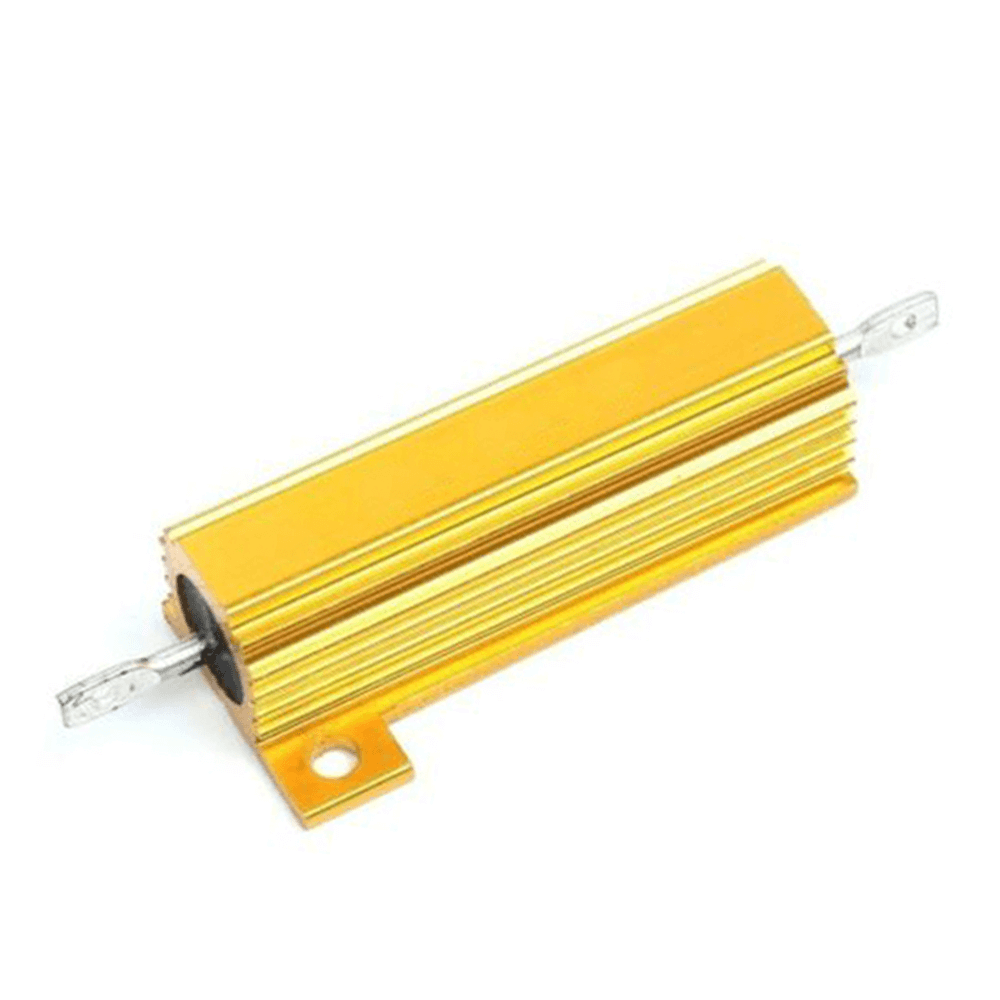
For 24V systems use a 15Ω resistor (100W)
For 48V systems use a 30Ω resistor (200W)
Campervan electrics leaving you confused?

Well..I CAN substitute an automotive headlamp for a resistor then! I also have old heater nichrome elements. Is your resistors measured as cold, or hot?// Thnks Steve.
I admit I feel bad for those poor mosfets & input caps. Why dont they build in a “progresive-to-zero-ohm” internal switching setup in these pricey! inverters in the FIRST place???//Steve,B.
Yes Steve you are right, it would make more sense if it was simply built in! The larger units are targeted towards professional installation which might have something to do with it – which is why we provide easy-to-understand installation instructions with all our kits and bespoke systems.