Campervan insulation – which insulation offers the best performance?
Insulating your campervan is such an important step in the conversion process, but it can be difficult to know which type of van insulation to use. There are quite a few options to choose from and everyone has their own opinion on what works best. We’re here to provide you with some real data, not just opinions, which should make the choice easy and obvious.
We’ll compare the cost, weight and usability of various insulation materials which can be used for a van. Most importantly we’ll compare the thermal resistivity, also known as the R-value.
Before we explain what your options are, you need to know how insulation works and why it’s so important in a campervan conversion.

Do you need insulation in your campervan?
You need insulation in your campervan to trap heat inside your van in the winter and to keep heat outside your van in the summer. All types of insulation are poor thermal conductors, which means they’ll slow down the natural movement of heat. Choosing the right insulation will save you space and money, and make your van a more comfortable environment to live in.
To prove this, we have calculated the theoretical difference between a well-insulated van and a van with no insulation.
We calculated the time it would take for a van with an internal temperature of 18oC, to drop down to the external temperature of 0oC.
The well-insulated van has a few layers to it: PIR insulation board, an aluminium bubble wrap vapour barrier, wood cladding and wood flooring.
For both theoretical vans, we accounted for the natural radiant heat output from two people sleeping inside.

The uninsulated van dropped down to 0oC in just 3 hours, whereas the insulated van would take 13.5 hours to reach the outside temperature. Alongside the use of a campervan heater, an insulated van will retain heat far better than an uninsulated van. This will save you money on heating fuel and keep your van at a comfortable temperature.
Understanding conduction, convection and radiation
Heat can be transferred by three means: conduction, convection, or radiation. All three types of heat transfer come into play with your campervan’s internal environment.

Convection – the natural movement of heat in a fluid due to a difference in density
e.g. hot air rising above cold air. Forced convection involves an external force which causes the transfer of heat by moving the hot particles around.
In the summer, you can use convection to your advantage: using skylights, fans and roof vents, you can pull out the hot air from the top of your van, which will be replaced with cooler air from below.
In the winter, natural convection will move the hot air upwards from a heater on the floor into the rest of the van. The cold air that drops down will then also be heated and a cyclical effect is created until the whole van is nice and toasty.
Radiation – heat transfer without the need of a material to move through
e.g. the heat from the sun shining in through your van windows, travelling all the way through the vacuum of space.
The windows in your van are the biggest source of unwanted heat transfer, especially if they are glass windows. They are good thermal conductors, losing precious heat in the winter, and they allow radiant heat from the sun to enter your van in the summer. Thermal blinds are a must-have for any campervan; their shiny foil surface reflects radiant heat away from the van in summer, and back into the van in the winter.
Conduction – heat transfer through solid material
e.g. the heat which travels through the metal skin of your van.
In winter, conduction is the main method of heat loss which we are trying to battle. Insulative materials with low thermal conductivity will do a better job of slowing down conductive heat transfer
What is the K-value of insulation?
Thermal conductivity (sometimes called the K-value or Lambda) describes how well a material will conduct heat. Materials with low thermal conductivity make good insulators.
What’s the R-value of insulation?
The thermal resistance, or R-value, of a material describes how effective it is at slowing down conductive heat. This is the opposite of thermal conductivity.
The more insulation you use, the better. However, you have limited space in your campervan’s walls, so you want to use a material with the highest R-value possible.
The R-value is dependant on how thick the insulation is, unlike thermal conductivity which is a property of the material – independent of the thickness.
When you want to compare materials, you can use this equation to interchange between the two (make sure the thickness is in metres):
R-value = thickness / K-value
For example, if a Kingspan insulation board has a K-value of 0.018W/mK, the amount of thermal resistance it offers will be higher with a thicker board.
| Thickness of Kingspan board | K-value | R-value |
|---|---|---|
| 25mm | 0.018 W/mK | 1.39 m2K/W |
| 50mm | 0.018 W/mK | 2.78 m2K/W |
| 100mm | 0.018 W/mK | 5.56 m2K/W |
Which type of insulation should I use?
There are two main types of campervan insulation:
Loose-fill wools
- Mineral wool
- Glass-fibre wool
- Polyester wool
- Sheep wool
Insulation boards
- PIR (polyisocyanurate)
- EPS (expanded polystyrene)
- XPS (extruded polystyrene)
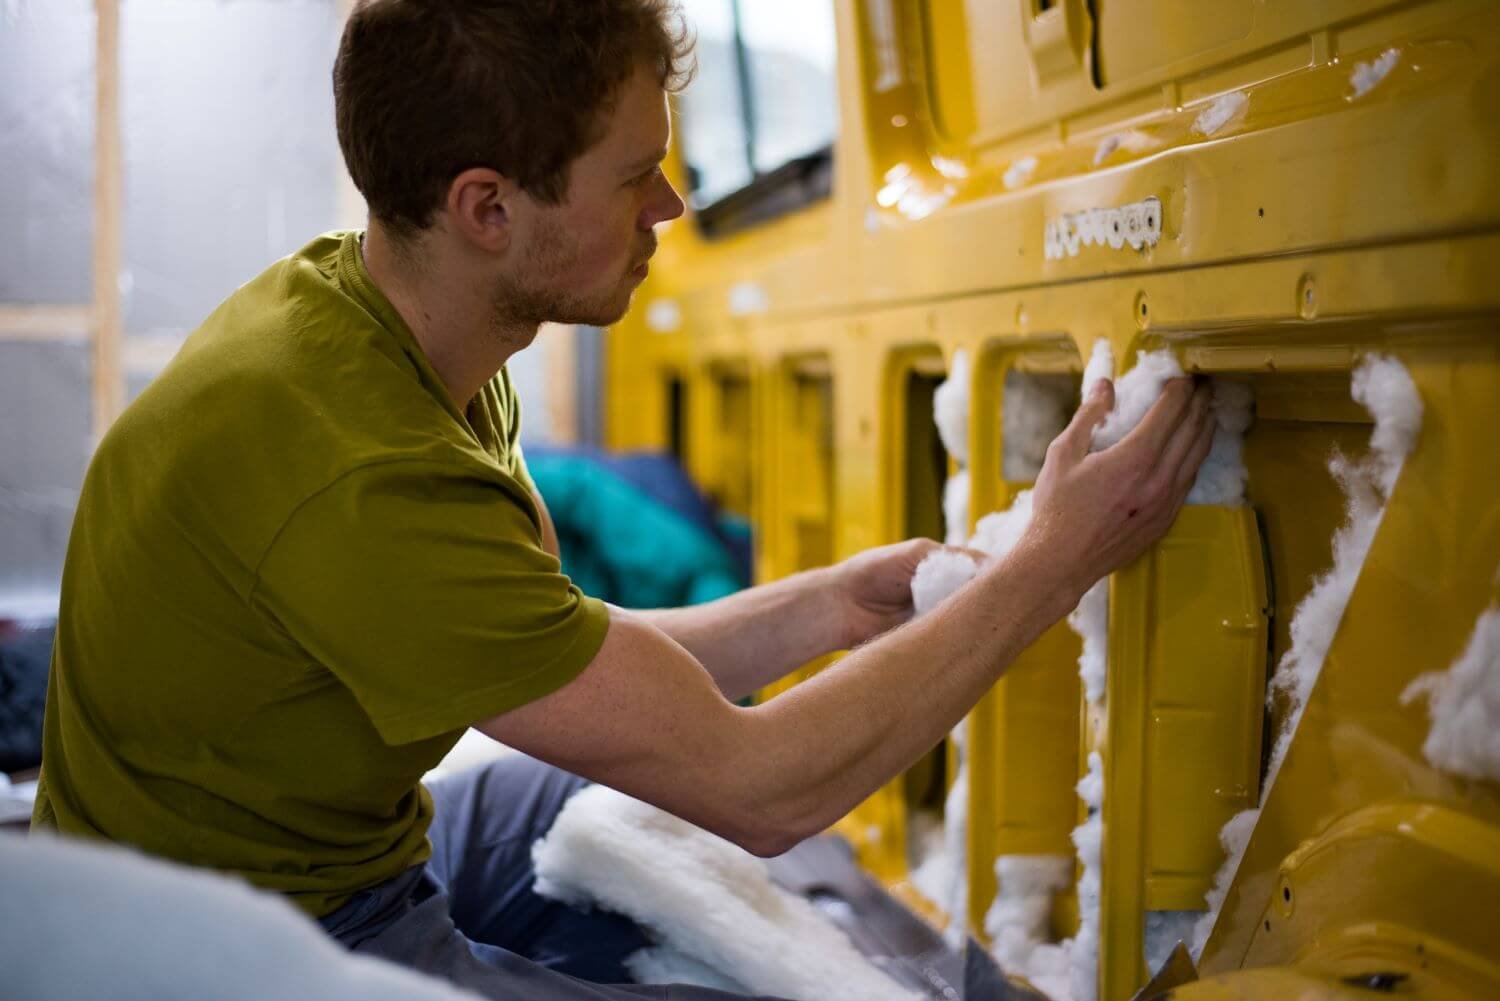
We think using a combination of solid boards and loose-fill wool is the most effective method of insulating a campervan.
Solid insulation boards come in big sheets which are easy to cut to size, so they’re great for big cavities in the floor, walls and ceiling. However, they can be difficult to use in the tight, awkward spaces of your van, so we’d recommend using a loose-fill wool for these areas.
If you have a small van with limited space behind the walls, you might find the insulation boards too rigid to work with – an insulative wool will give you more flexibility because it can be squished into place.

We’ve written an article about how to insulate your campervan, using both solid boards and a loose-fill wool. However, if you want to know how we choose our insulation materials by looking at the numbers, keep reading below.
Which insulation is best?
Let’s compare the weight, cost and thermal resistance of the most popular insulation materials. We’ve calculated the R-value of each material based on a thickness of 50mm for easy comparison.
The materials are divided into insulation boards (green) and loose-fill wools (yellow). The size of the bubble denotes the R-value of the material, so the bigger the bubble, the better the insulation performance.
We want to choose a material with low cost, low weight, and high thermal resistance.

Once you’ve got your head around this graph, you’ll see it clearly highlights the best options for campervan insulation.
The PIR insulation boards are light-weight, fairly cheap, and have a high R-value, making them perfect for a van build.
For a loose-fill wool, polyester wool is a great option because it’s light, cheap, and is usually made from recycled bottles, so you won’t be contributing to the production of new plastic.
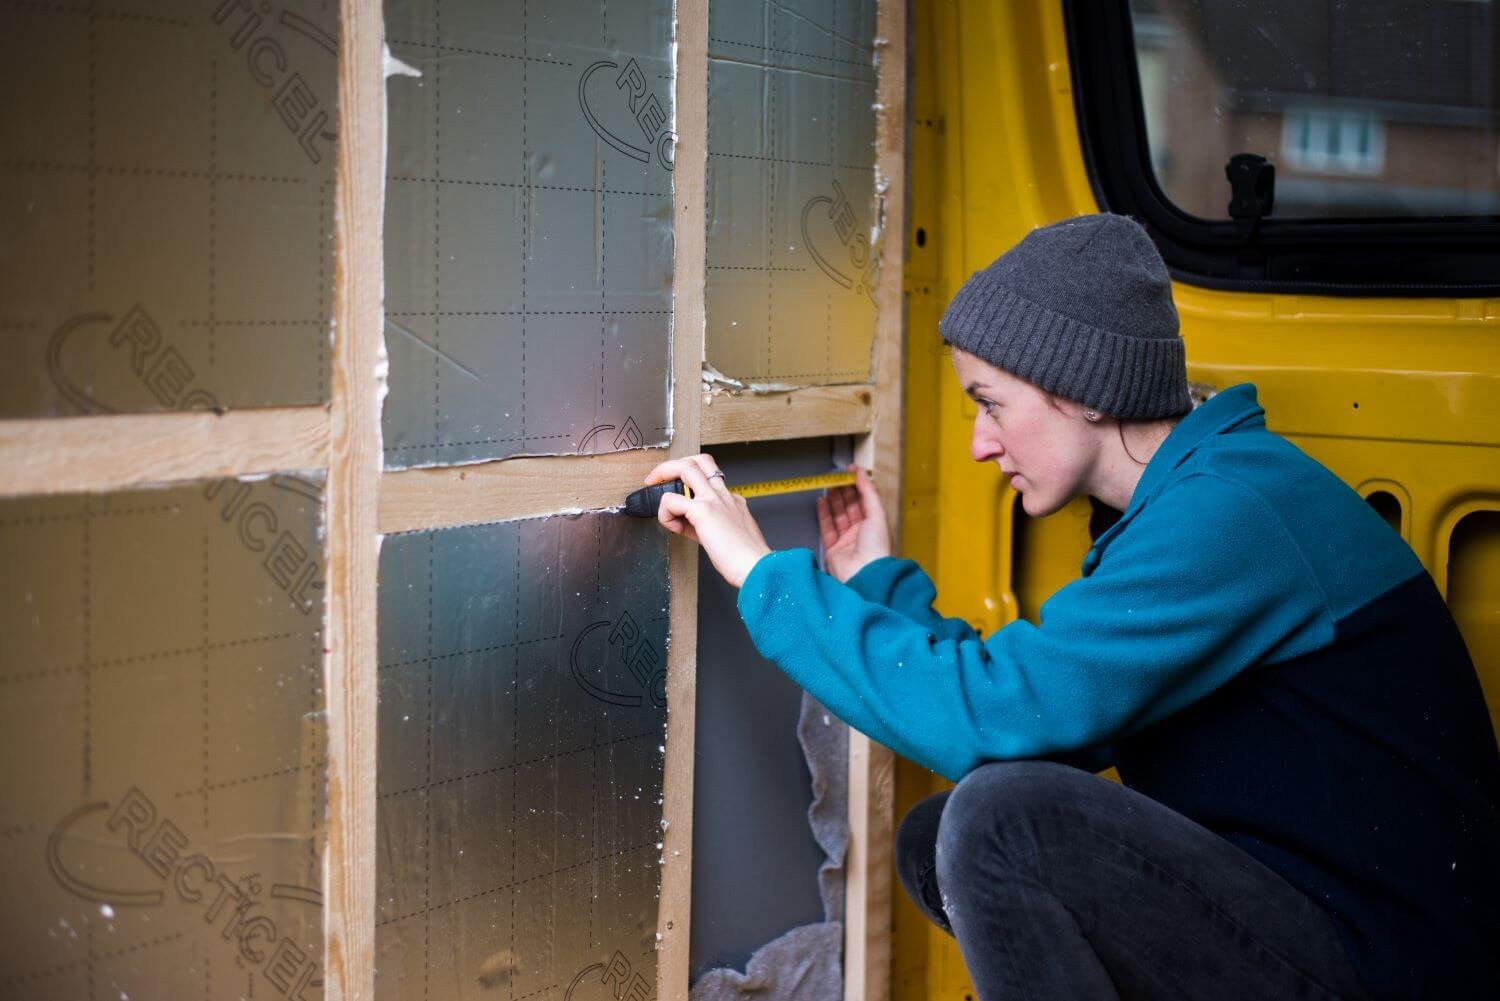
PIR boards are commonly used to insulate houses, so you may have heard of brands such as Kingspan, Celotex or Recticel.
Celotex and Recticel are pretty similar in price and function, but Kingspan Kooltherm has a higher R-value and is more expensive, as you can see in the graph. If you’re prioritising warmth in your van-build, go for the Kingspan Kooltherm. If you’re working to a strict budget, the cheaper brands will do a similar job.
PIR boards have the added benefit of a thin aluminium foil on both sides which is designed to reflect radiant heat. If you leave a 20mm air gap between the PIR board and the van wall, this foil will also reflect the sun’s radiant heat away from the van in the summer.
We think the combination of PIR boards and polyester wool is a no-brainer, but there are other options which you may want to consider.
Expanded polystyrene
Expanded polystyrene (EPS) is a cheaper alternative to PIR boards, although the thermal resistance isn’t quite as good, and water can ingress. This is because of small voids between the beads where they haven’t fully fused together.
Unfortunately, living in a campervan creates a lot of condensation and even with a good vapour barrier, water is still likely to reach your insulation. This can be difficult to dry out, causing mould and mildew to form. So EPS isn’t a great solution for van insulation.
Extruded polystyrene (XPS) is similar to EPS, but it’s manufactured in a way which doesn’t induce voids, so the material is resistant to water ingress. However, the thermal resistance of XPS still isn’t as good as PIR boards, even though it’s similar in price.
Fibreglass wool
Whilst fibreglass wool is a good insulator and easy to pack into awkward spaces, it’s also an irritant because it is made of tiny glass fibres. This means you’ll need to wear PPE (personal protective equipment) if you use it, or else it will irritate your skin and leave you coughing for days. It also contains microfibres and styrene, a synthetic material which is suspected to be carcinogenic.
Fibreglass can also absorb water and once it’s saturated, its insulating properties are drastically reduced.
Mineral wool
Sometimes called Rockwool, mineral wool has a higher R-value than glass-fibre and is hydrophobic, so won’t draw in water. However, it’s a bit more expensive and heavier than fibreglass wool, and you’ll still have to wear PPE to avoid air-bourne irritants and skin irritation.
These types of wool also have less structural integrity than the polyester wool, and tend to fall apart a bit as you install them. After years of driving vibration and bumpy roads, they may slip down to the bottom of their cavity, leaving air gaps at the top where heat will escape. You can’t simply pack the wool in tighter to solve this problem because the insulating effect is drastically reduced when they are compressed.
Sheep’s wool
Sheep’s wool has a similar R-value and weight to polyester wool, but is a fair bit more expensive to source. However, if you have a contact and can source it cheaper, it would be a good plastic-free option with less manufacturing emissions than the polyester wool. It’s also naturally biodegradable at the end of its use.


Expanding foam
Polyurethane expanding foam can be very tempting because it is so satisfying to use! Just spray it into a void and it’ll expand to fill the space, sticking to the sides and solidifying.
However, it can quickly become really messy! If you realise in retrospect that you actually wanted to run a cable through that void, or you’re trying to source a leak, you’ll wish you had used a loose-fill wool insulation which is easy to pull out and replace.
You also run the risk of deforming the bodywork of your van! The panels can distort due to the large temperature changes during the application process – the foam can reach temperatures of 80-90oC!
The foam also releases volatile organic compounds (VOCs) which can cause adverse health effects. It’s critical you leave your van well ventilated and unoccupied for 48 hours after application.
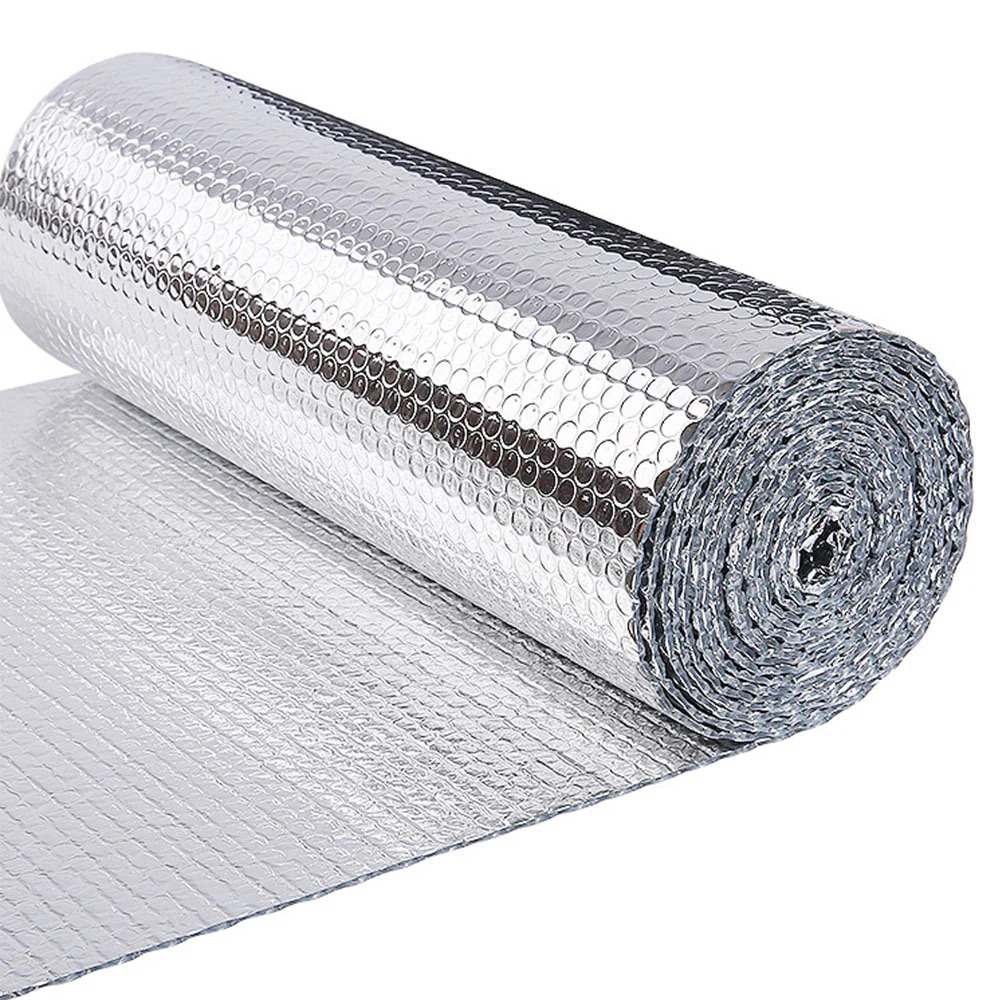
Aluminium bubble foil
Aluminium bubble foil is a great addition to a campervan conversion, but it won’t be thick enough to provide decent insulation on its own. Instead, it can be used as a vapour barrier. It’s easier to work with than the super thin, single-ply aluminium foil membrane, and it adds an extra insulative layer. Charlie and Dale used aluminium bubble foil as part of their campervan insulation stack.
Campervan specific insulation
If you come across ‘campervan specific insulation’, you’ll quickly realise that this is just polyester wool with a different name and usually a bigger price tag! The only scenario where it might be cost effective would be when buying a bundle package, which includes sound deadening, insulation and carpet lining.
Closed cell polyethylene foam sheets
Popular among some van converters, closed cell polyethylene foam sheets (sometimes called Thermawrap) is a self-adhesive foam liner. Although this is a very quick way to insulate your van, these foam liners tend to be very expensive and have extremely poor insulative properties.
Dodo Super Liner is one example of this – it’s described as having ‘high thermal efficiency’, but no R-value is given. It claims to reduce road noise, however you still have to apply it over sound deadening!
We’re very wary of any insulation materials that don’t give an R-value, because this is ultimately the most important measure of good insulation.
Although it takes a little more time, it’s much more cost effective to use an insulation material such as PIR board and/or polyester wool. Paired with sound deadening and a vapour barrier, you will have a much more effective, affordable insulation stack.
Van insulation hints and tips
A common mistake people make when insulating their van is not distributing insulation to the most important areas.
Because convection causes warm air to rise, any heat you generate in your van will rise and subsequently try to escape. So it’s important to fit as much insulation into the ceiling as possible, prioritising this and the walls before the floor.
You will often see conversions with 100mm of insulation on the floor and just 30-40mm on the ceiling, but switching this around will leave you with the same headroom and a big reduction in heat loss.
For those in warmer climates, using a radiative barrier next to the bodywork of the van is a great way to reflect heat away. It’s important that you leave an air gap of at least 20mm for this to work as radiant heat only occurs through air or a vacuum and not through solids, so it won’t work if you apply it directly against the side of the van. You can use an aluminium foil membrane or you can use an insulation material such as PIR board which has a reflective material on its outer skin.
Finally, a piece of advice for the very early stages of your campervan conversion – be conservative with the number of windows you choose to install. It’s really nice to get as much light as possible into your van, but glass windows in particular will have a massive impact on the internal temperature, in both cold and hot climates.
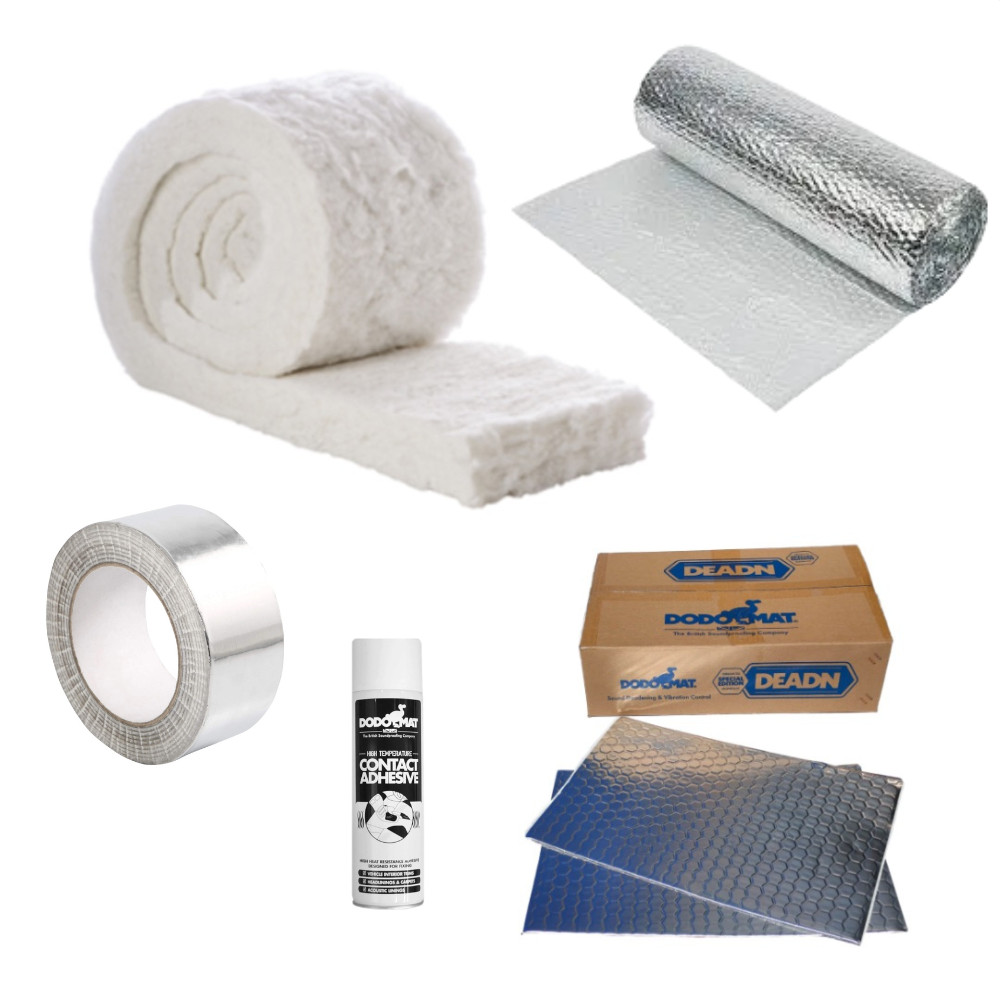
We sell insulation and sound deadening in our webshop! Have a browse of what’s available:
 Wiring diagram included
Campervan insulation FAQs
-
Solid insulation boards are the best choice for campervan insulation because they offer the highest thermal resistance for effective heat retention. Kingspan Kooltherm PIR boards have the highest thermal resistance, but Celotex and Recticel boards are more cost-effective.
-
1. Tear the wool insulation into lengths by hand.
2. Place the wool insualtion into the large cavities of the campervan, minimising any gaps where heat will escape.
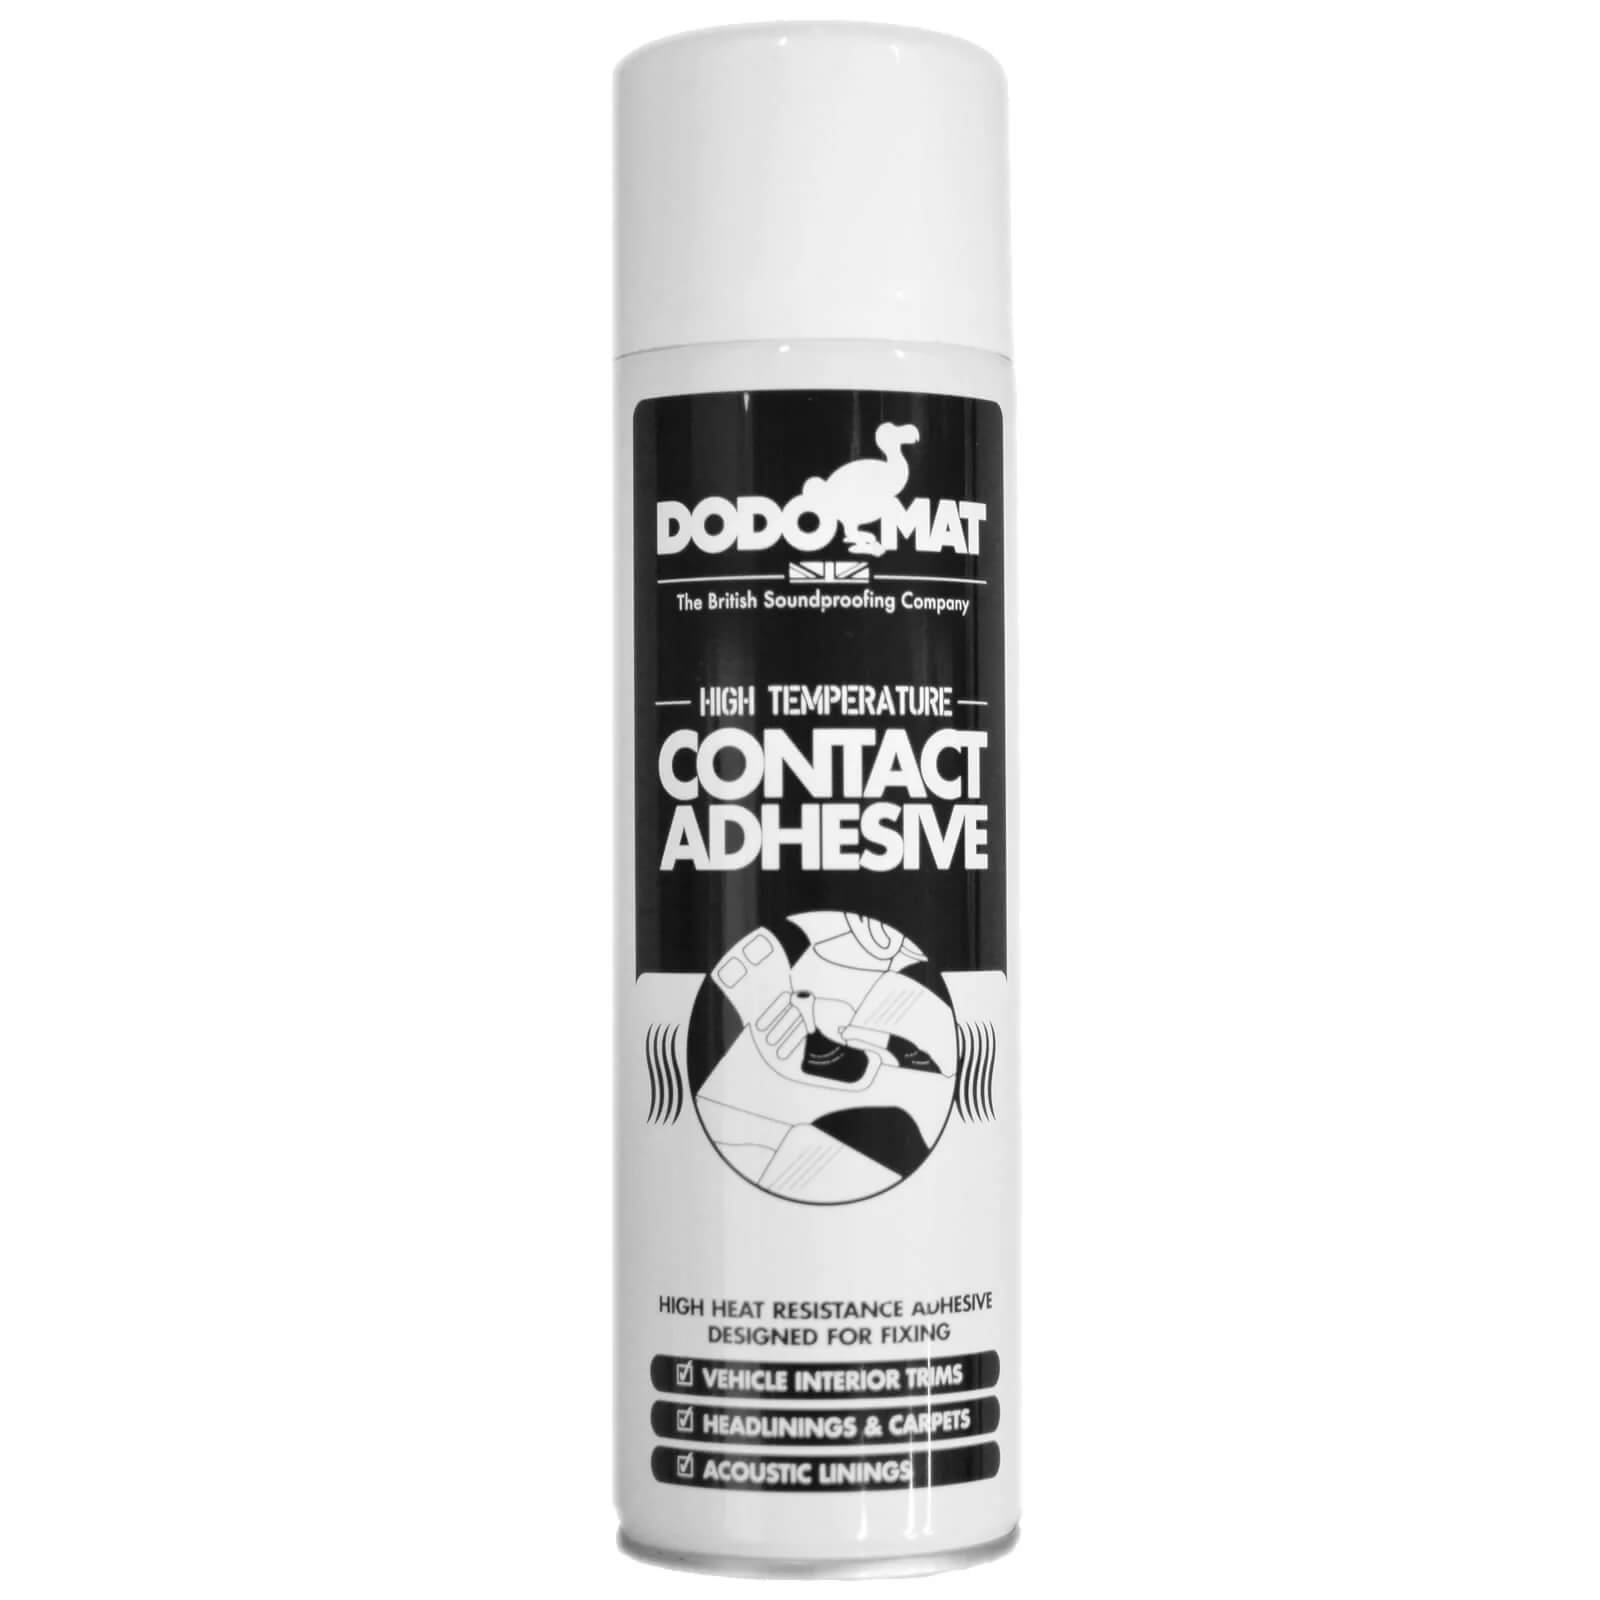
3. Use spray adhesive to hold the wool in place.
4. Use small pieces of insulation to fill as many voids as possible.
5. If using fibre-glass or mineral wool, remember to wear a mask and cover your arms to avoid air-bourne irritants and skin irritation.
For a full description, check out: how to insulate a campervan conversion.
-
1. Measure the space where the insulation board will be installed.
2. Cut the insulation board with a saw or large kitchen knife.
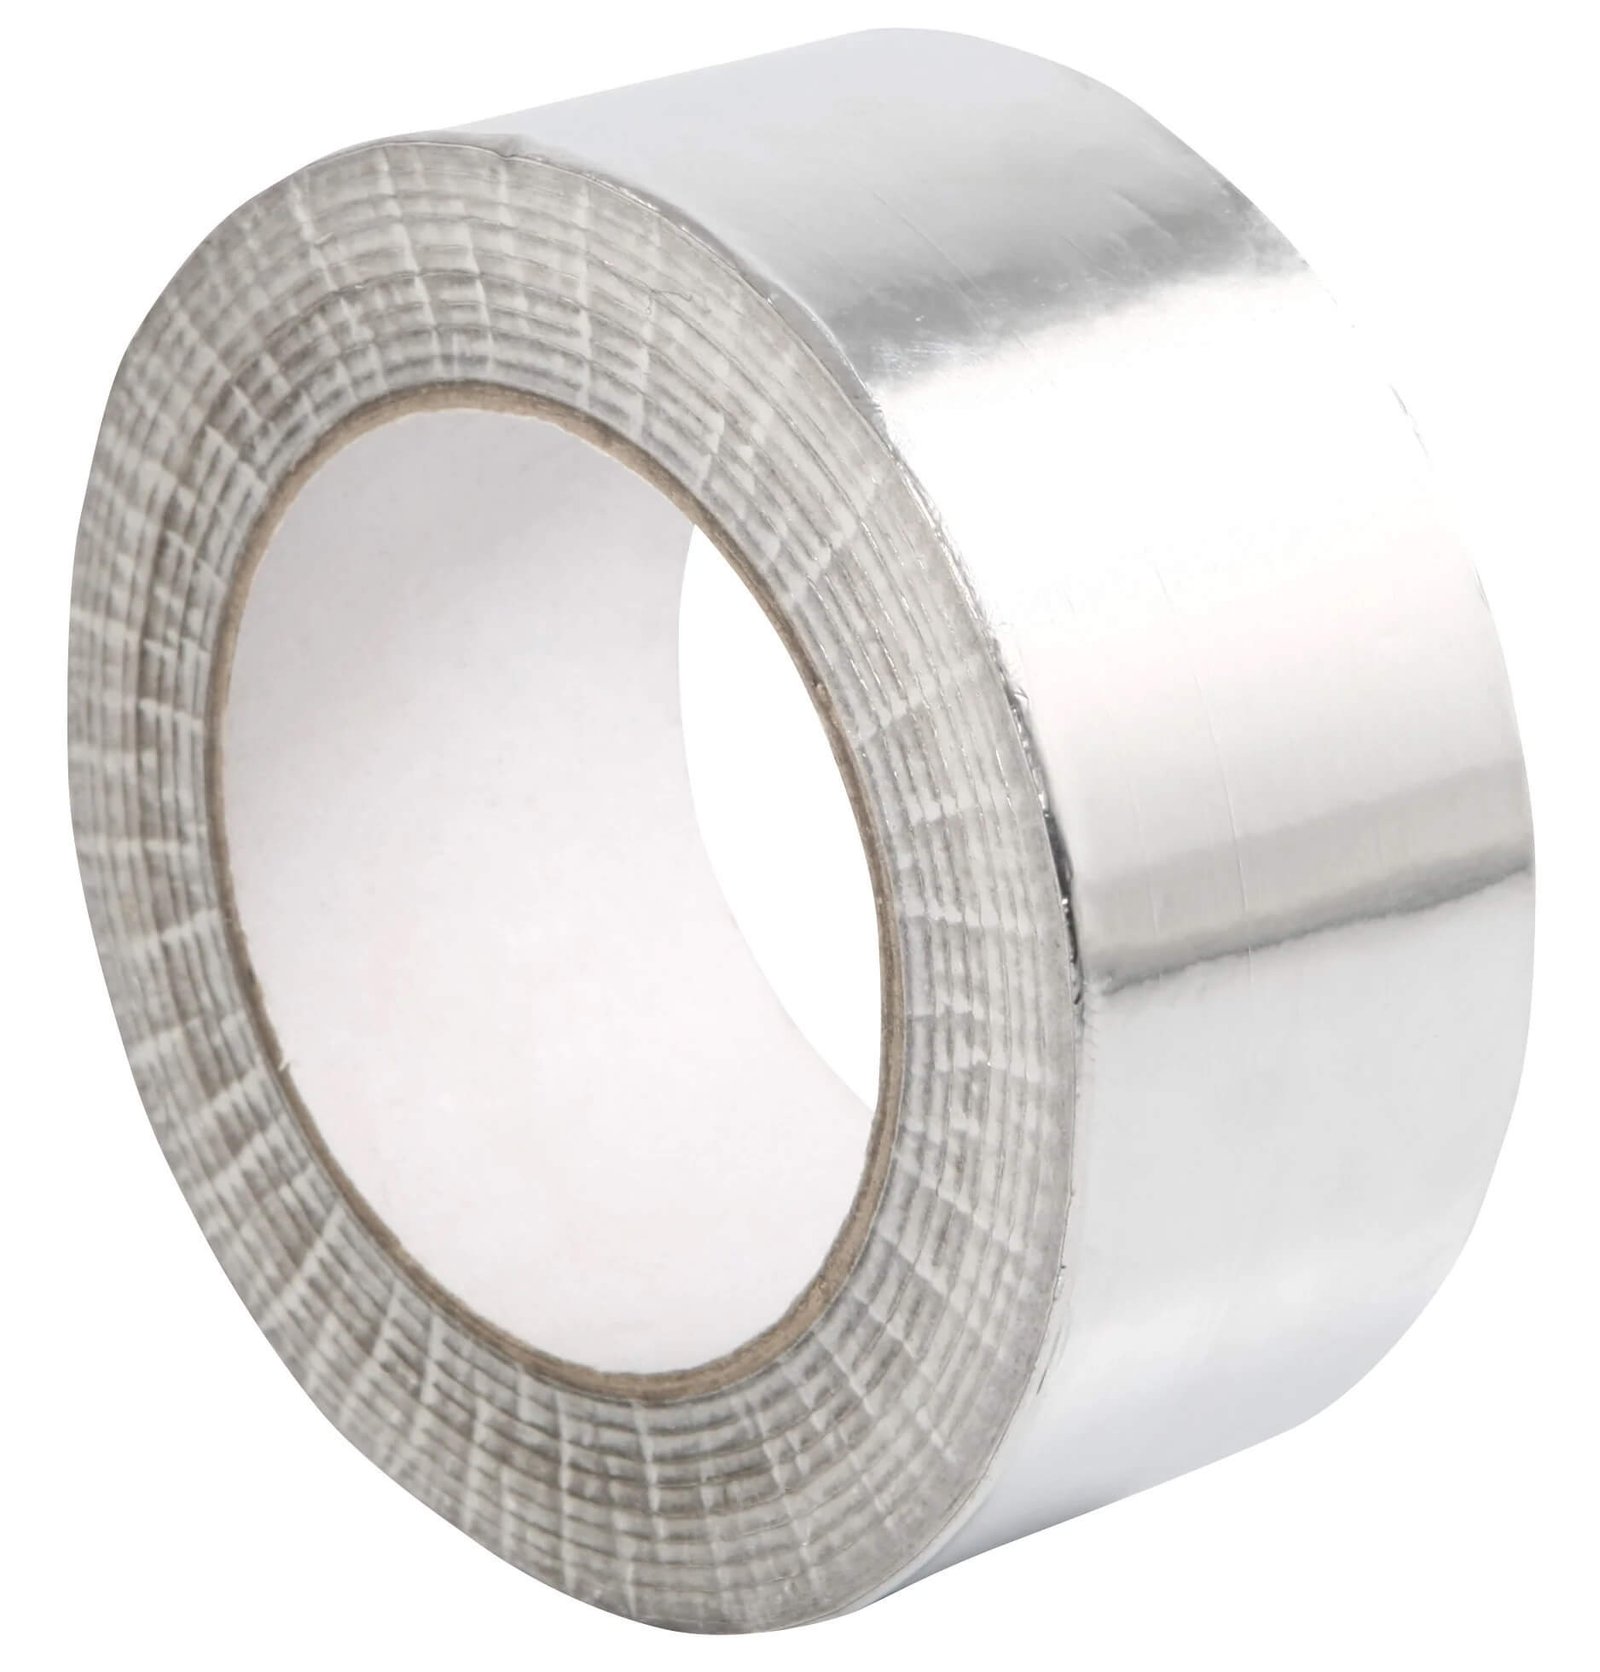
3. Wedge the insulation board into place, securing it with aluminium foil tape if required.
4. Fill the small, awkward spaces with an insulative wool such as recycled bottle wool.
For a full description, check out: how to insulate a campervan conversion.
-
Yes, you can use loft insulation in your campervan, Just remember to wear PPE if you’re installing fibre-glass or mineral wool insulation.
-
You can buy thermal blinds for campervan windows which are specific to the shape of your campervan. You can also make thermal blinds yourself using thermal blind material, bias binding and either suction cups or magnets.
-
Insulating a campervan is a really important step in the conversion process. In the winter, insulation will help retain heat inside the van. In the summer, effective insulation will reflect the heat of the sun and keep your van at a comfortable temperature.
-
PIR insulation boards are solid insulation boards commonly used to insulate houses. They are made from a material called polyisocyanurate. On the outer surface, a thin sheet of foil is used to reflect radiative heat. Common PIR board brands are Kingspan, Celotex and Recticel.
-
Polyisocyanurate (PIR) is now the most popular material choice for insulation boards, but they used to be made from polyurethane (PUR). PIR has better mechanical rigidity, thermal resistance, and reduced combustibility.
-
PIR boards have a lower thermal conductivity than polystyrene insulation boards, which means they are better insulators. PIR boards have a thermal conductivity of around 0.022 W/mK. Polystyrene boards which have a thermal conductivity of around 0.035 W/mK. Expanded polystyrene boards can also retain water due to small voids in the material, whereas PIR boards are water resistant.
-
If you don’t have a tight budget, Kingspan insulation boards are the best insulation board for a campervan. Celotex, Recticel and Ecotherm have more cost-effective PIR insulation boards available that still have a good R-value.
How to convert a campervan
Want to know exactly how to convert a campervan? Our 331 page bestselling book, The Van Conversion Bible, covers all aspect of a van conversion, from planning your layout to a step-by-step build guide.
The ultimate guide to converting a campervan
The award-winning bestseller –
2025 edition now available ✨


Unfortunately prices has sky rocketed for the PIR boards now 🙁 To do a Sprinter I’ve calculated around 10 boards at a cost of ~£300. Similar for sound deadening. Crazy prices.
Hi Sean, this article was written fairly recently and the prices in the graphic should be up to date. The average price per m2 for PIR boards is around £10-£13 for the cheaper options such as Recticel. There are some much more expensive options such as Kingspan Kooltherm which costs around £20 per m2 as it has better thermal resistance properties. I think we purchased around 8-10 40mm boards @ around £10 each. Hope that helps!
It’s a mistake to use building insulation methods in the automotive environment. Question before you start insulating your van: how do the campervans manufacturers insulate their vehicles ? Well, none of them they are using the methods that you’re mention in this page.
We aren’t simply suggesting you use the most common building insulation methods, we have analysed a number of key attributes of the most common insulation materials available, rather than advising based on personal opinion. Presumably by campervan manufacturers you mean pre-built motorhome manufacturers, who definitely should not be regarded as a high standard to follow. Most of these companies will scrimp on hidden areas like insulation to save money, in the same way that most factory motorhomes will have very basic electrical systems that aren’t suitable for most people’s needs. This article analyses the thermal resistivity, cost and weight of insulation materials. These are ultimately the most important factors when considering insulation materials.
Hello!!
Have you guys tried Reimo X trem for insulating and noise cancelling by any chance?
Hi David, this isn’t something we’ve personally used, but we’d recommend checking the R value and comparing it to other insulation materials. Thanks!
Hi,
Can I humbly give you my take on van insulation.
I personally feel that most people make a huge error when insulating metal panel vans. The use of any soft fill material that makes physical contact with the outer van walls is asking for problems further down the line. Vans are designed by the manufacturers to allow any moisture which develops on the inside skin (and it will, vapour barrier or not) to run down the panels and exit through the drain holes in the cills at the bottom.
Soft fill insulation impedes that flow and ends up being held by the material itself. A rust nightmare!
There really needs to be an
un-impeded air gap all the way from top to bottom. This is why the well known scenario of people ripping the side trim off sprinters to seal all the holes has never been addressed by Mercedes. It is designed to deal with it.
I am shortly about to start a conversion on a xlwb crafter and my own preference is not to fill the wall cavity at all. I plan on using multilayer superfoil (SF40) over the entire inside as a sealed bag covering the pillars as well to address all the thermal bridging.
Hello, first off I love your book, it’s been amazingly useful so far in planning my van conversion. I wanted to ask do you remember where you bought your PIR board from? or would you have any recommendations? Looking at large online stores they all seem to quote in the region of £70 to £100+ just to deliver!! I was wondering if this is just something you have to do, as all the local retailers such as Jewsons seem to charge around £50 for a single board which is crazy. I can’t wok out why local stores like that seem to charge so much more than large online retailers unless I’m missing something. I would love to find a reasonable local place and just collect the boards using the van.
Hi Matt, it was something like InsulationSuperstore, but it was several years ago now so costs etc may have changed. Hope you can find something suitable!
Thank you for a great article and lots of useful information. May I ask, how do you leave a 20mm air gap between the van wall and the PIR insulation board as you recommend?
Hi Michael, Glad you’ve found our site useful! Creating the air gap between the wall of the van and the PIR board unfortunately isn’t an exact science and realistically it isn’t possible to achieve this precisely. We found that the internal baffles and curvature of the van walls naturally created a gap between the majority of the PIR board and the van walls however you could use small spacers and spray adhesive to guarantee this.
Thanks for the reply. I’m getting my van tomorrow and want to make sure I have as much advice and information before I start the conversion. Thanks again for all the useful info on your site.
Love the book and the site, currently in planning stages. Also talking to the nomadic energy team to figure out what we need!
What size insulation boards did you use for the ceiling of your van? In the post you suggest swapping what most people do, is this what you did? I.e 100mm boards in the ceiling. I also saw somewhere you put battens on the ceiling after putting the vapour barrier, what did you screw these into, ridges of the van or insulation boards or something else?
Hi Dean,
We’re glad you’re finding it useful! We used 40mm thermal insulation boards as these were thick enough to fill the cavities in the roof and walls between the beams. The batons were then screwed into the ridges of the van (so it’s important to make note of where these are before insulating) using self drilling screws.
Hope this helps!
Blimey,how complicated is this.Ive read all the comments and my concern is moisture created on inner skin.As one guy said, anything touching this will absorb moisture or impede it,so I’m still confused how this problem is solved.???..I’m hoping to line my tranny custom so can use during week for work,and weekend for play,but I’m really struggling to find a plain numpty guide explaining each layer ,ending with stretch carpet.. I’ve used a vapour barrier in a sleeping bag to try and address moisture issues and it doesn’t work…Can anyone explain it a bit more simply.Please.
Hi Mark,
We have another post about how to insulate a campervan that you might find useful as it doesn’t go so in depth. There is also lots of comments on this post to read through, I hope that helps!
Hi there, great you have mentioned sheeps wool as an option that is sustainable and environmentally friendly. It is so easy to use and you don’t need a mask as it’s all natural, just rip it into shape and put it in the wall or ceiling spaces.
Another sustainable option that is much more environmentally finally is cork insulation boards, again natural and easy to use, just cut with a jigsaw. No PPE masks required, both are breathable products so condensation won’t be a problem, both fire resistant and mold resistant! As you live in your van you are surrounded by natural product not nasty glass fibre dust or micro plastics.
I highly recommend them both!
Hi, we are about to insulate our van, and are considering to use your method with polyester wool and PIR-boards. Our van has though quite some windows in the back, so putting a vapour barrier does not seem possible since it is going to be very difficult to cover all the insulation and there will be a lot of condensation from the windows. Does it make sense to use the polyester wool without a vapour barrier? Or is it not repellent to water?
Thanks for an informative website!!
Hi Ylva!
Thanks for reaching out, and we’re glad you’ve found the website helpful!
Using polyester wool and PIR boards can be a great insulation method for your van, polyester wool while moisture-resistant, is not fully waterproof; it can absorb some moisture if it’s exposed directly to condensation over time. Even with a lot of windows, you might try adding one on the areas without windows, focusing on where you’ll have the most exposed insulation. This could help reduce moisture seeping into the insulation from those areas.
Alongside this it will be beneficial to pay attention to air circulation and ventilation. Good ventilation can significantly help manage condensation, especially around windows. Consider adding fans or vents to improve airflow and reduce humidity.
Feel free to reach out if you have more questions, and best of luck with your project!
what are views of the sprayed cork insulation option ? id guess it can’t be sprayed into the numerous nooks n crannies….