Top 15 mistakes to avoid with your campervan electrical system
For most, the electrical system is the most daunting and complicated part of any campervan conversion. After designing over 1,000 systems (and rectifying many more!), we’ve observed many oversights and mistakes made when the DIYers go it alone.
Here are the most common mistakes we’ve seen, so that whether or not you make use of our electrical design service, you can easily avoid them!
If you fancy learning more about campervan electrical systems before reading this, have a browse of our electrical system guide and hundreds of helpful articles!
1. Not defining the correct electrical system for your needs
Within a few hours of research, many tech-orientated DIY van converters will be able to work out what size batteries and solar panels they need. This often leads to people ordering these ‘big components’ without first defining the full system. As a result, you may end up with either too little capacity, or too much. Too little capacity may leave you needing to purchase additional components that you haven’t left room for. On the flip side, if you buy a bigger battery bank than you need, you might spend far more than necessary.
As components are often more complex than they seem, it’s easy to neglect variables such as a solar panel’s open circuit voltage or your battery’s charging threshold. This could result in a system that won’t charge on a cloudier day or in the winter sun.
Our electrical system survey showed that 99.4% of people designing their electrics get it wrong. We surveyed 332 people, and only 2 answered the 4 most fundamental questions about their electrical system correctly. However, it’s nothing to be ashamed of! Electrical systems are inherently complicated, so there’s a lot to consider. We use 106 parameters and calculations to define each electrical system we design. So if you want to make sure you get it right, Nohma can do the hard work for you.
99.4%
of people failed to correctly answer the four most fundamental questions
Campervan electrics leaving you confused?


2. Installing skylights, roof decks and other roof-mounted components before defining your electrical system
We can understand wanting to complete rewarding tasks first, like installing a skylight or roof rack. Visually, big progress can really boost motivation! Still, mounting a roof rack or air vents without first defining your electrical system can leave you with limited room for solar panels. If you don’t have enough room for your required solar array, you will end up having to make big compromises with your system. You may need to change the way you travel if you’re unable to recharge as much as you’d like off-grid, or you may simply not be able to use certain appliances. Knowing how many solar panels you need before mounting anything on your roof can save you lots of grief in the future.

With advance planning, Charlie and Dale were able to fit three solar panels, a skylight and two vents on their campervan roof
It’s possible to use different size solar panels to best utilise your available roof space. However, you will need to use separate charge controllers for each set of different sized solar panels. So if it’s possible to plan ahead with your roof space, this is an easy problem to avoid.
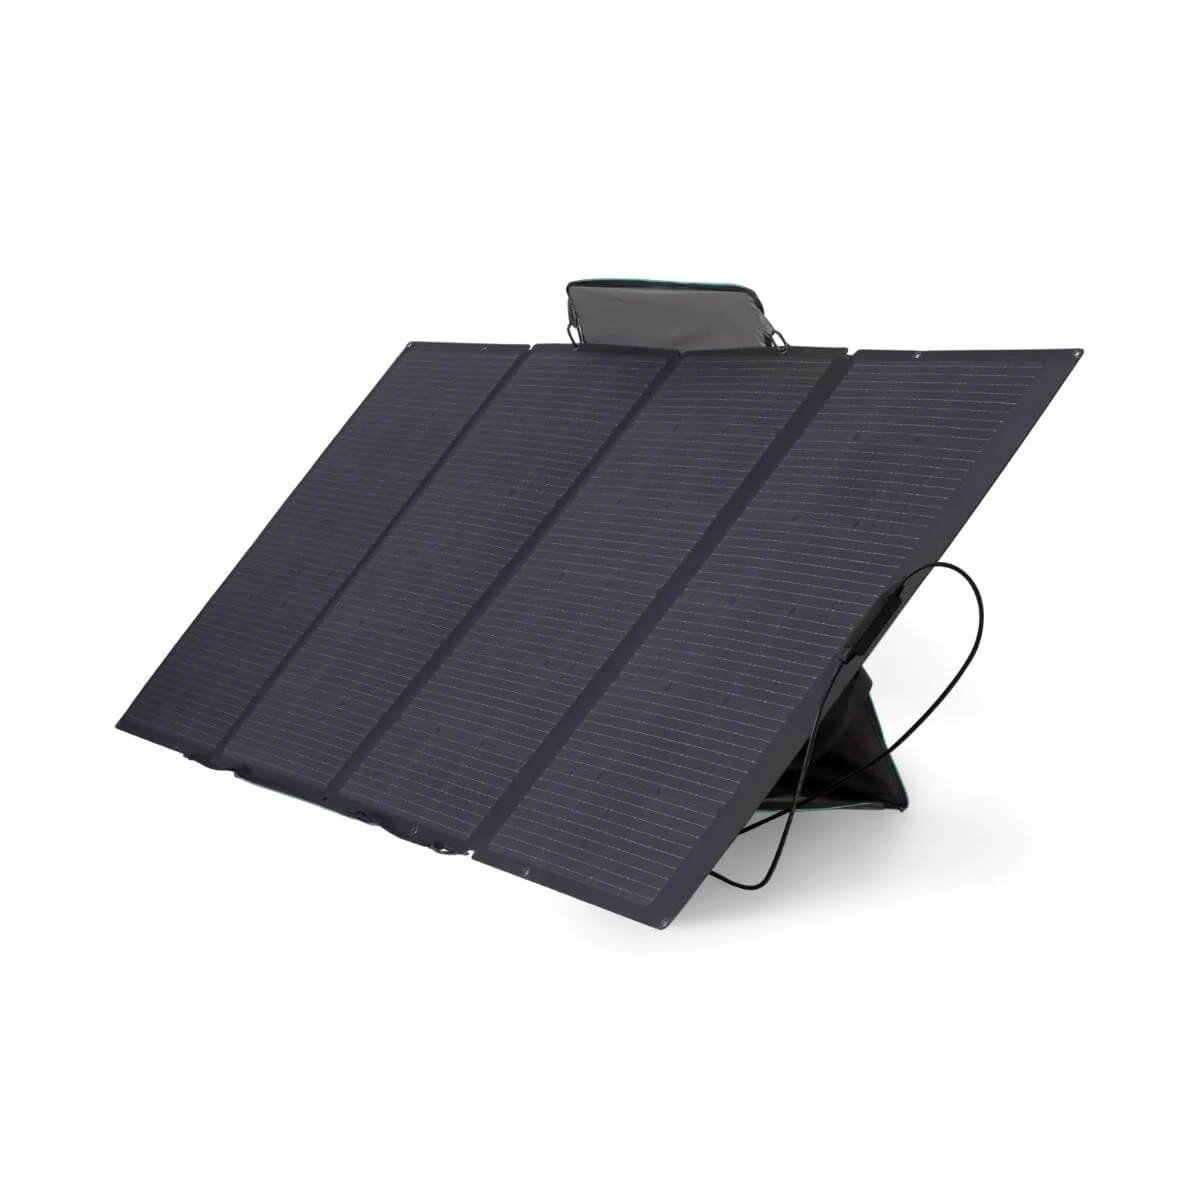
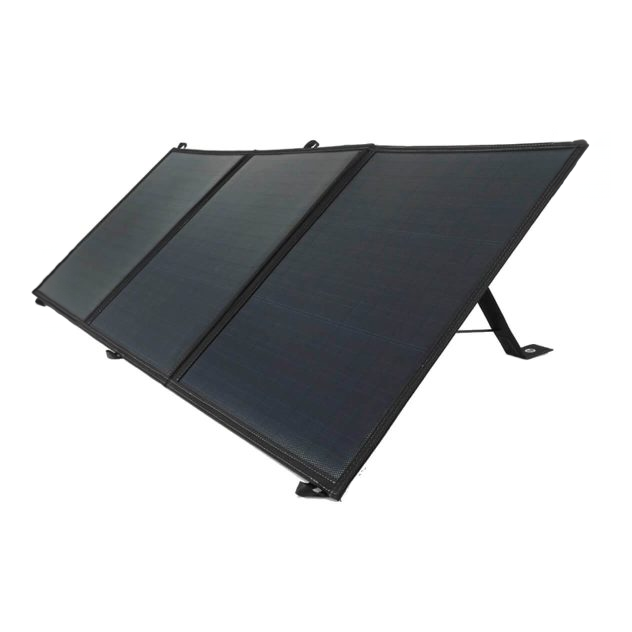
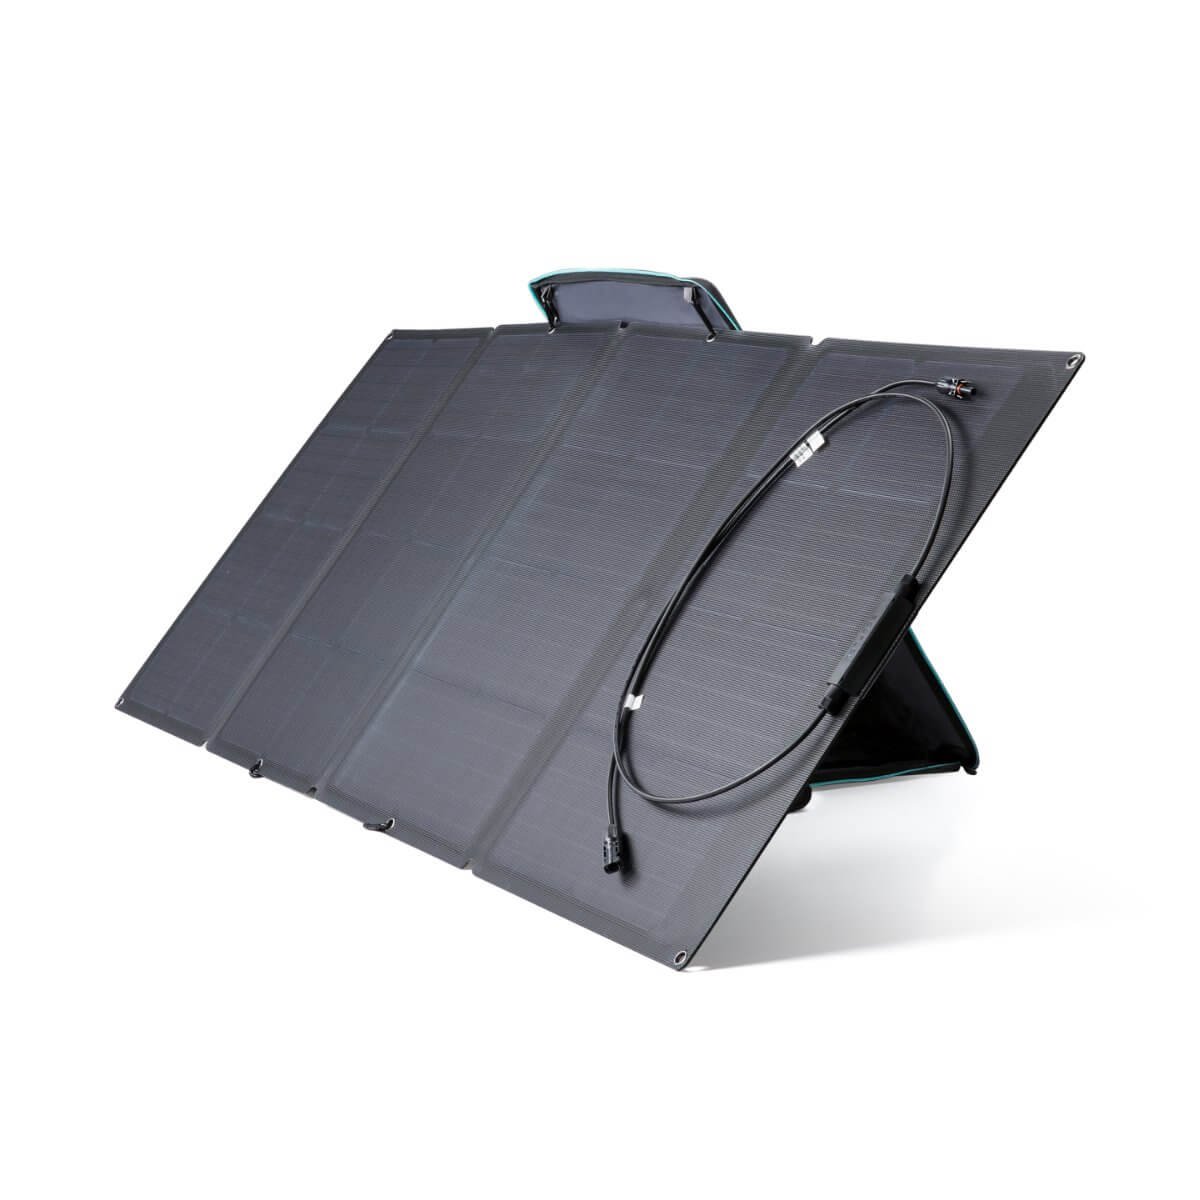
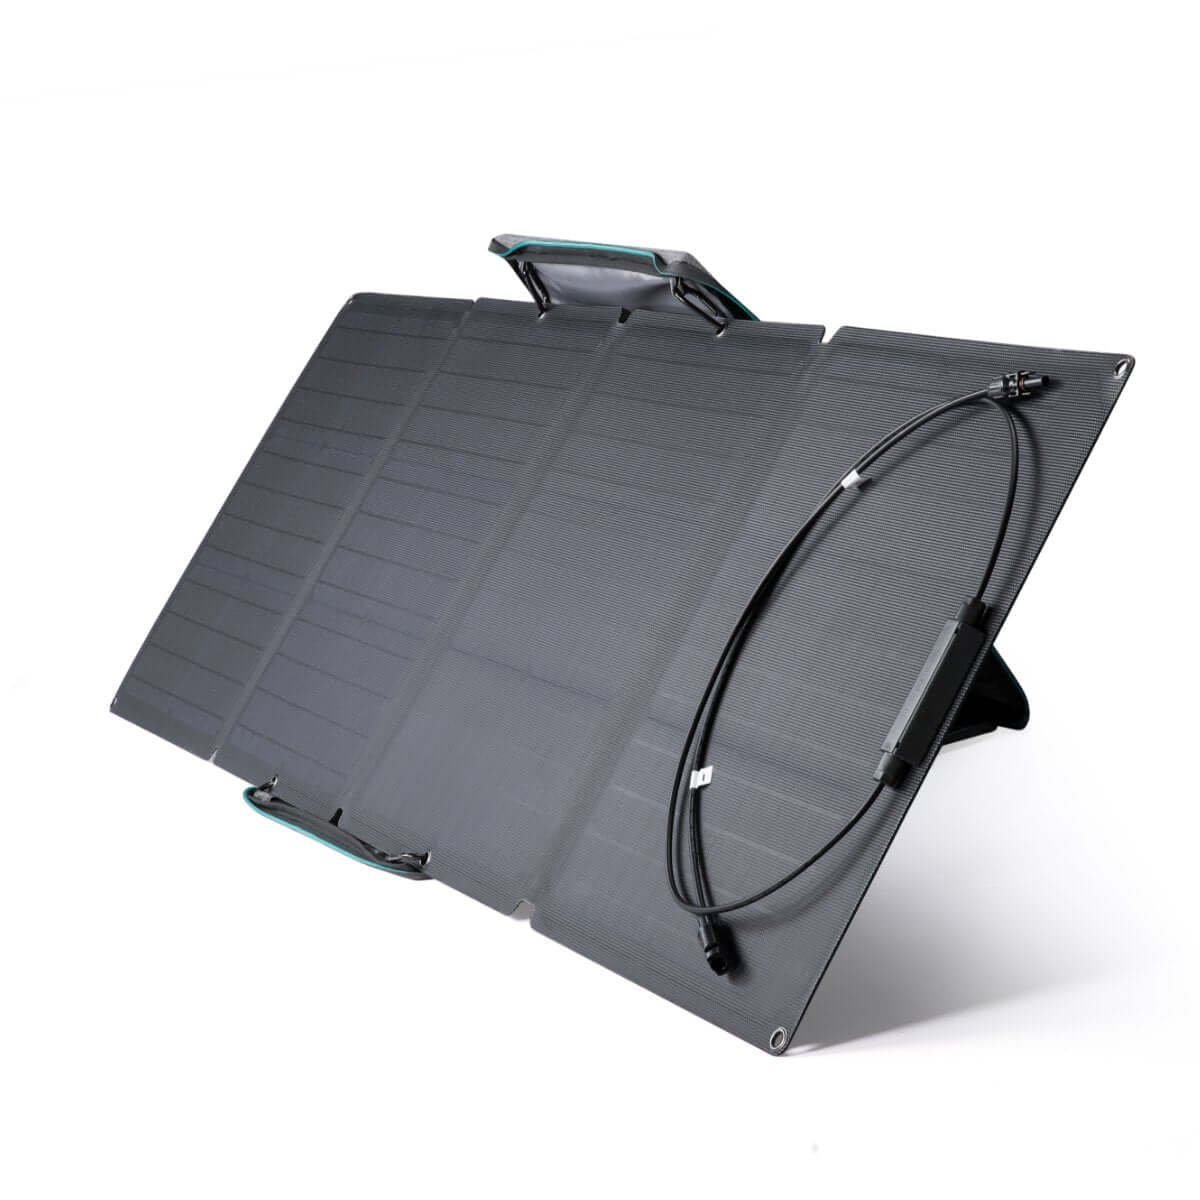
Portable solar panels can offer a solution if you need more solar than you can fit on your roof. They can be folded open and placed in the sun when you’re stationary. Furthermore, they have the potential for being more efficient than their fixed counterparts, as they can be angled toward the sun. Roof-mounted panels are normally fixed flat to the van and therefore operate at a lower efficiency than their potential. Portable solar panels are typically used to charge a portable powerbank, such as those offered by EcoFlow or PV Logic. Alternatively, you can use them with a charge controller to charge your leisure batteries.

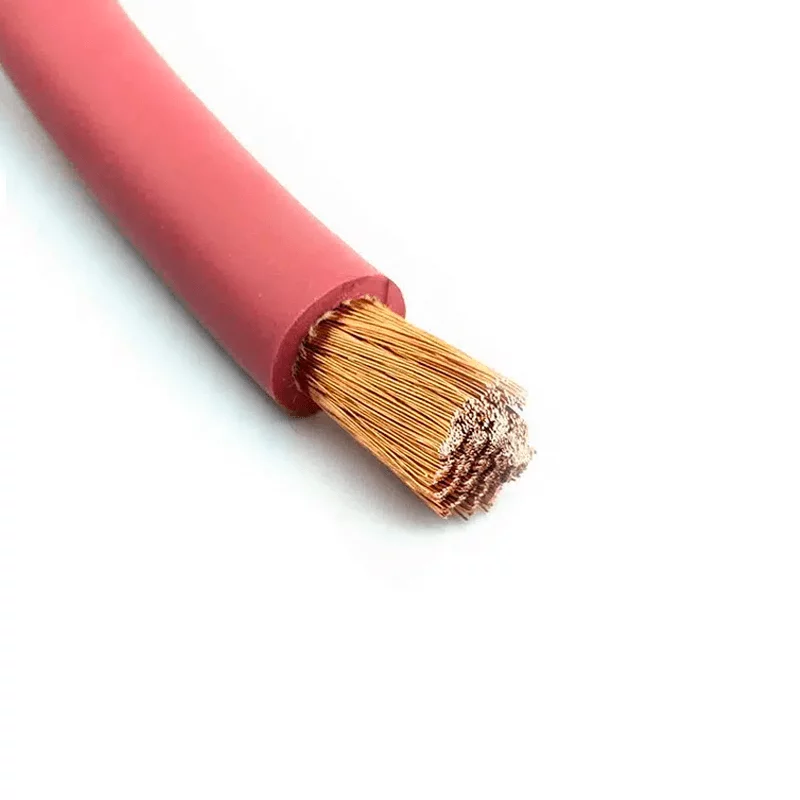
3. Using the wrong cable gauge
Calculating the various cable gauges for your electrical system is more complex than it initially seems. You need to consider the cable’s current rating, voltage drop and operating temperature to ensure that you don’t under or over-spec it. If a cable isn’t thick enough, high resistance can quickly increase its temperature and cause the coating and surrounding materials to ignite. If the cable is thicker than necessary, you’ll end up spending significantly more than needed!
When calculating cable gauge, you should aim for no more than a 3% voltage drop over your circuit. Any more than this and some sensitive appliances won’t work correctly.
Perhaps a more vital consideration, at least one with higher consequences, is the cable temperature. Because calculating this is a complex task, manufacturers specify current ratings for their cable. These are set at a point where the temperature would start to reach an unsafe level.
The following graph shows how the gauge of a cable affects its temperature, and highlights why it’s such an important consideration. It should be noted that cable length has no effect on temperature, only voltage drop. This is because, both the resistance and surface area of the wire increase proportionally with length. So, even though more heat is being generated from a larger resistance, the rate at which it is radiated from the cable surface increases at the same rate.

Using the wrong sized cable can quickly cause extremely high temperatures!
Often, cable gauge calculators do not account for both the current rating and the voltage drop, which is potentially dangerous! For short lengths, often a dangerous temperature is reached before a 3% voltage drop. Consider a 2m length of 25 mm2 cable carrying 200A. The voltage drop over this 2.95%, so the cable appears suitable. However, the temperature of the cable would be 107°C, meaning the PVC casing would begin to melt.
Considering only the current rating is less dangerous but still problematic. Although 25mm2 cable is rated to 170A, using 2.5m would result in a 3.13% voltage drop, which is larger than recommended. Whilst this isn’t dangerous, some sensitive appliances may not function correctly and so this should be avoided.
Another factor to be wary of is that an electrical system with under-specced cable may function correctly to begin with, giving a false sense of security. Issues only become apparent under a high current flow, such as plugging in a hairdryer for the first time. This means your campervan could be in for repairs after your first trip away! To be on the safe side, you should calculate your cable based on both its current rating and the voltage drop. Although it’s easy to just choose the next size up, cable is not cheap, and over speccing can quickly add up.
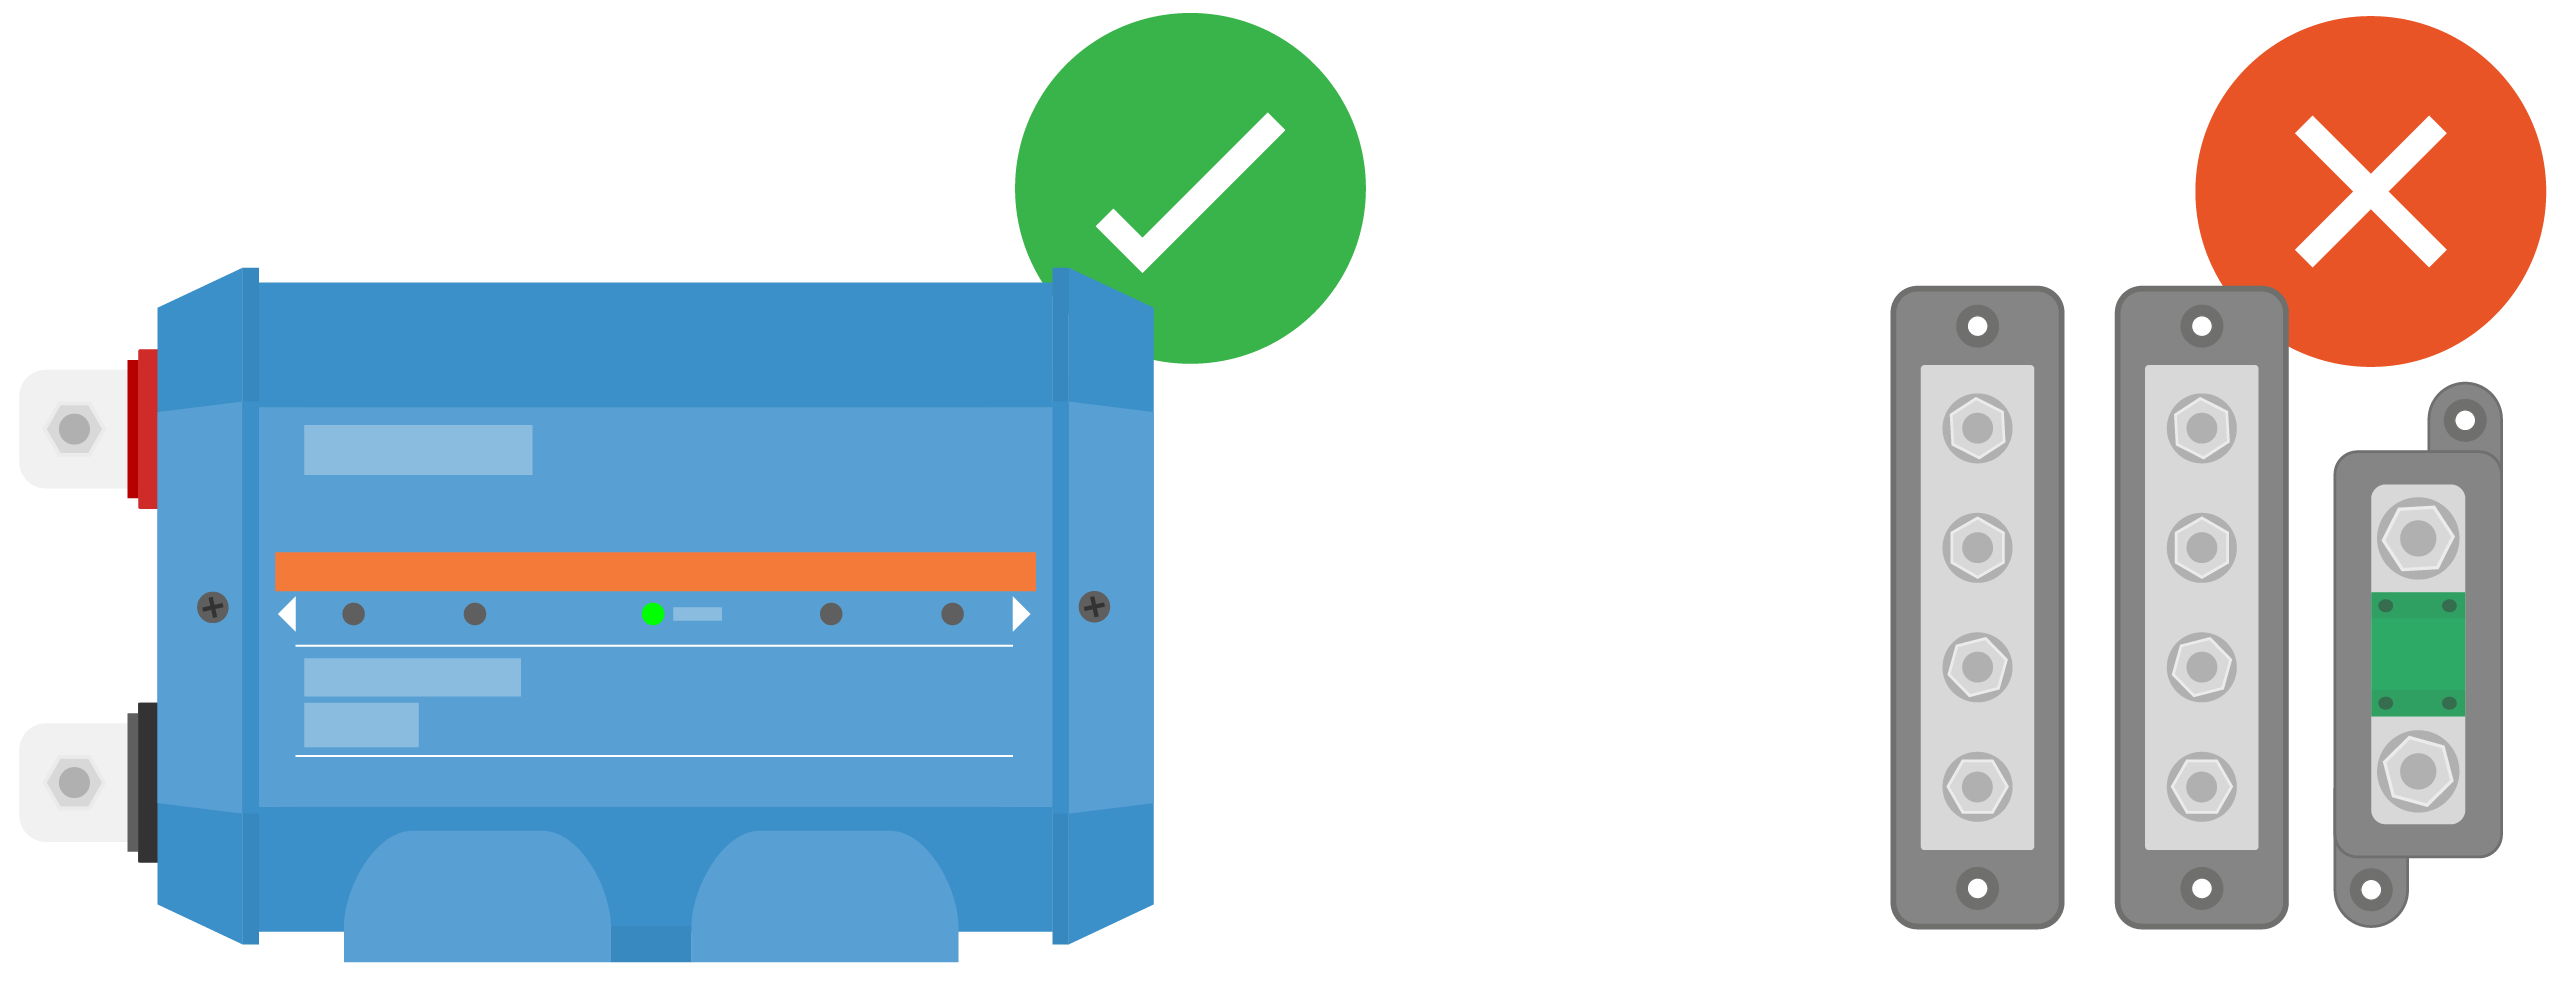
4. Mounting batteries far away from the rest of your system
Making use of the dead space under your front seats to house your batteries sounds ideal. However, if you aren’t able to fit the rest of your system close by and intend to install it at the back of your van, this could cause problems.
Increasing cable length also means you will need to increase your cable gauge, and long runs of thick cable aren’t cheap! The following equation shows us why you need to increase the gauge of a wire when increasing length. The resistance of a wire is given by the equation:
R = (ρ × L) ⁄A
R (measured in ohms) is the resistance, i.e. how much the wire resists current.
ρ (measured in ohm metres) is the resistivity, i.e. how much the material the wire is made from resists current.
L (measured in metres) is the length.
A (measured in square metres) is the cross-sectional area.
Here, you can see that resistance is directly proportional to (and therefore increases with) the length of the wire. It is inversely proportional to (and therefore decreases with) the area of the wire.
For example, 1m of 12mm2 cable would have the same resistance as 5m of 60mm2 cable. If the resistance of a cable is too high for a circuit, it will overheat and potentially melt. Also, high resistance results in a high voltage drop over the cables, which causes an unnecessary loss of energy.

The following illustration shows the cost implication of increasing cable length between the busbars and batteries within a circuit.

As you can see, the increase in length requires a thicker cable and also a much larger cost. You could buy another battery for the cost of positioning them 5m away from the rest of your system! It’s worth mentioning that 95mm2 is the largest DC cable gauge commonly available. So for lengths greater than 5m, multiple cables would be required. Furthermore, if your system operates at a current higher than 150A, it simply might not be viable to increase the cable gauge.
For example, a system including a 3000W inverter/charger, a 400W solar array, double battery to battery chargers and 12V loads, would use 95mm2 cable for a 3m circuit (‘there and back’) length. If a long cable length between the system and the batteries is a necessity, then the overall system voltage may need to increase to reduce the cable gauge and the cost of the cable. Remember Ohms law – a higher voltage means a lower current is needed to deliver the same power! Read our article on 12V, 24V and 48V systems to learn more about this.
When speccing electrical systems, we factor in a maximum distance of 1.5m from the batteries to the busbars, equivalent to a 3m ‘there and back length’. Anything longer requires a much greater cable gauge to keep the resistance and voltage drop low and will ultimately add unnecessary costs. With advance planning, it’s easy to mount your batteries close to the rest of your system, which leads us to our next tip.
5. Not planning where to install the system
When designing your van, make sure that you set aside an area with plenty of room for your electrical system. Ensure you can mount all components together, and account for the bend radius of each cable. Crowbarring components into random places can increase the amount of cable you need, as well as making accessing and monitoring components a nightmare! It’s also important to consider where to fix your battery monitors, switches and other system indicators for water and LPG.

By allowing enough space, Charlie and Dale were able to keep their electrical system organised.
Additionally, remember that electricity and water or gas don’t mix! If mounted below any water connections, even a small leak could destroy your electrical system. Moreover, remember to promote ventilation in your van and install gas drop-out vents below any connections. A spark caused by an electrical fault could ignite pooled gas!
6. Copying someone else’s system design
Everyone is different, and so everyone has different requirements for their campervan. By copying someone else’s electrical system design, you risk building a system that could either be overkill for your requirements, or not provide enough power for what you need. A system that works for one person won’t necessarily work for you and your particular needs.
It’s tempting to use a pre-existing system and swap out components based on your needs. However, this could potentially be dangerous if you neglect to adjust cable gauge or fuse sizes to match your changes. Furthermore, your swapped-in components may not be compatible with the original components.
To avoid these issues, you should first define your requirements, and then build your system around them. Our article on wiring an electrical system gives an overview of how to design yours. If you need further guidance, have a read of The Van Conversion Bible or enquire about one of our bespoke electrical systems.
The ultimate guide to converting a campervan
The award-winning bestseller –
2025 edition now available ✨


7. Not future-proofing the system
Before defining your electrical system, you should consider not only your current electrical usage, but also any potential high-wattage appliances you may want to add further down the line. For example, a shiny new Christmas present in the shape of a hairdryer or games console could leave you needing not only a larger inverter, but also a bigger battery bank and solar array. See our article on how to wire an electrical system for advice on sizing your solar array and battery bank.
Batteries
If you decide further down the line that you need an additional leisure battery, you’ll need to ensure it is the same voltage, capacity and brand as the existing battery. Batteries with different capacities, or even two batteries with the same capacity and voltage from different brands, can have slightly different voltages.
Connecting two batteries with even a small difference in voltage can result in the battery with the lower voltage being charged past its maximum rated voltage. This can cause bulging, overheating and leaking. The battery with the higher voltage could overheat due to rapid discharge. So even small variations in voltage can greatly decrease the lifespan of both batteries.
You’ll also need to ensure it hasn’t been too long since you installed your first battery. If your existing battery has been in use for a while, its voltage may be lower than the new battery, which will cause the same issues mentioned above.
Solar panels
Adding additional solar panels can also be difficult if you’ve already used your roof space for components such as vents and skylights. Additionally, installing solar panels at the end of your build will see you having to remove cladding and insulation, which will prove more difficult than it needs to be (more on this shortly)!
Inverters
We’re often asked if it’s possible to install a campervan inverter later down the line if you decide you want access to 230V. Whilst this is technically possible, you would most likely consume more power as a result. Because of this, you would need a larger battery bank and solar array, which would also affect your battery cable thickness, busbar sizing, fuse sizes… the list goes on! Whilst we can spec components for the addition of an inverter in the future, we typically advise against it.
Although it’s generally advisable to build in a small safety factor when calculating your power usage to account for variations in your use case, it’s ultimately very expensive to over-spec a system. So, you should try to find the right balance.
8. Installing your system in the wrong order
You should start your electrical system install by fitting all components that require you to drill or cut through your van. This avoids the hassle of having to remove cladding and insulation to mount your solar panels or shore power inlet. With thorough planning, you can mount all your exterior components in one go, and only touch your insulation once!
Running cable is much easier before your walls are covered with cladding!
Additionally, when physically wiring in the electrical system, components such as charge controllers need to be connected in a specific sequence, or else they won’t work properly. You need to connect them to the leisure batteries first, to allow them to sense the voltage of your leisure batteries and adjust the charging profile accordingly. If you connect to the solar panels first, the charge controller may assume your batteries are a different voltage than what they are (e.g. settings for 24V but your batteries are 12V) which can cause significant problems.
9. Assuming that all van converters or domestic electricians are experts in campervan electrics
Very few domestic electricians or van converters truly understand the more complex ins and outs of campervan electrical systems. The former are very knowledgeable about 230V electrics and the latter about carpentry and design, but many lack a comprehensive knowledge of DC electrical systems.
It’s perhaps unreasonable to expect someone very creative and practical like a van converter to have a thorough understanding of electrical systems. But, this doesn’t stop them from giving it a go! Some will understand, but you should be very cautious. There are no standards to certify competency when it comes to campervan electrics. So, you may want to ask them a few simple questions to test their knowledge.
You could ask some questions along the lines of:
- How do you calculate cable and busbar sizes?
- Do I need an isolated or non-isolated system?
- Have you installed DC systems before?
- In what order would you connect a charge controller to a system?
If they’re unsure or haven’t installed one before, you should be wary. If a professional is installing your van conversion, we can still design and provide your electrical system. Alternatively, if you’re doing the conversion yourself but don’t feel confident installing the electrics, we can provide an electrical system and comprehensive guidance for an electrician to install your system for you.
10. Buying cheap, poor-quality electrical components.
The saying “buy cheap, buy twice” holds true in all areas of life, and electrical systems are no exception. Due to material costs, electrical components can only be so cheap. Cheap alternatives to trusted brands offer poor materials, a lack of quality control and will most likely fail prematurely.
Component failures are not only costly, but also potentially dangerous! Spending more on high-quality parts from trusted manufacturers will both save you money in the long run, and provide invaluable piece of mind. When shopping online, if something looks too good to be true, it probably is!

We’ve stopped stocking all Renogy products apart from solar panels after experiencing a high return rate and noticing misleading product specifications. Victron Energy offers top of the range components, whilst brands such as Sterling Power and Fogstar provide a good balance between reliability and value for money.
Charlie & Dale, Co-founders – Nohma.com
11. Buying kits online
If you search for a campervan electrical system online, you will likely come across plenty of companies claiming to offer a complete system in kit form for a tempting price. In reality, these kits rarely include everything needed for the installation, and are often badly designed! We reviewed kits from five major electrical component retailers and found they were all missing necessary components to finish installation. Some didn’t even include vital safety equipment such as fuses or breakers!
Even if you do find a complete kit with everything included, it will not be bespoke to your needs. However, if you can find a kit which matches your requirements from a trusted supplier, this can be a useful option if you’re in a hurry.
We have a range of kits available for our most common Nohma systems.
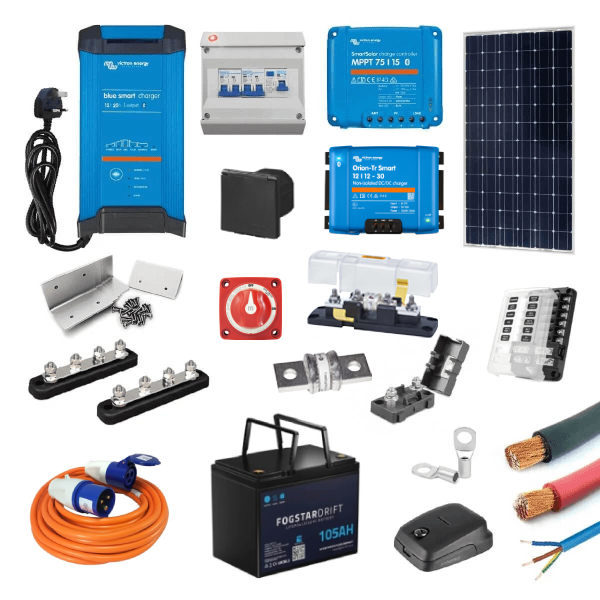
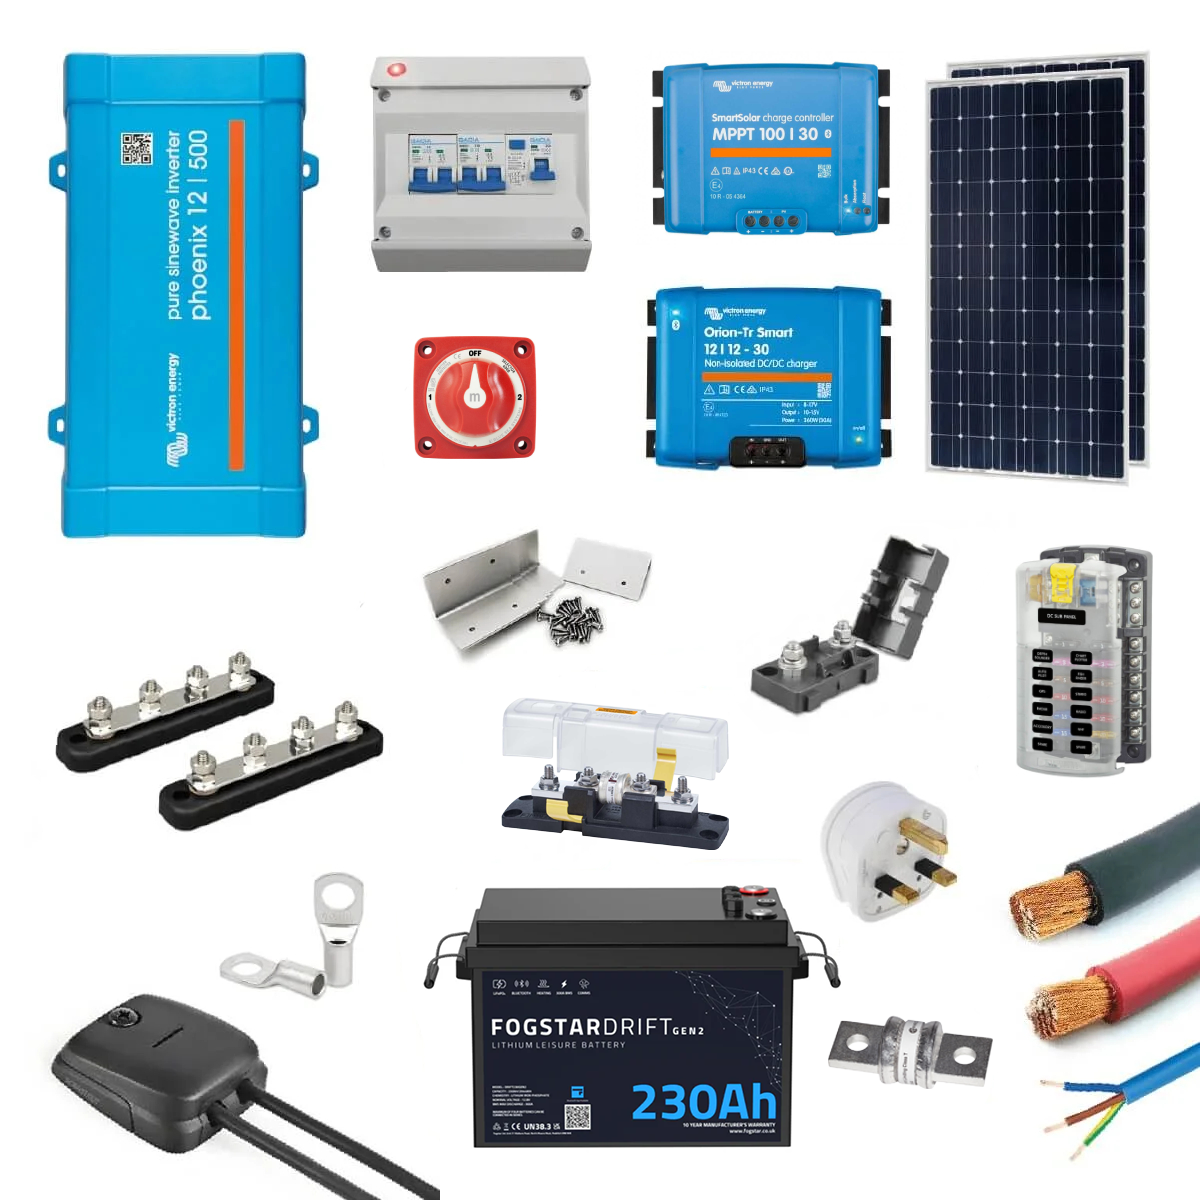
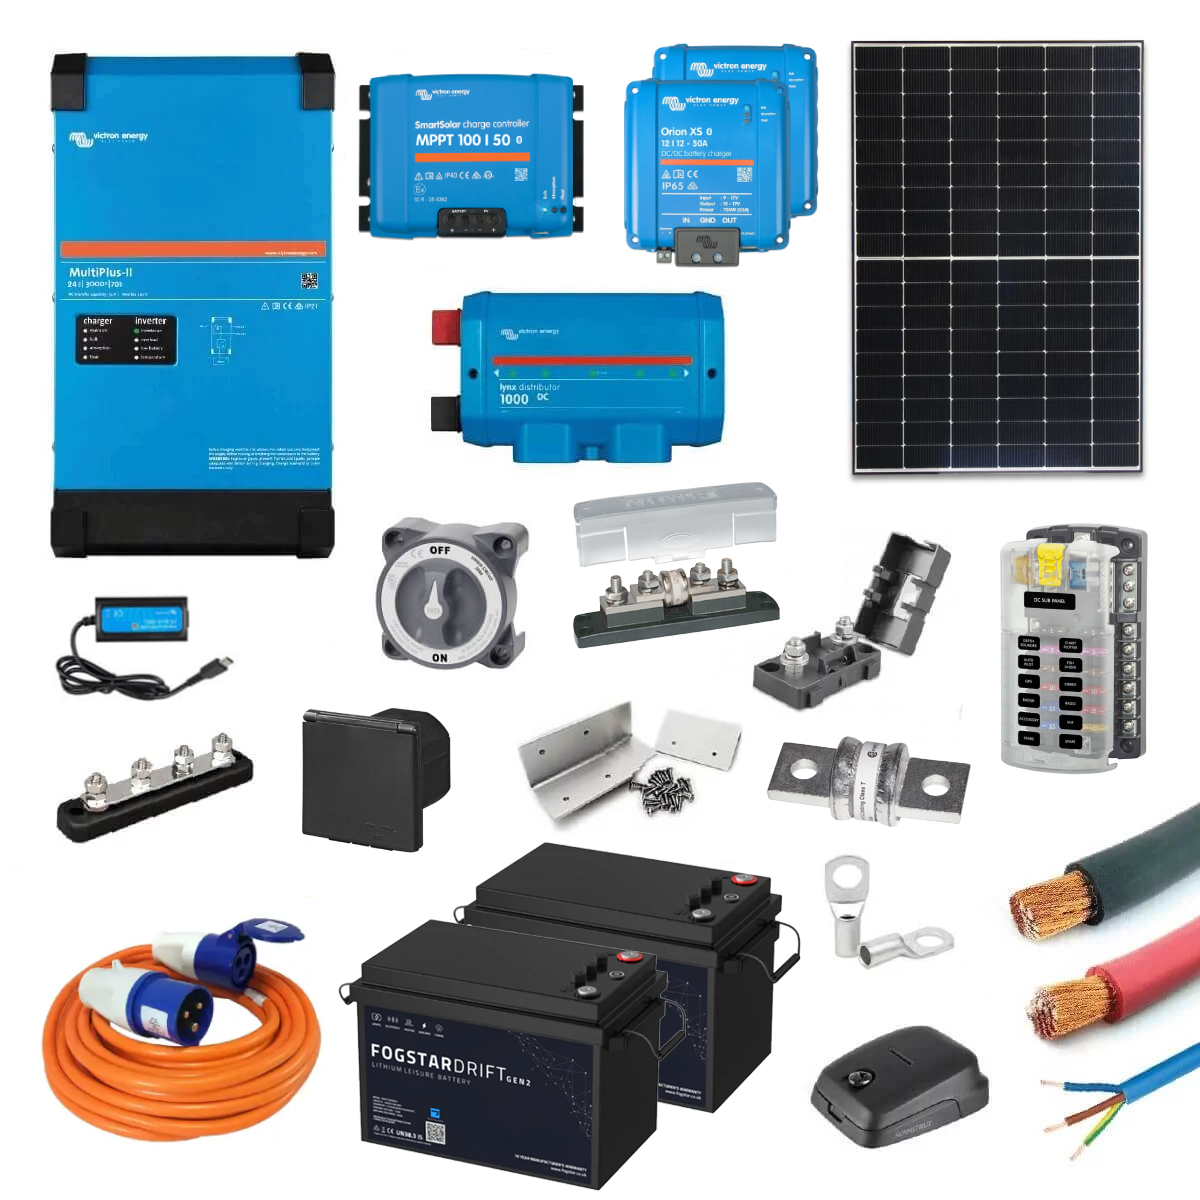
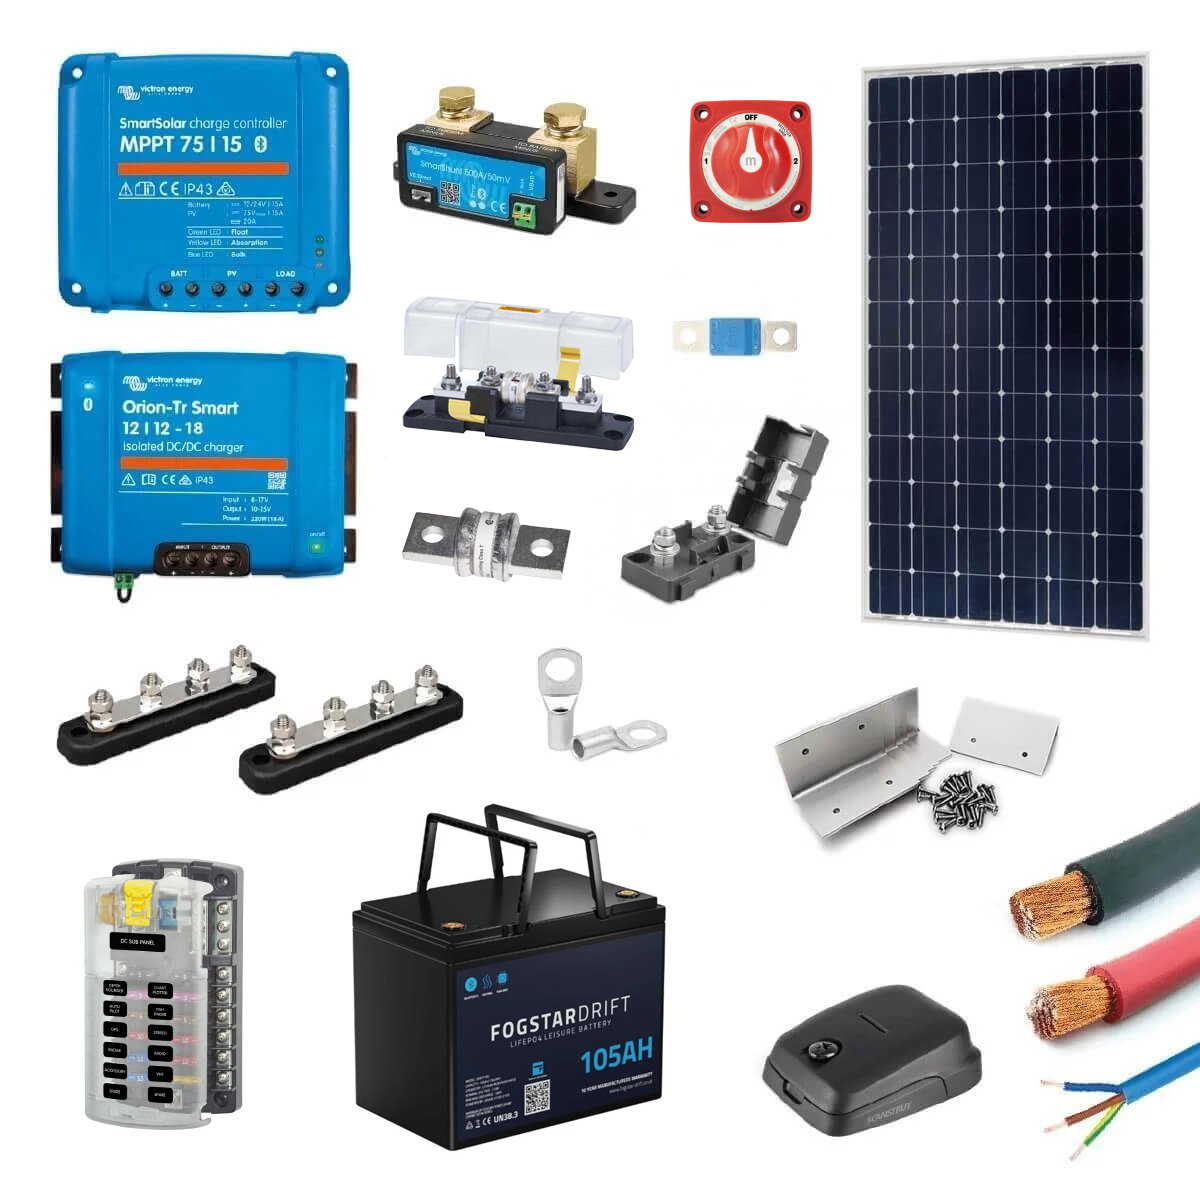
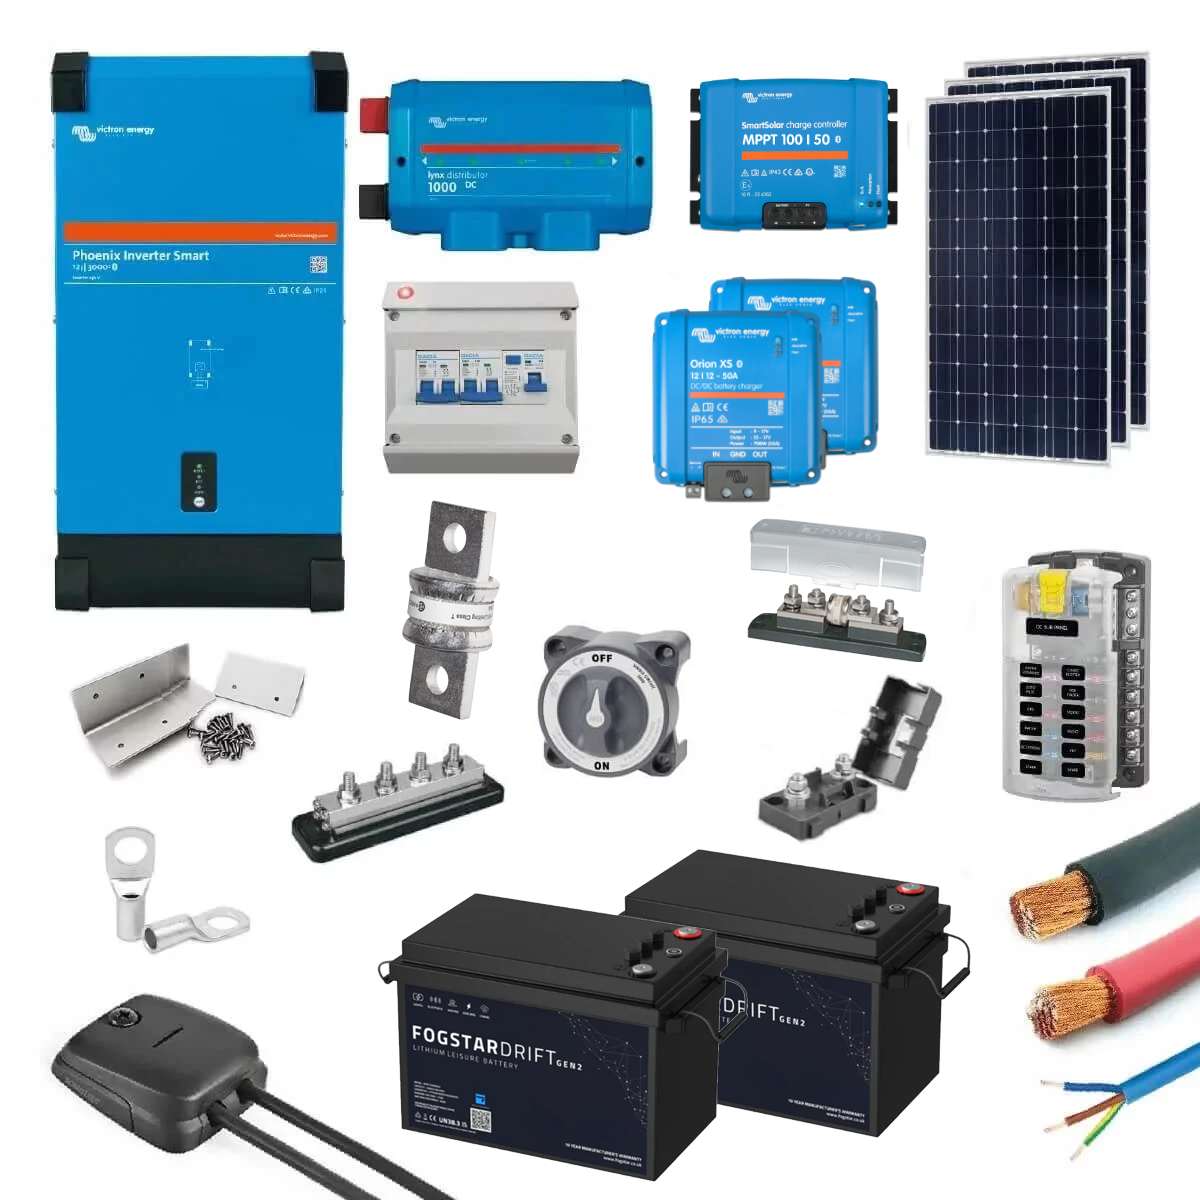
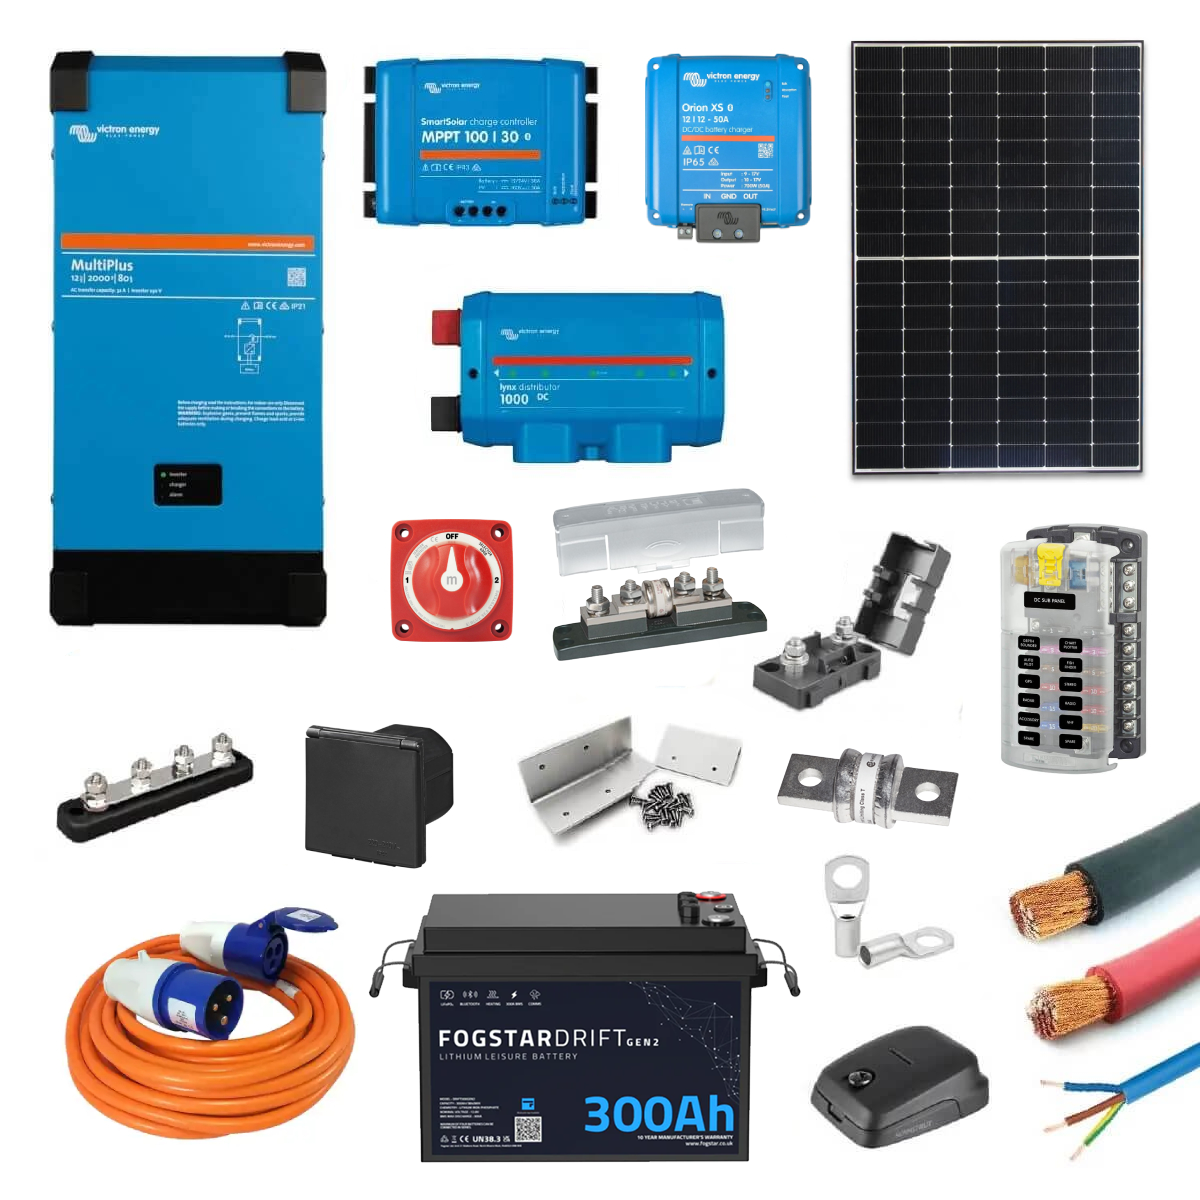
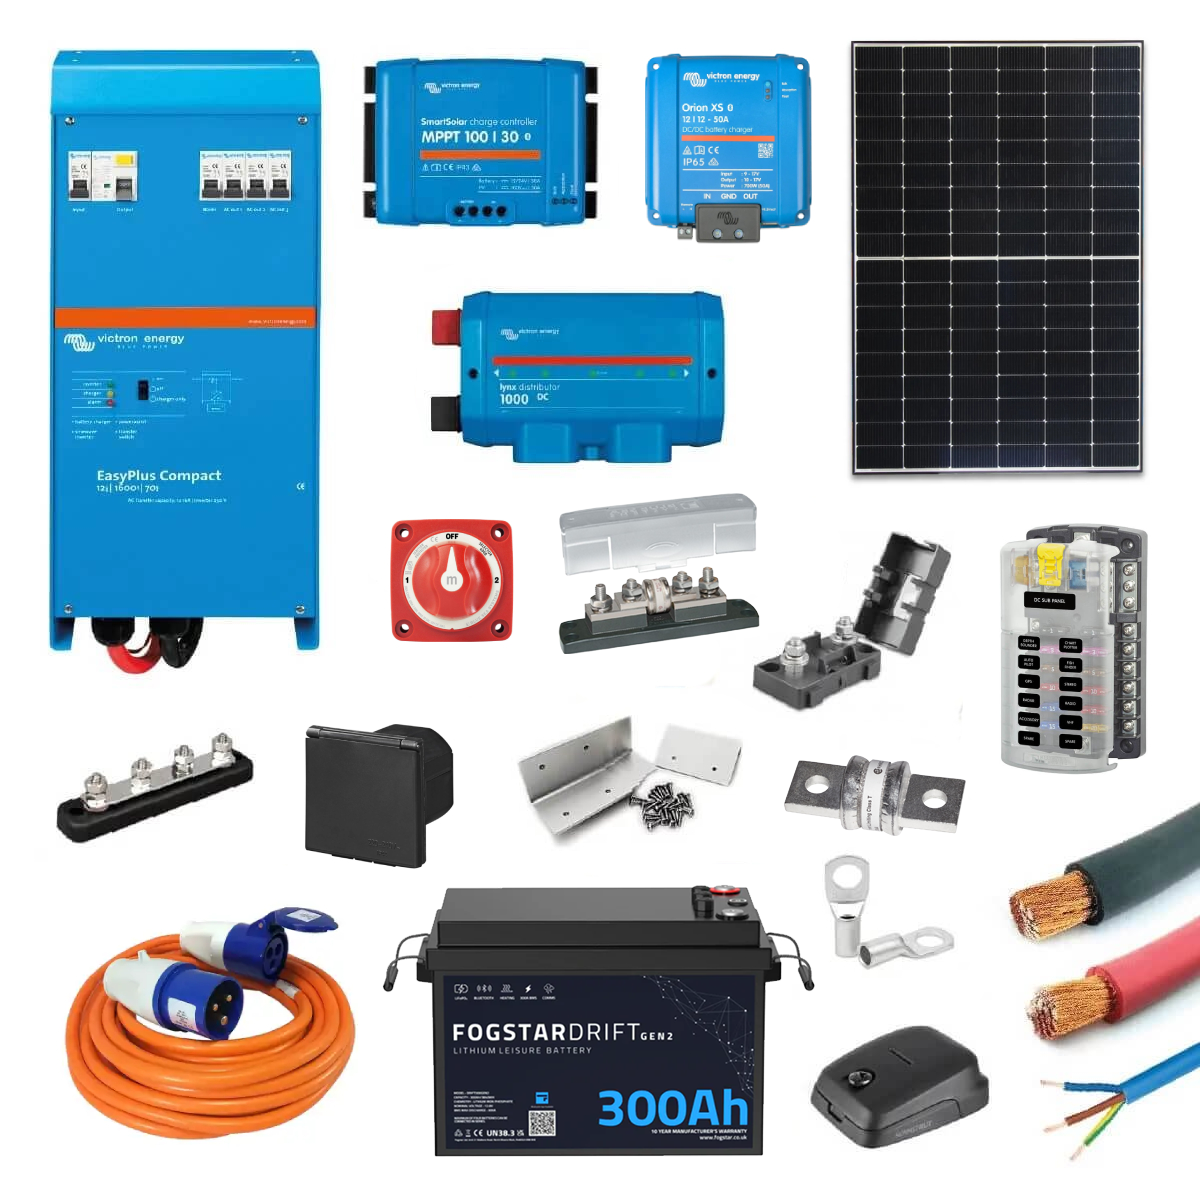
Our kits include every single component required to install your system, down to the last crimp and fuse. Plus, if you find a kit you like but it’s not quite right, our team can modify the kit to perfectly fit your needs.
Got a question or want to modify a kit?

Want to modify a kit?
Fill out the form below and one of our engineers will be in touch soon.
"*" indicates required fields
12. Using a voltmeter to measure your battery’s charge state
We often get asked why a battery monitor is required over a considerably cheaper voltmeter (or at all, for that matter!). Voltmeters give a reading of voltage, which does decrease with charge. However, voltage varies with varying circuit load, such as outgoing loads such as running a fridge or incoming loads such as charging the battery with solar. So, your battery requires zero loads to accurately indicate charge. It can take several hours with no incoming or outgoing loads for the voltage to stabilise and provide a meaningful reading.
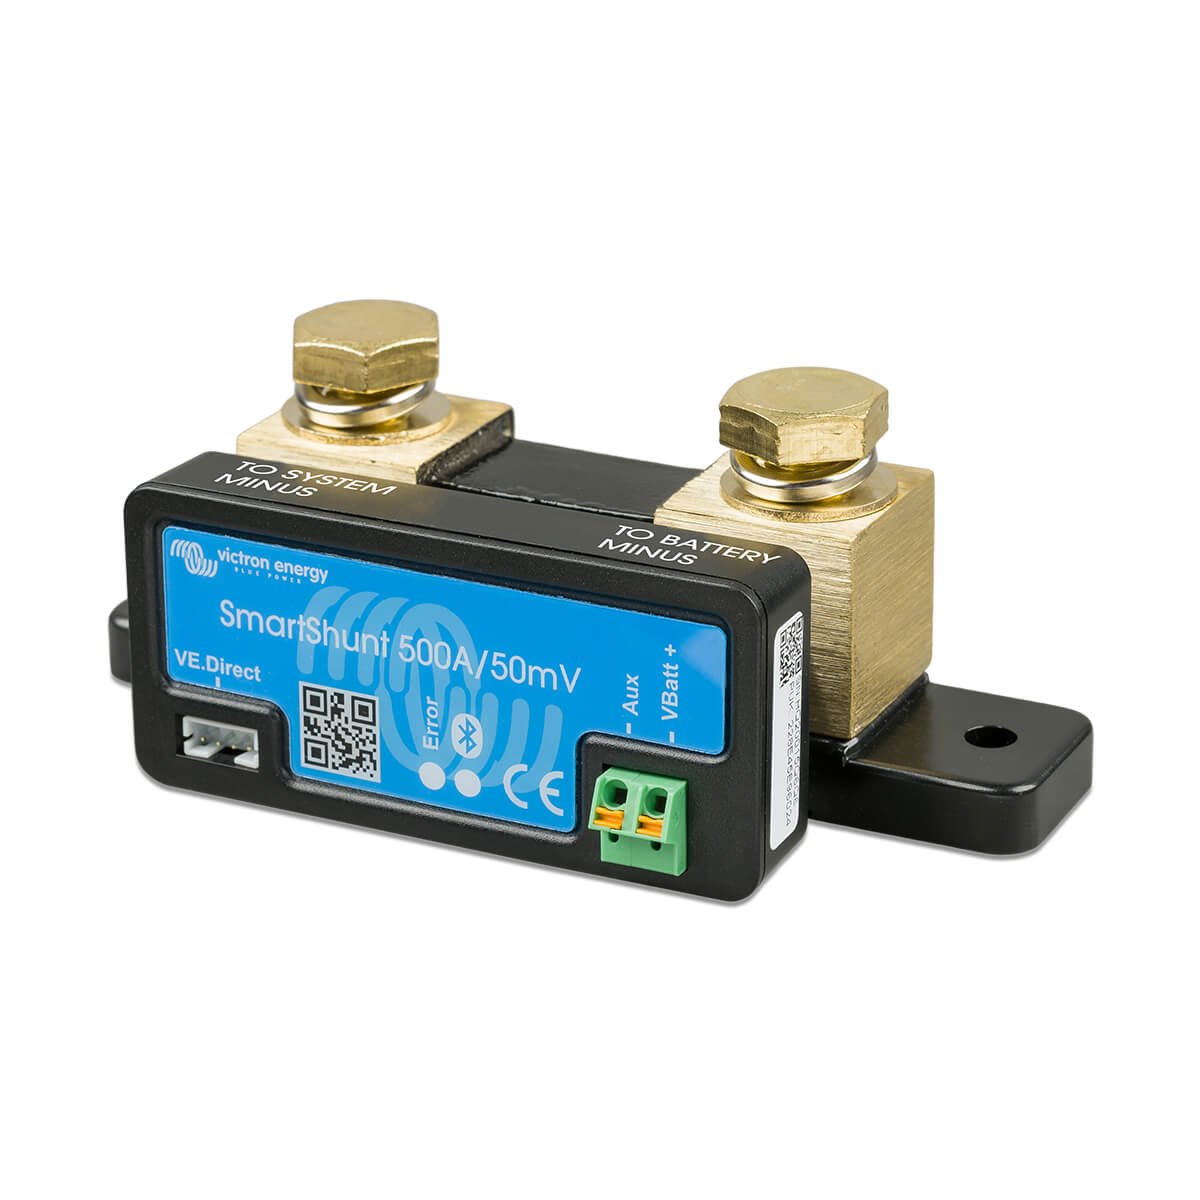
Battery monitors, such as the Victron BMV or SmartShunt, give readings of voltage, current draw and incoming and outgoing power. Additionally, they make use of many other factors such as the Peukert effect, which expresses how the capacity of a battery depends on its rate of discharge. These factors are combined to output an accurate and reliable State of Charge (SoC) reading for your battery bank.

13. Buying batteries secondhand
The capacity of a battery decreases each time it is discharged and recharged, also known as a cycle. For example, TN Power specify that their deep cycle AGM batteries have a lifespan of 1,150 cycles if regularly discharged by 50%. If they are regularly discharged by 80% or 100%, this drops to 600 cycles and 400 cycles respectively. The problem with purchasing a second hand battery is that you don’t know at what stage in its lifespan it is. It could have completed 1 full cycle, or it could have completed 500. Additionally, you don’t know how someone has treated the battery. If they have regularly discharged the battery by 100%, then they will have greatly reduced its lifespan.
Therefore, we’d recommend purchasing new leisure batteries, so you know exactly how many life cycles they have. If you’re lost with what type of battery to buy, take a look at our guidebook page on campervan leisure batteries. We give an overview on different battery chemistries and take a look at all the considerations you need to make before purchasing a leisure battery.
14. Not changing your components’ settings after installing your system
Each component in your system has been designed to facilitate a large number of use cases. This means it’s important to set the correct settings for the system to operate as intended. Using the default configurations for your settings may cause your system to operate incorrectly, and working out the correct setup can be tricky. Thoroughly reading each component’s manual is a good place to start, and should advise you on exactly what settings to pick for your system. Alternatively, when we design your system, we provide specific configuration details for each system.
A prime example of this is Victron’s Orion battery to battery chargers. Often their default setting is to function as a ‘power supply’ and not a charger. For many campervan applications, this results in the starter battery being drained until you can’t start your van! However, once the correct setting is selected, the Orion will keep your leisure batteries charged whenever you’re driving, just like it’s intended to in this application.

It's important to correctly set the settings of the Orion B2B so it doesn't drain your starter battery!
15. Trying to accommodate a domestic lifestyle in your campervan
Whilst it’s possible to design a campervan electrical system to fit almost any needs, as power requirements increase, so does the cost. At home, it’s common to have appliances such as large freezers, induction hobs and hairdryers. Although practical in a domestic setting, these appliances come with large power requirements. So, when used in a van, they will have a big impact on several aspects of your electrical system, such as the size of your inverter, battery bank and solar array.
In a domestic setting, it can be both time and cost-efficient to bulk freeze food and defrost it when required. However, in a van, it would make more sense to buy food for a few meals at a time to avoid the need for a power hungry freezer. Often, we see people with an otherwise relatively low-power system wanting to use a hairdryer.
As hairdryers are a high wattage appliance, they can easily draw far more power than any other component in a system. Therefore, they can end up being the only appliance in your system requiring a large inverter. Deciding to towel dry your hair instead could see big savings! Nonetheless, it’s important to have a system that works for you, so if a certain appliance is important to you, just make sure to account for it in your system. But remember – higher power usage means more money!


We hope you found these tips useful and now avoid making some of these common errors yourself. Leave a comment of a mistake you’ve made or seen, and hopefully the next reader can avoid it!

Harry Flaherty
Technical Manager
About the author
Harry is a physicist, self-confessed nerd and our Technical Manager. Harry started out at Nohma's R&D Engineer, and he now oversees all technical aspects of the business. He's BS7671 qualified and has converted a campervan with his partner which he lives in full-time, exploring the best spots the U.K. has to offer.
I’m so glad I have found you, getting stressed in advance of electrics, stuck with cabling and gauges it’s all double Dutch to me , so I will be in touch. Thanks for being so clear with all your info and sharing it with us
Hi Lucia, thanks for your comment we’re so glad you’re finding the information useful! Please feel free to get in touch and fill out our enquiry form here whenever you’re ready, we’ll be more than happy to help 😊
Yikes! Harry,I think I’ve got too large an inverter for a 12v system..I have a 3000 watt inverter..Now I read that the amperage will be too high,causing ‘excessive resistance in the wires & connections’..
I wanted to up my battery size from two 110ah to one 460ah battery but the guy suggested that I rewire my system to 48v..but I suppose that this would mean dismantling all the cabinetry & so forth,which I would be loath to have done..
Can you possibly offer any advice? Like,should I leave as is,add the (larger footprint) 460ah battery? If I did would that make rewiring to 48v even more imperative? And what would rewiring entail exactly?
People are often faced with situations like yours and there are always different ways you can go about it. Deciding between 12/24 and 48V, there are no strict cut off points. If you contact us through the website then one of the team will happily talk through the options!