How to find your vehicle's D+ ignition cable
If you’ve found this article, you’re likely installing a DC-DC charger which requires a D+ ignition cable connection to your van. A D+ indicates an ‘ignition live’. Essentially, this is a circuit in your van’s electrics that only turns on when you turn on the ignition. By tapping into the D+, you can use this as a signal to a battery to battery charger that the vehicle is on, the alternator is charging the starter battery, and in turn, its safe to charge your leisure battery.
While some DC-DC chargers like the Victron Orion are usually voltage sensing, and don’t require a D+ signal wire connection, other brands may require this D+ connection to turn on.
Additionally, if you install multiple Victron Orion chargers in parallel, you will need to make a D+ connection. While a single Orion can rely on voltage sensing, once you connect more than one in parallel, they can end up ever so slightly out of sync. So, one charger may turn on, but the other will remain off. For this reason, you need to connect to your vehicle’s D+ signal wire if you’re installing multiple B2Bs.
In this article, we’ll explain:
- The different ways you can connect to a D+
- Where you might find the D+ in different vehicles
- Some example B2B D+ wiring diagrams
3 ways to create a D+ ignition live connection in your campervan
There are 3 main ways to connect to your vehicle’s D+ ignition live:
- Use a piggyback fuse / ‘add-a-circuit’ to connect to a D+ ignition cable
- Piggyback off your van’s cigarette lighter
- Utilise your van’s ‘customer connection point’
1. Piggyback fuse & D+ ignition cable
The first method is the only one which truly uses the D+ ignition cable, and this requires a multimeter.
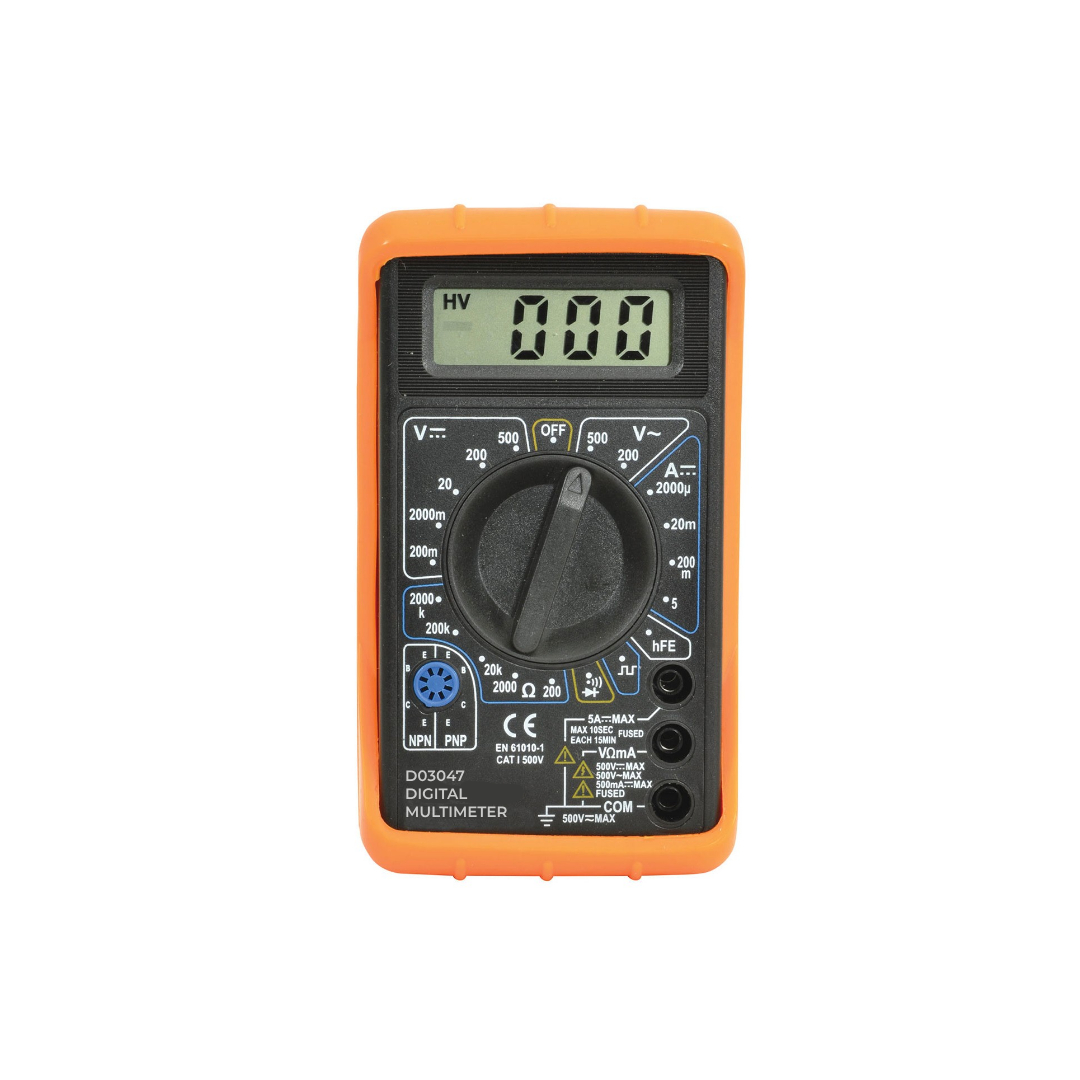

Using a multimeter to test for an ignition live.
How to test for a D+
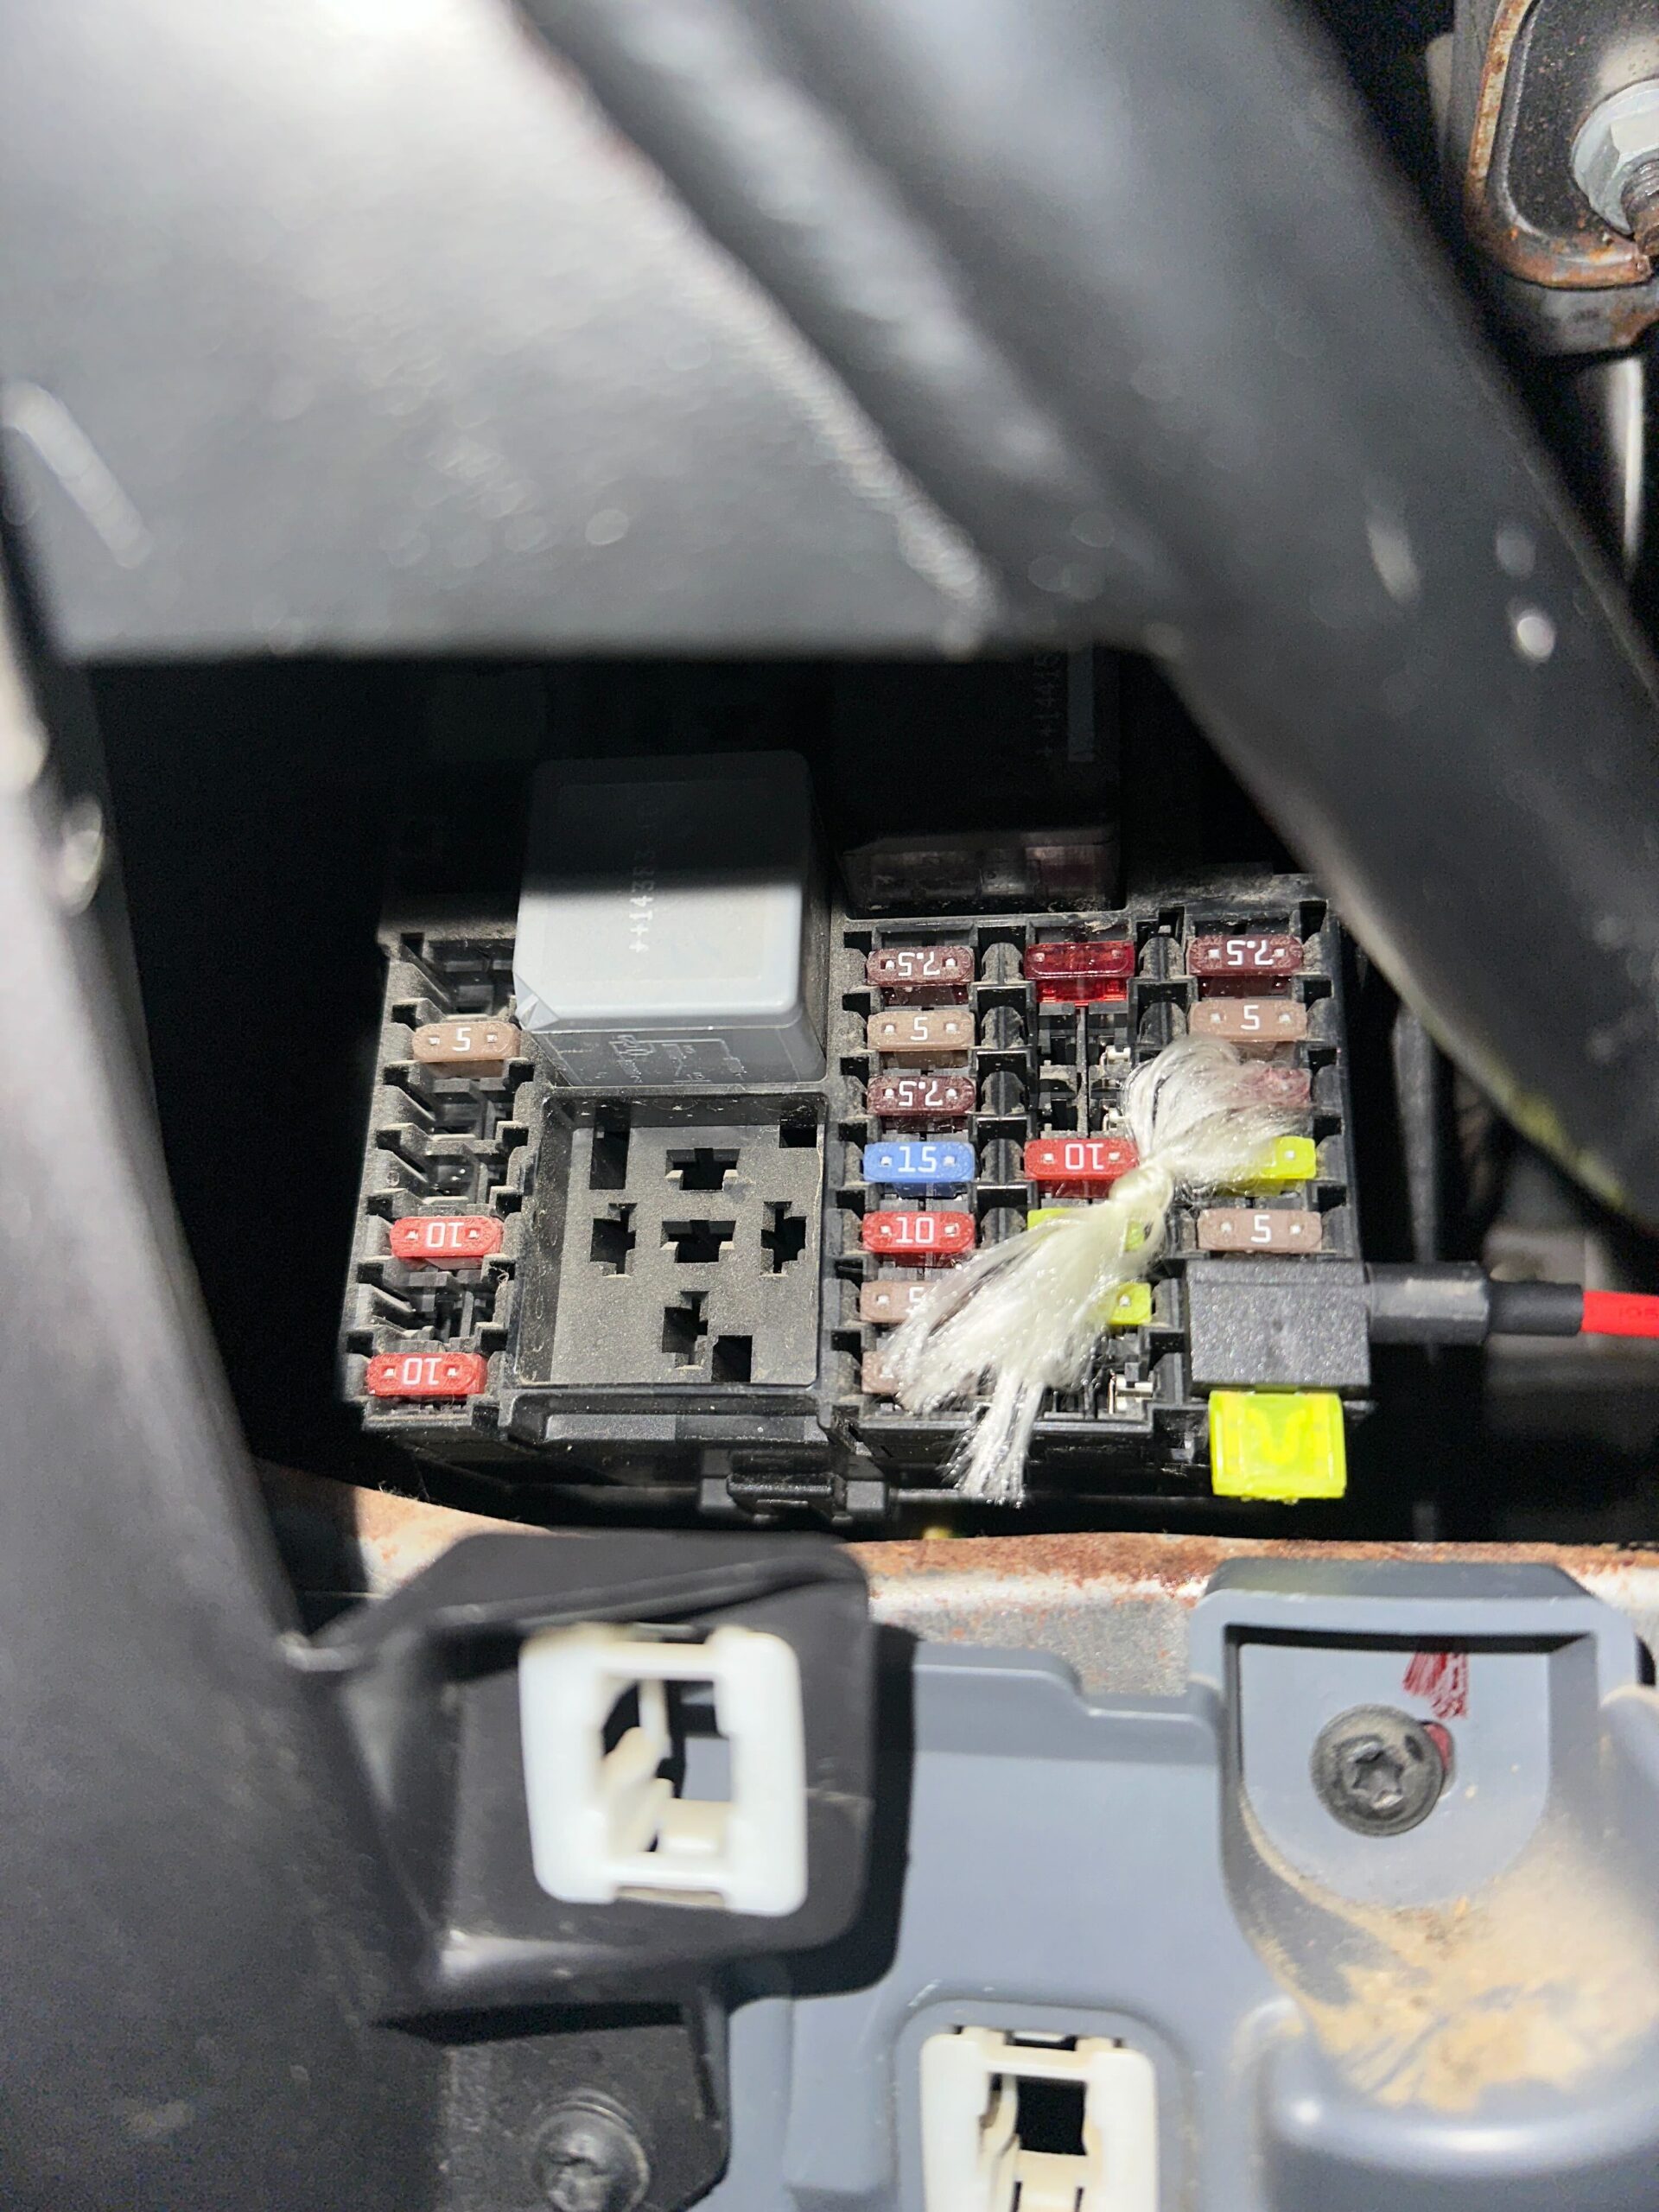
First, locate your vehicle’s fuse box. Most vehicles place the fuse box below the glove compartment or near the steering column. Consult your vehicle’s user manual to pinpoint the exact location if you encounter difficulties.

Once the fuse box is located, you’ll need to identify a good chassis earth. This can be any piece of unpainted metal securely attached to the vehicle’s chassis. To confirm it’s a reliable chassis earth, use a multimeter. Set the multimeter to measure voltage (i.e. the ’20V’ setting) and place one probe on the unpainted metal and the other on the positive terminal of the vehicle’s battery. A voltage reading of around 11.5V or higher indicates a good chassis earth.
Turn off the vehicle ignition before proceeding. Remove the keys, or if they are in the ignition, ensure they are fully turned to the ‘off’ position. With the multimeter still set to voltage, touch one probe to the chassis earth and the other to the exposed metal point on the top of a fuse. If the fuse has voltage (~12V), it indicates a permanent live, which is unsuitable for your B2B charger. Continue testing fuses until you find one that shows no voltage.

The black circle indicates where you can place the multimeter probe.
Set the multimeter to 20V DC (blue circle), with the black probe in common (yellow circle) and the red probe in VΩR (red circle).
Now, turn your vehicle’s ignition to the “on” position, but do not start the engine. Re-test the same fuse that previously showed no voltage. If it now shows voltage (12.2V to 13.6V), this is an ignition live fuse, suitable for your B2B charges D+ signal wire. If it still does not show voltage, continue testing other fuses until you find one that behaves this way.
Connecting the piggyback fuse
Once you’ve identified the an ignition live fuse, you’ll need to connect your B2B charger to it using a piggyback fuse. This is also known as an “add-a-circuit.” These devices are available in various sizes, so ensure you purchase the correct size for your vehicle’s fuse panel.
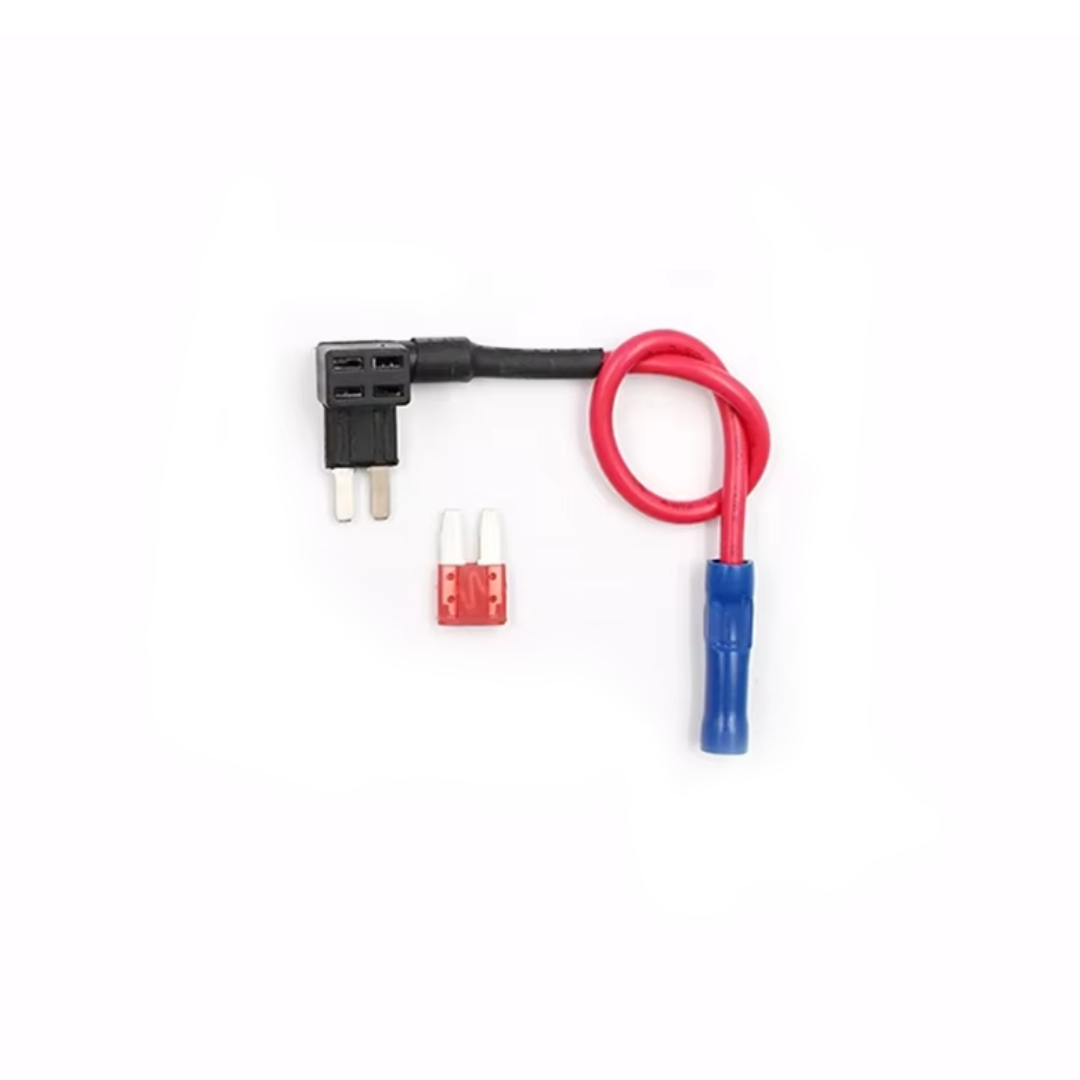
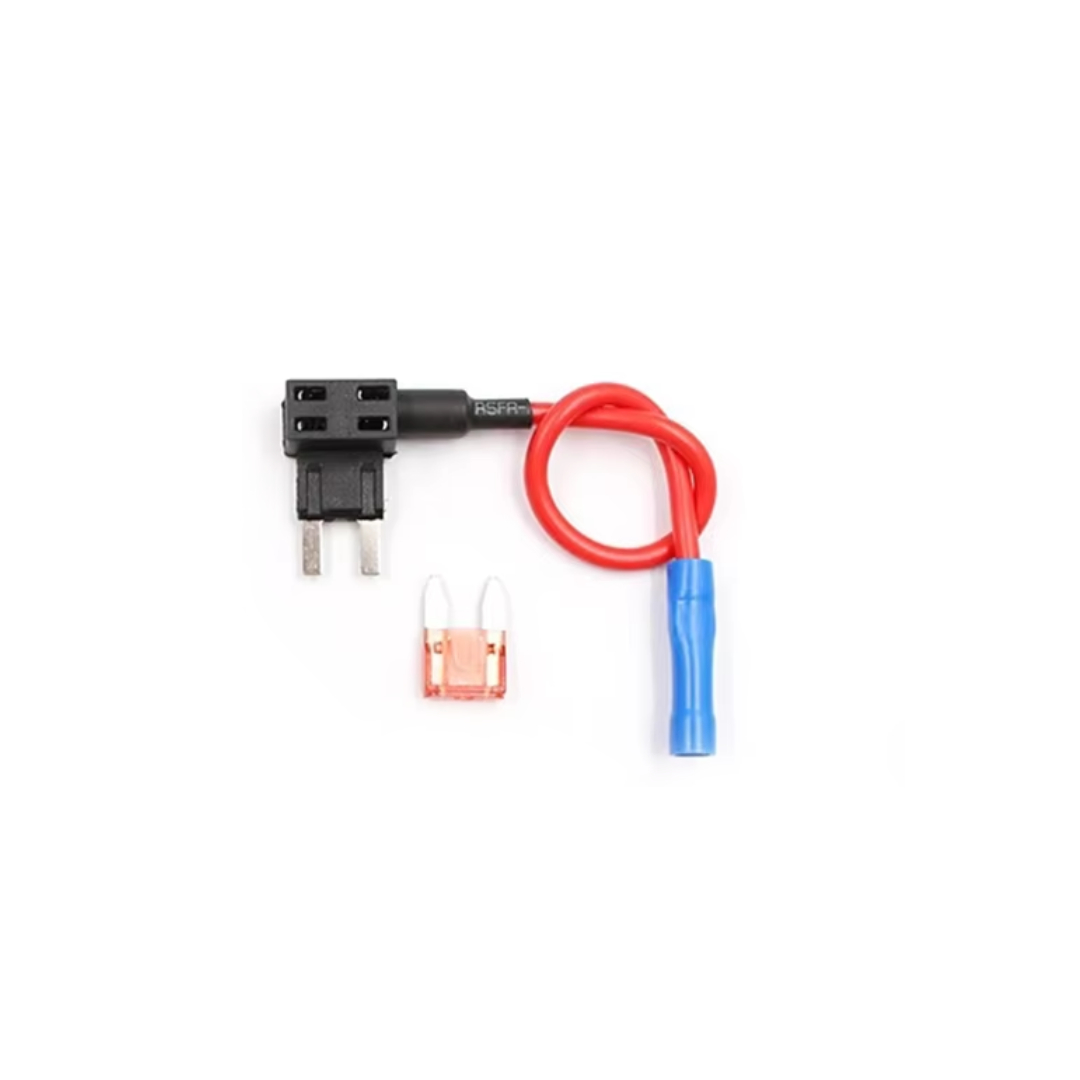
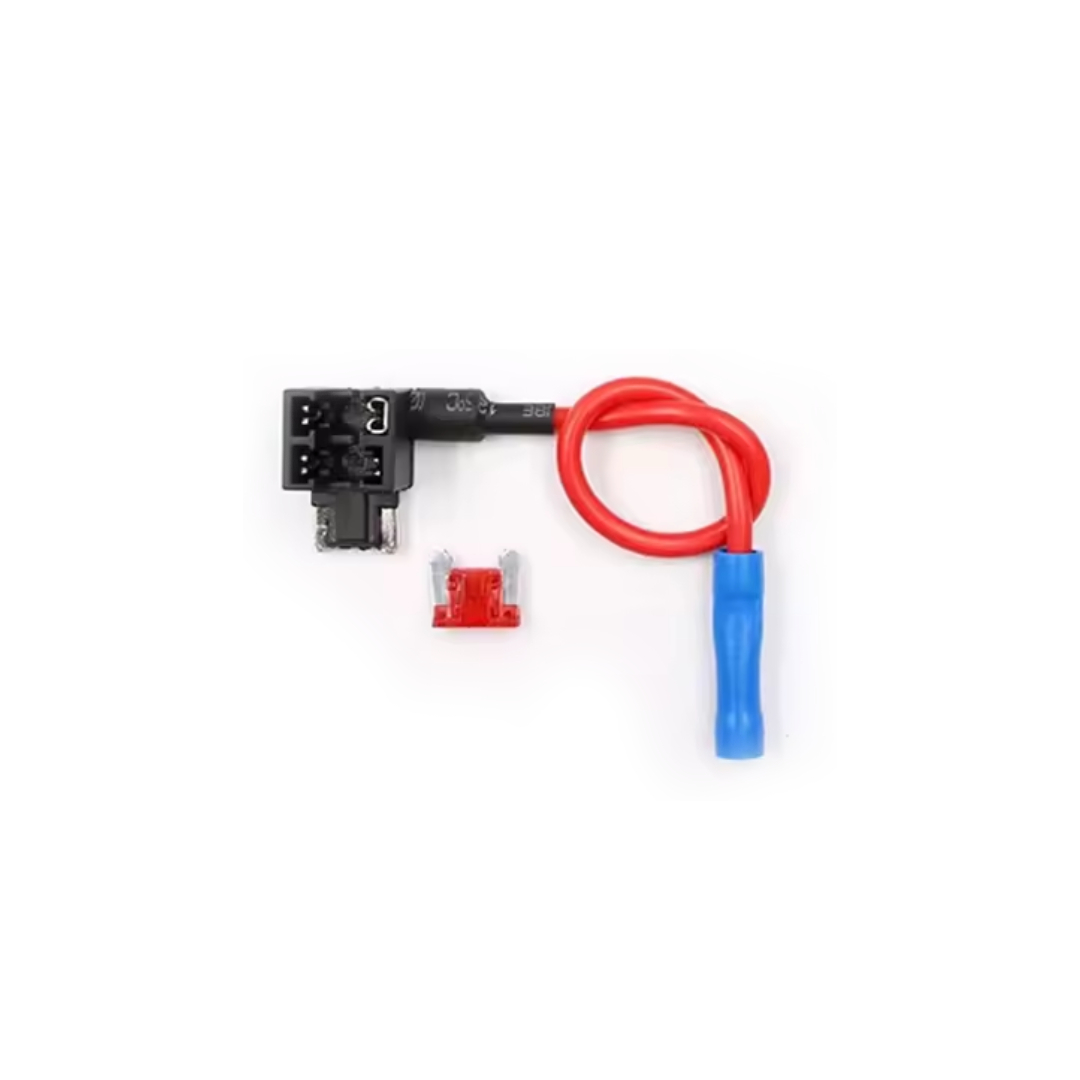
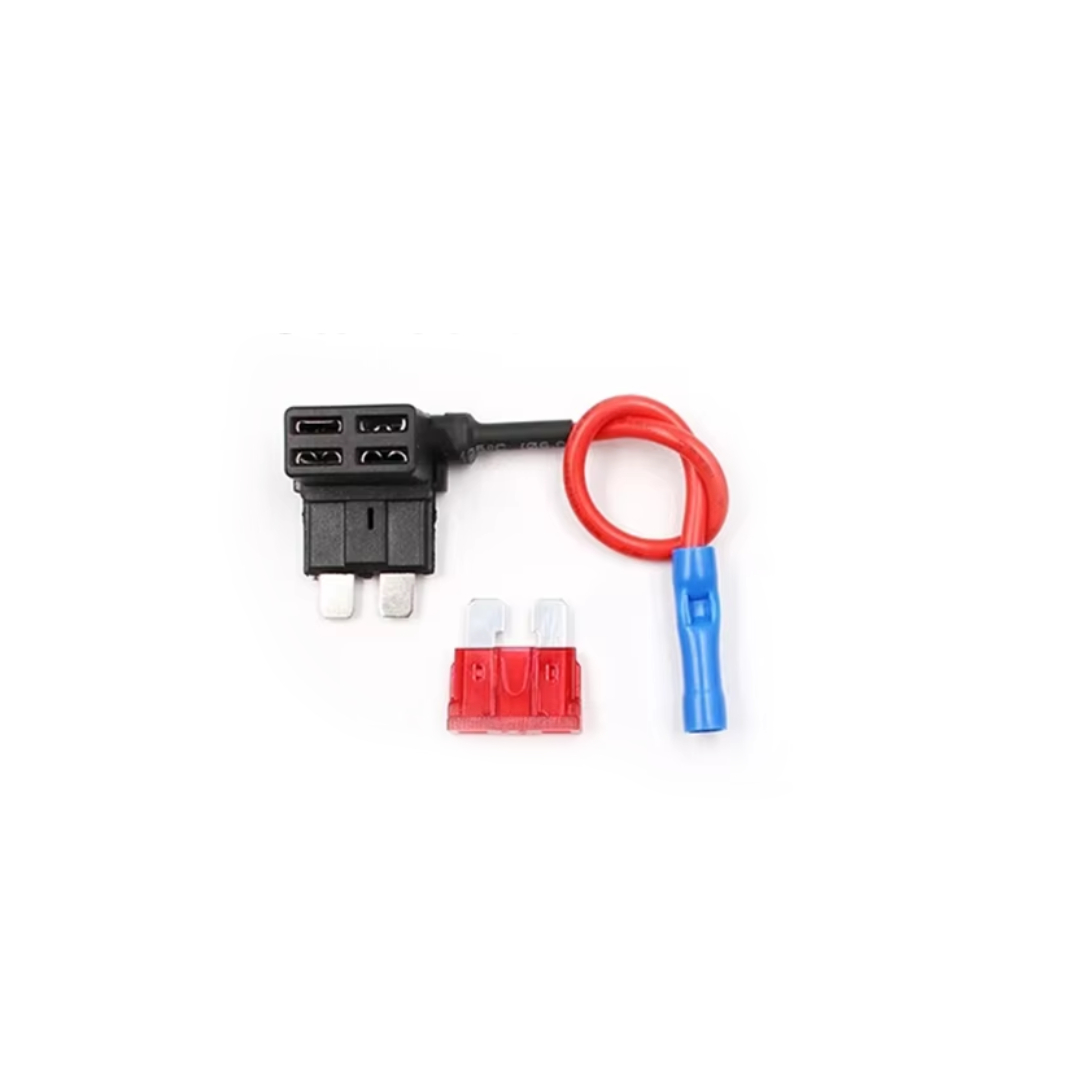
Simply crimp the other end of the piggyback fuse to a length of 1.5mm2 cable. At the other end, this will connect straight to the Remote / D+ terminal on the B2B.
The remote cable of an Orion DC-DC charger typically only carries a very low current, around 10-20mA. This is just enough to act as a control signal to turn the charger on or off. So, you can use a small fuse to fuse the B2B circuit.
To connect the piggyback fuse, plug the original fuse into the slot closest to the metal teeth, and a new ~5A fuse into the further slot. This 5A fuse will be used to fuse the remote cable for your B2B.

2. Piggyback off your van’s cigarette lighter
If you don’t have a multimeter, an alternative solution is to use your vehicle’s cigarette lighter. This is only possible if your cigarette lighter does not work when your vehicle is turned off. You can easily check this by plugging a phone charger in – if your phone charges when your van is off, you cannot use this method. However, if your phone only starts to charge when your key is in and the ignition is on, then you can use this method.
When trying to locate the positive connection on a cigarette lighter, there are a few key indicators to help you identify it accurately:

- Position of the positive connection: The positive terminal usually sits in the centre of the cigarette lighter, while the negative terminal connects to the outer metal casing.
- Look for a ‘+’ symbol. In many cases, the positive terminal has this symbol near the connection point. This visual clue can be an easy way to distinguish the positive side.
- Check the connector colour: The positive connector often has a gold colour, making it stand out from the other components.
If the connection uses a spade connector, you can cut off the existing connector and re-crimp a new spade connector. Ensure both cables are securely crimped inside.
For an inline crimp, if the cable is soldered or hardwired to the cigarette lighter, cut the cable approximately 30mm away from the lighter. Then, use an inline crimp to connect the D+ signal wire while also reconnecting the two ends of the original cable that you cut. Alternatively, you can use a Wago connector instead of crimping. As shown in the diagram, ensure a 5A inline fuse is included in the connection for circuit protection

3. Use your van’s ‘customer connection point’
The final option to connect to your vehicle’s ignition live is to tap into your customer connection point. This design typically accommodates additional electrical accessories. It’s only possible if your van has a customer connection point, and if it’s accessible.
If your van has one, you’ll usually find it underneath the driver’s seat. It’s often accessible by moving the seat all the way forward. In some cases, you may need to remove the seat completely to access it, particularly in models like the Transit. Be sure to consult your manual and watch for any cables connected to the seat.
Once you’ve located the customer connection point, either purchase a pre-wired connection block specific to your vehicle, or identify the correct cable by checking your van’s wiring guide. After locating the appropriate cable, ideally use a multimeter to verify the circuit before cutting into it. To make the connection, cut the cable, then rejoin it with a butt connector, placing the two ends of the original cable in one side. Finally, run your 1.5mm2 cable into the other side to complete the connection.
B2B D+ wiring diagram
So, now you know how to add a D+ ignition cable to your vehicle, you need to know how to make the D+ signal wire connection on your B2B charger. See below for our B2B D+ wiring diagram, which explains exactly how to wire this up in campervan electrical system:

Vehicle D+ FAQs
-
If you don’t connect your B2B charger to the D+, it may not function correctly. Some chargers won’t turn on, or multiple units may fall out of sync, leading to uneven charging. Additionally, the charger might not recognise when the alternator is running, risking starter battery drain or inefficient operation.
-
A piggyback fuse, or ‘add-a-circuit’, allows you to safely connect additional wiring to an existing fuse without disrupting the original circuit. This is a common and effective way to connect your B2B charger to a D+ ignition live.
-
No, you don’t need to change the fuse when using a piggyback fuse connector. An additional fuse is added for the B2Bs D+ connection. As the D+ is a remote sensing cable, usually around 10-20mA, you can use a small fuse, around 3-5A.
-
Voltage sensing automatically detects when the alternator is charging and turns the DC-DC charger on. A D+ connection, on the other hand, relies on an ignition live signal to activate the charger. While voltage sensing is convenient, a D+ connection ensures more reliable synchronisation, especially with multiple chargers.
Campervan electrics leaving you confused?


The tests you describe seem to detect any ignition live wire, not just a D+.
Wouldn’t this mean that my leisure battery will start charging as soon as I turn the key to the on position? This would result in potentially draining the starter battery to charge the LB.
Hi Paul, we use the ignition live because it is more accessible and easier to locate than the D+. However, the charger will only activate if the voltage exceeds the threshold set on the B2B charger. This prevents the leisure battery from drawing power unless the alternator is providing sufficient charge, ensuring the starter battery won’t be drained.
Hi,
As reading this articles I see you’re absolute professionals.
Could you help me what can cause a symptom that my leisure battery is sometimes charged while engine is running and sometimes not. I couldn’t figure out when it works so it seems random to me. When it’s charging, the sign on the control panel shows and for ex the fridge is working properly. Other times while engine is running the sign isn’t on the panel and the fridge shows an error of no electricity, and the battery voltages is dropping, so definitely there is no electricity coming from the alternator. At the same time the solar panel charges the battery..
Where should I start checking?
It’s a Mc Louis Nevis 869 from 2016, with a 2.0 diesel engine.
Hi Peter, our first port of call for the issue you are experiencing would be to double check all of the connections and fuses if it is only sometimes working as this might suggest there is a loose connection somewhere. Hope this helps!