System boards: How to lay out your campervan electrical system
When it comes to designing the electrical system for your campervan, a well thought out system board is essential! A good layout not only ensures the system runs efficiently but also makes future maintenance far easier. This organisation can save time and headaches when troubleshooting or upgrading your setup. Two common approaches to laying out your system are slotted trunking and through-panel wiring.
Slotted trunking is a straightforward and tidy option. On the other hand, through-panel wiring offers a more streamlined look, but requires a bit more effort to maintain.
In this article, we’ll explore these methods in more detail to help you choose the best layout for your campervan. Let’s get started!
System board layout
Before wiring up your electrical system, it’s important to build a sturdy base to mount all your components. We recommend using 12mm plywood for the structure, or 18mm if both sides of the board will be visible. This provides extra durability and a clean finish. Make sure the material you choose is strong enough to support your components securely. Be sure to follow the mounting instructions specific to each component to ensure a secure and safe installation. Now you have your system board, it is time to decide which layout to go for.
Option 1: Slotted trunking
Slotted trunking is one of the most popular and practical options for laying out a campervan electrical system. The trunking consists of plastic channels with slots along the sides, designed to neatly house and organise your wiring. This method is relatively simple to use, and helps create a professional-looking campervan system board with minimal fuss.

How to use slotted trunking
When installing slotted trunking, start by cutting a section to the desired length and begin securing the trunking to your campervan system board with screws or adhesive strips.
Once in place, run your wires through the slots, organising them by circuit or function. The slots hold the wires in place, and removable covers keep everything tidy and protected. With this method, adding or removing wires later is much easier than the alternative through-panel wiring as you can easily access everything – just pop off the cover and make your adjustments.

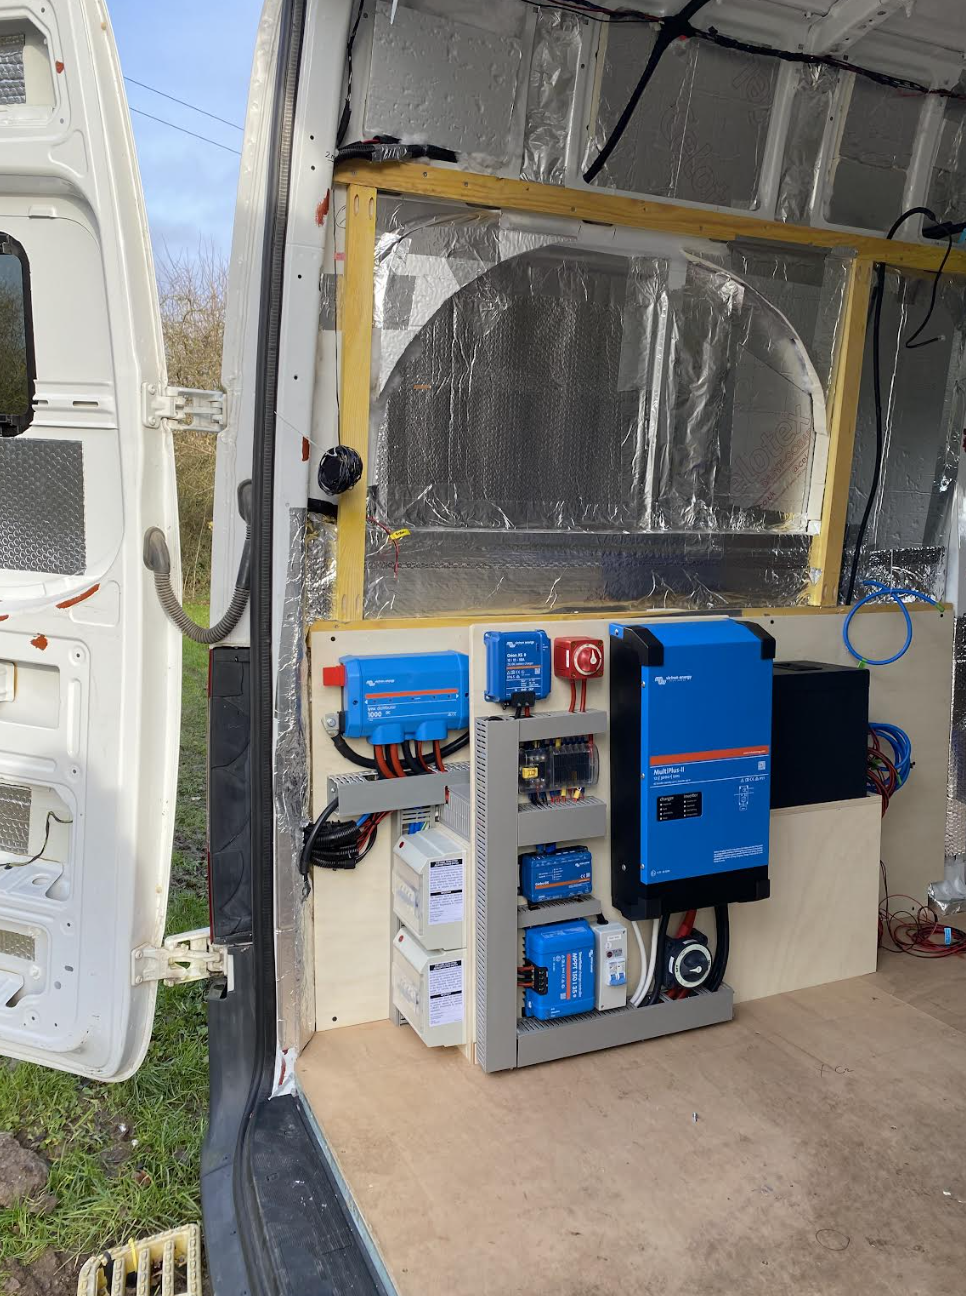
An example electrical system layout using slotted trunking.
Pros of slotted trunking
- Simple to secure with screws or adhesive strips
- The slots and removable covers help keep everything neat and tidy
- Allows for easy additions or removals of wires by simply popping off the cover
- The trunking keeps wires contained and reduces the risk of accidental damage
- Makes it easier to achieve a clean and professional look in wiring installations
Cons of slotted trunking
- Slotted trunking is an added cost
- Requires sufficient space on the system board, which might be an issue in compact setups
- Requires careful planning of where each component and trunking section will sit on the system board to ensure cabling is used efficiently
Slotted trunking is a great choice for achieving a neat, professional looking campervan electrical system. The slots and removable covers make it easy to secure, organise, and modify wires while reducing the risk of damage. Though it adds a small amount of cost and requires sufficient space, it’s generally worth it. It makes it easy to create a neat and accessible installation, especially in a larger or more complex system.
We would generally recommend this option as it’s much easier to do a tidy and efficient job.

Option 2: Through panel
Through panel wiring is often constructed from a single piece of wooden sheet. A router is required to cut carefully positioned cable holes through the board to allow cables to pass from the front mounted components to the back of the board, where they can be distributed out of sight.
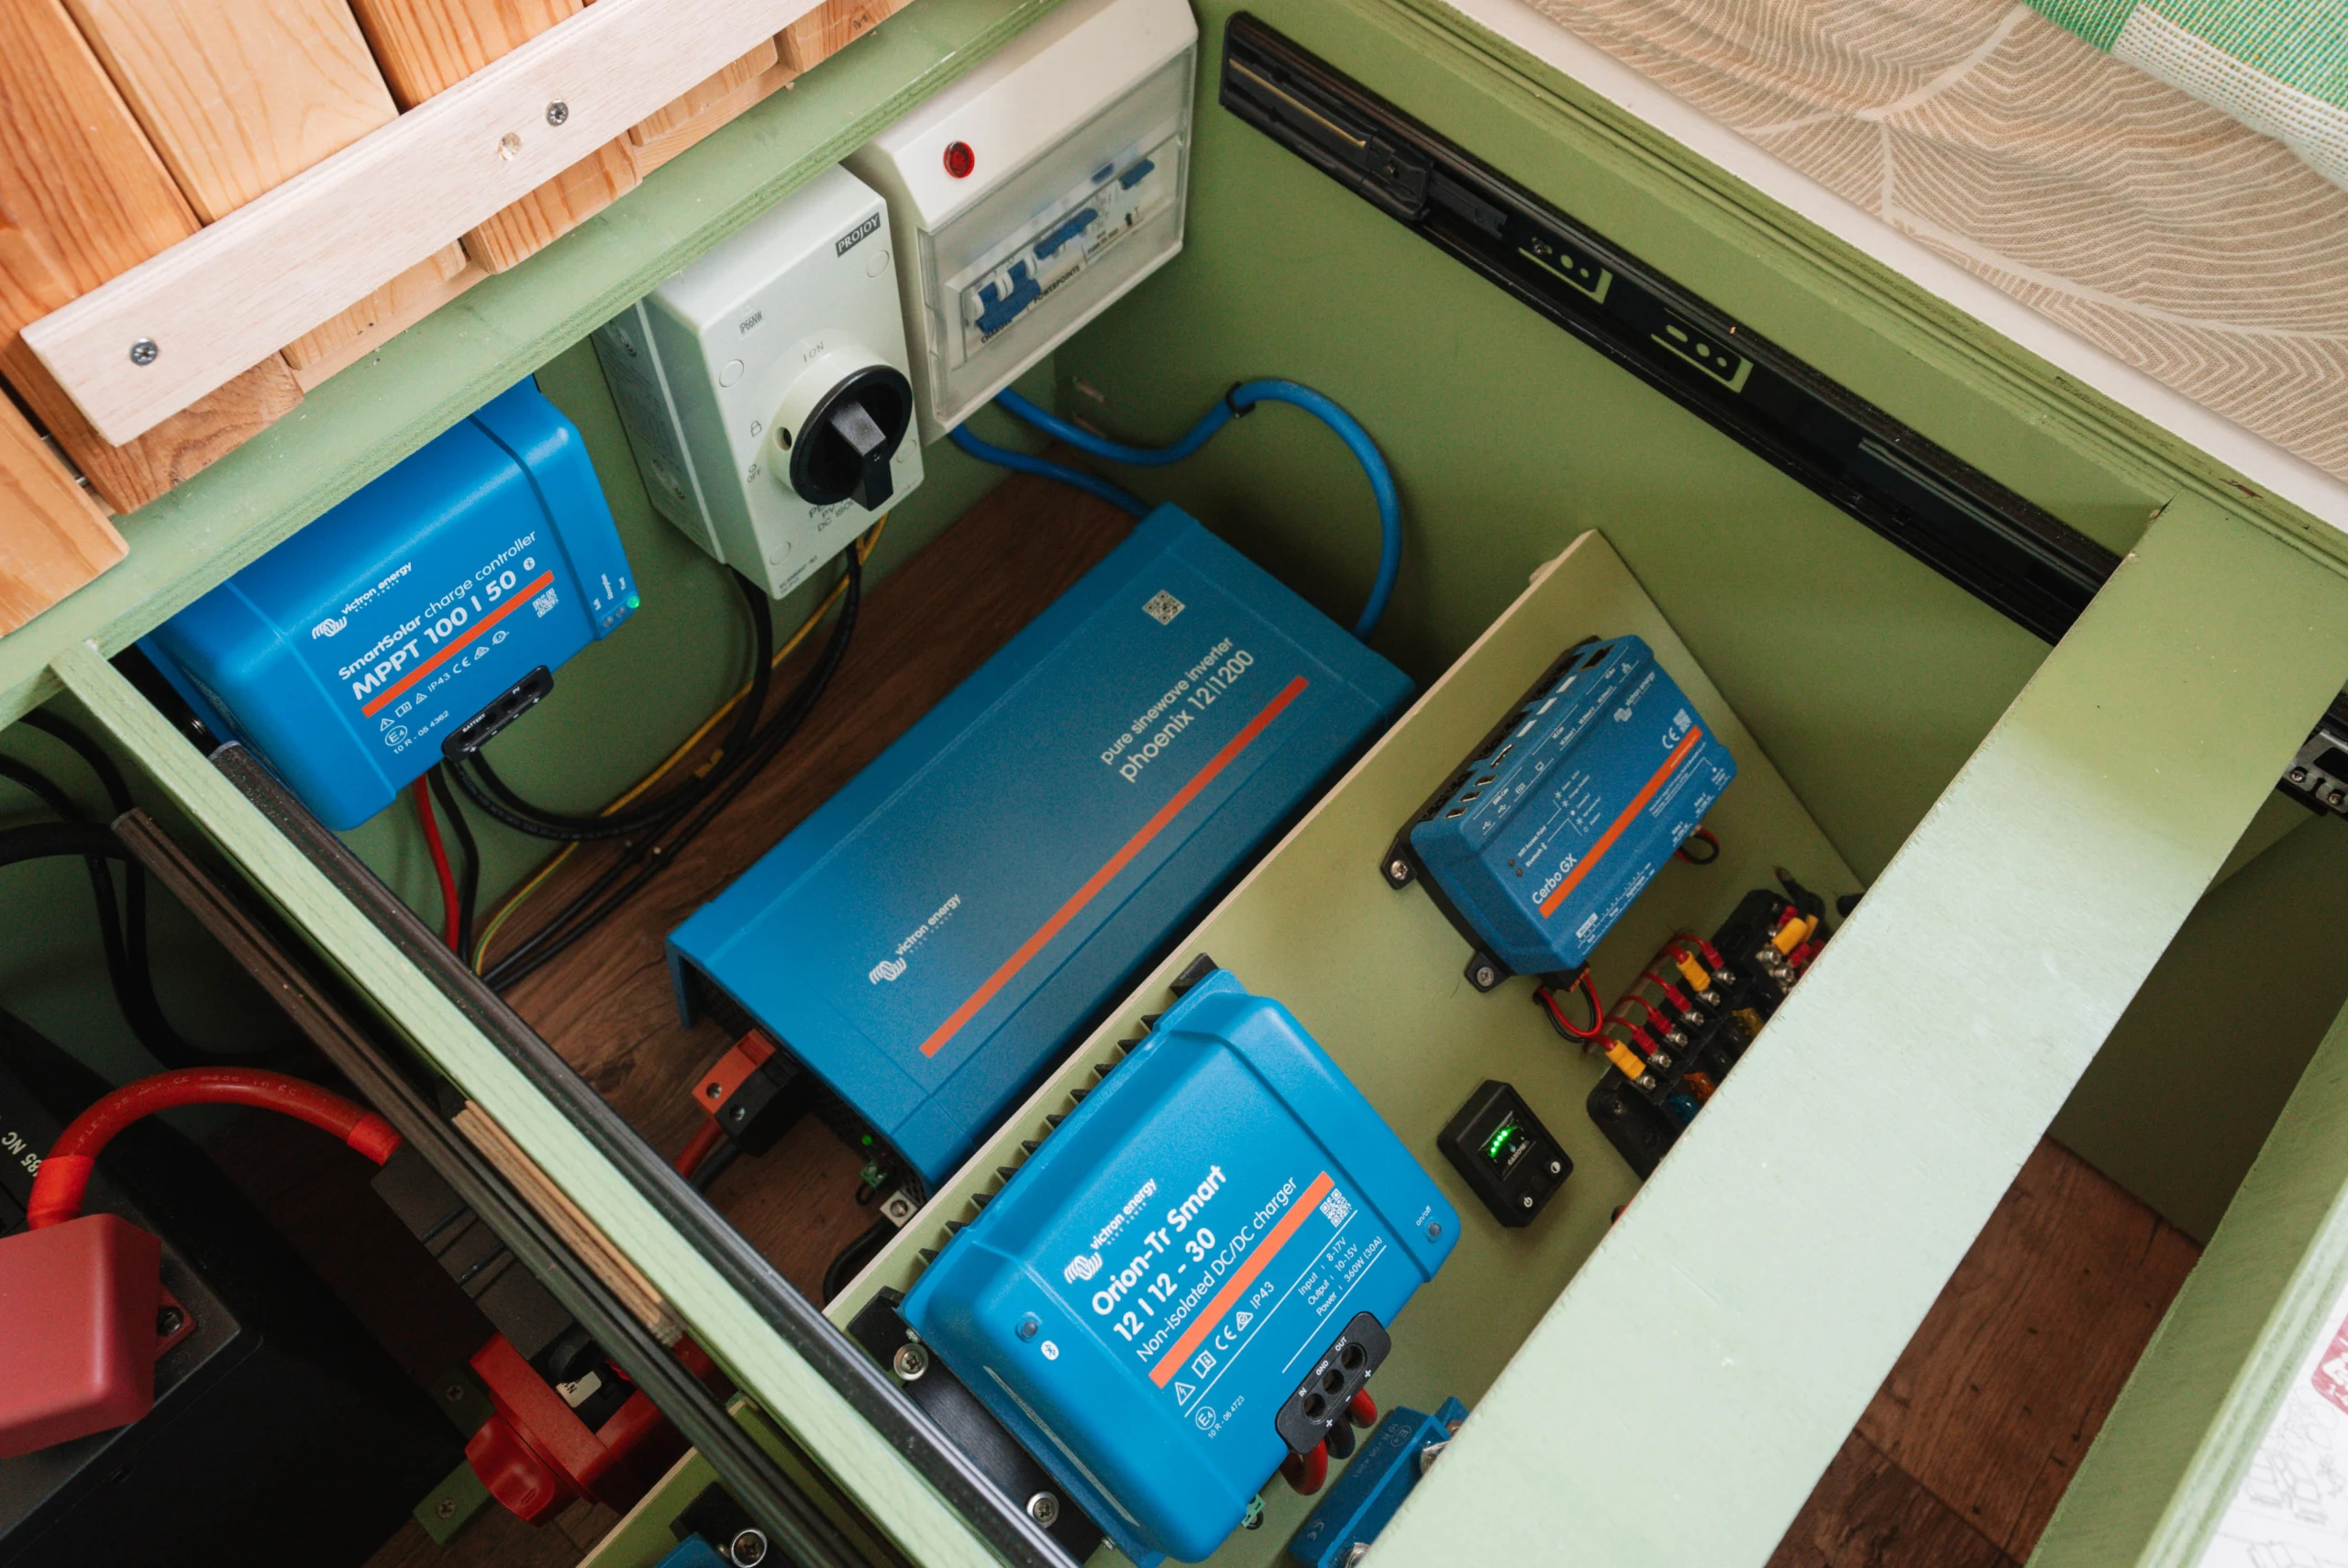
An example electrical system layout using through panel wiring.
Pros of through panel wiring
- Cost effective if you already have a router
- Great for compact installations where space is limited
- Hides cables behind the board, creating a smart finish
Cons of through panel wiring
- Requires a router which may not otherwise be required for your project
- Although the front of the campervan system board may look tidy, without careful planning the back can become a mess of cabling
- Maintaining and checking cable connections on the back of the board can be time consuming
- Time consuming process to achieve good results
It’s harder to do a tidy job, as you need to ensure the slots are a certain size and distance from the components to ensure the correct bend radius. Additionally, you need to use a router to ensure a tidy install, which everyone may not own.


System board requirements
A well-designed system board isn’t just about organisation. It also needs to be safe, stable, and built to last. Here are some key factors to consider when assembling your campervan’s electrical system board:
1. Ventilation
Many electrical components, such as inverters and battery chargers, generate heat during operation. Proper airflow is crucial to prevent overheating and ensure efficient performance. Follow manufacturer guidelines for ventilation clearances, for example, a Victron MultiPlus requires at least 10cm of space around it for adequate cooling. If your system is in a confined space, consider adding vents or a small fan to improve airflow.
2. Protection from surrounding objects
Your system board should be installed in a location that’s free from loose objects or external items that could cause damage. Avoid mounting it in areas where luggage or other items could knock into components or interfere with wiring. If necessary, for example when installing in the garage area, install protective barriers or enclosures to protect the electrical components and wiring.
3. Structural stability
The system board should be securely mounted to prevent vibrations and movement while driving. Use strong, rigid materials like plywood to create a solid mounting surface. Fasten all components firmly with appropriate screws, brackets, or mounting plates to prevent shifting over time.
4. Cable management
Good cable management is essential for both safety and longevity. Allow enough space for cables to be routed neatly without sharp bends or excessive strain. For DC cables, follow the 6x rule – the bend radius should be at least six times the cable’s diameter to prevent internal damage and maintain electrical efficiency. Using cable ties, trunking, or conduit can help keep everything organised while avoiding excessive stress on connections.
| DC wire gauge (mm²) | Diameter (mm) | Bend radius (mm) |
|---|---|---|
| 1.5 | 1.4 | 8.4 |
| 2 | 1.5 | 9 |
| 2.5 | 1.8 | 10.8 |
| 4 | 2.3 | 13.8 |
| 6 | 2.8 | 16.8 |
| 10 | 3.6 | 21.6 |
| 16 | 4.5 | 27 |
| 25 | 5.6 | 33.6 |
| 35 | 6.7 | 40.2 |
| 50 | 8.0 | 48 |
| 70 | 9.5 | 57 |
| 95 | 11.0 | 66 |
| 120 | 14.0 | 75 |
Cable management
You cannot rely on the terminal on a product alone to hold a cable in place. Cables need strain relief so if it is pulled, it doesn’t come loose and short or break a connection.
Proper cable management is crucial for a safe and long lasting campervan electrical system. Here are the key components to ensure your wiring stays secure, organised, and protected:
- Cable relief: Strain relief solutions like cable glands or clamps help distribute any pressure on cables, preventing them from being pulled at connection points. This reduces wear and ensures long-term reliability of your electrical system.
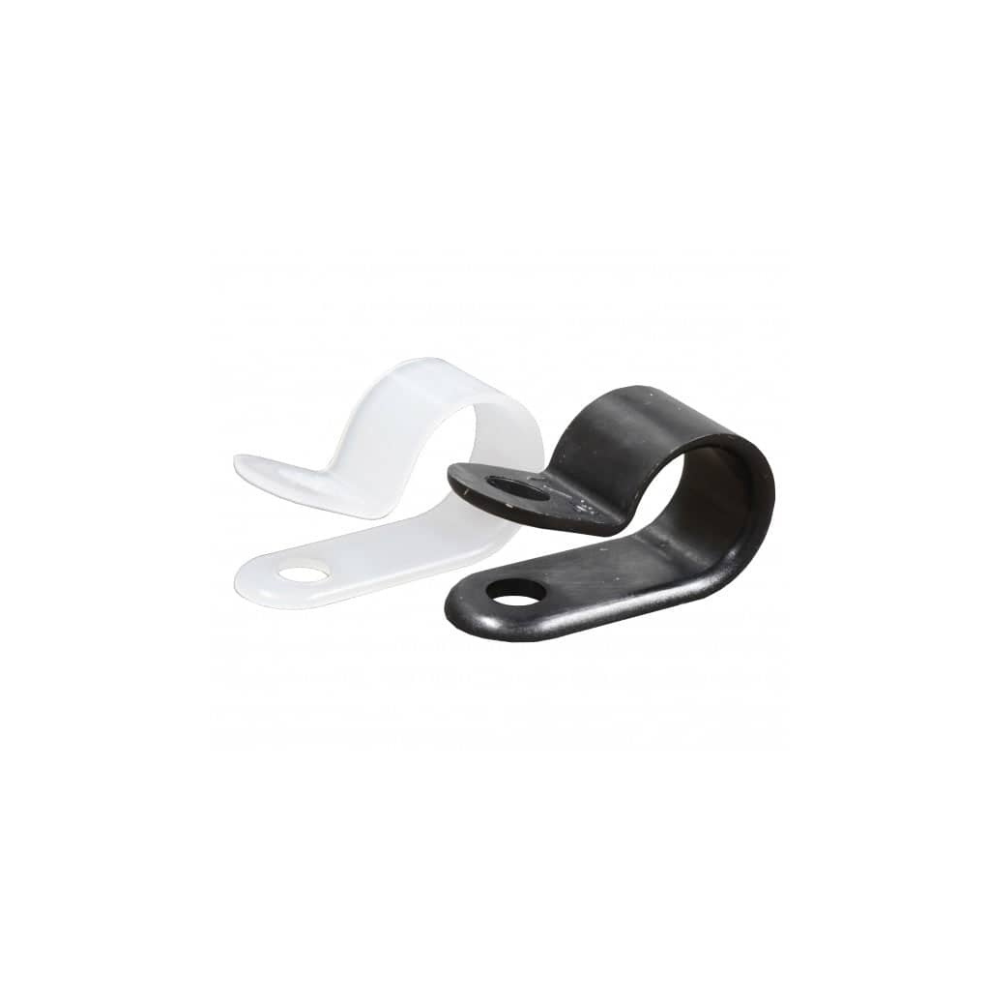
- P-clips: P-clips are designed to secure cables to your campervan’s frame or structural elements. They keep wires in place, preventing movement that could cause abrasion or damage, and are available in materials like stainless steel or plastic.
- Conduit: Flexible conduit (often PVC or plastic) protects cables from environmental damage such as moisture, heat, or physical abrasion. This is especially important for areas where wires run under the van or through sharp edges, safeguarding them from wear and tear.

Where to install your system board
Choosing the right location for your system board is crucial for accessibility, ventilation, and overall space efficiency. Here are some common placement options to consider:
- Boot space (under the bed) – A popular choice as it keeps the system out of the way while allowing plenty of room for components and future upgrades. This setup also makes cable management easier.
- Bulkhead – If you’re using seat base batteries, mounting the system board close to the bulkhead is ideal to keep the cable run under 1.5 meters, ensuring efficiency and compliance with best practices.
- Bench seating / kitchen unit – Suitable for smaller systems, this setup integrates well with your living space. However, it can be restrictive for larger builds. In hindsight, we’d opt for the boot space instead, as it offers more flexibility for layout and expansion.
Think about your campervan’s layout, ease of maintenance, and future-proofing when deciding where to mount your system board.

Where to mount your batteries
Batteries don’t need to be placed right next to the system, but they should be within 1.5 metres of your busbars to maintain a total round-trip cable distance of 3 metres. They can be mounted on their side and are often positioned separately from other components.
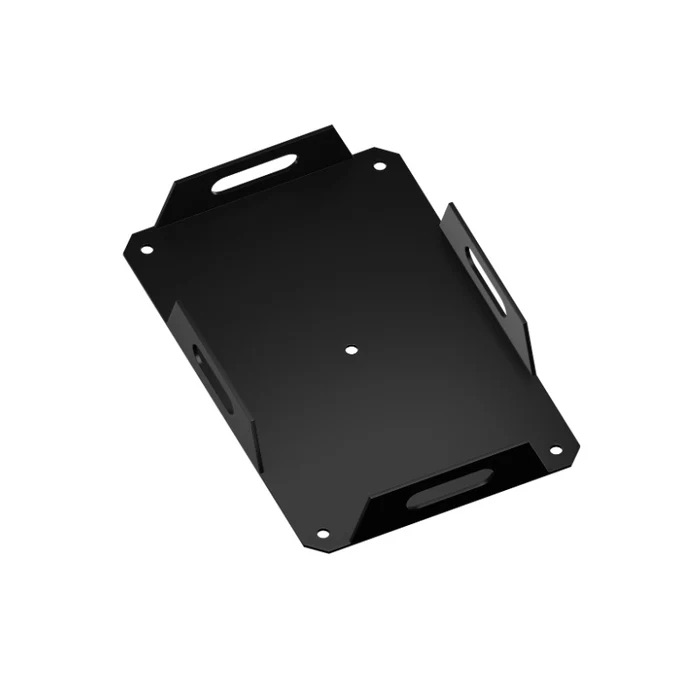
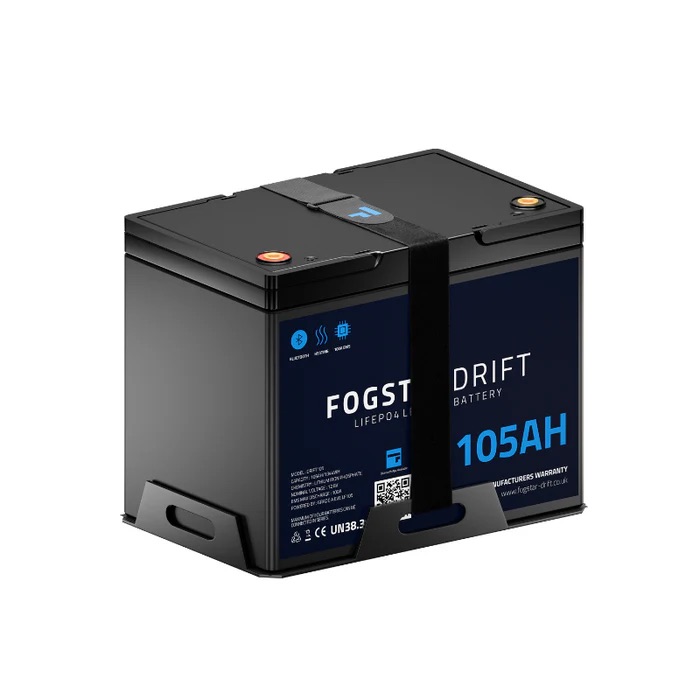
Secure your batteries in a sturdy frame or enclosure to prevent movement. Construct a snug base frame using battens screwed into the floor, ensuring a stable fit. Additionally, make sure the batteries are well-ventilated to promote safe operation. The Fogstar Drift range now come supplied with a free battery bracket for secure mounting.

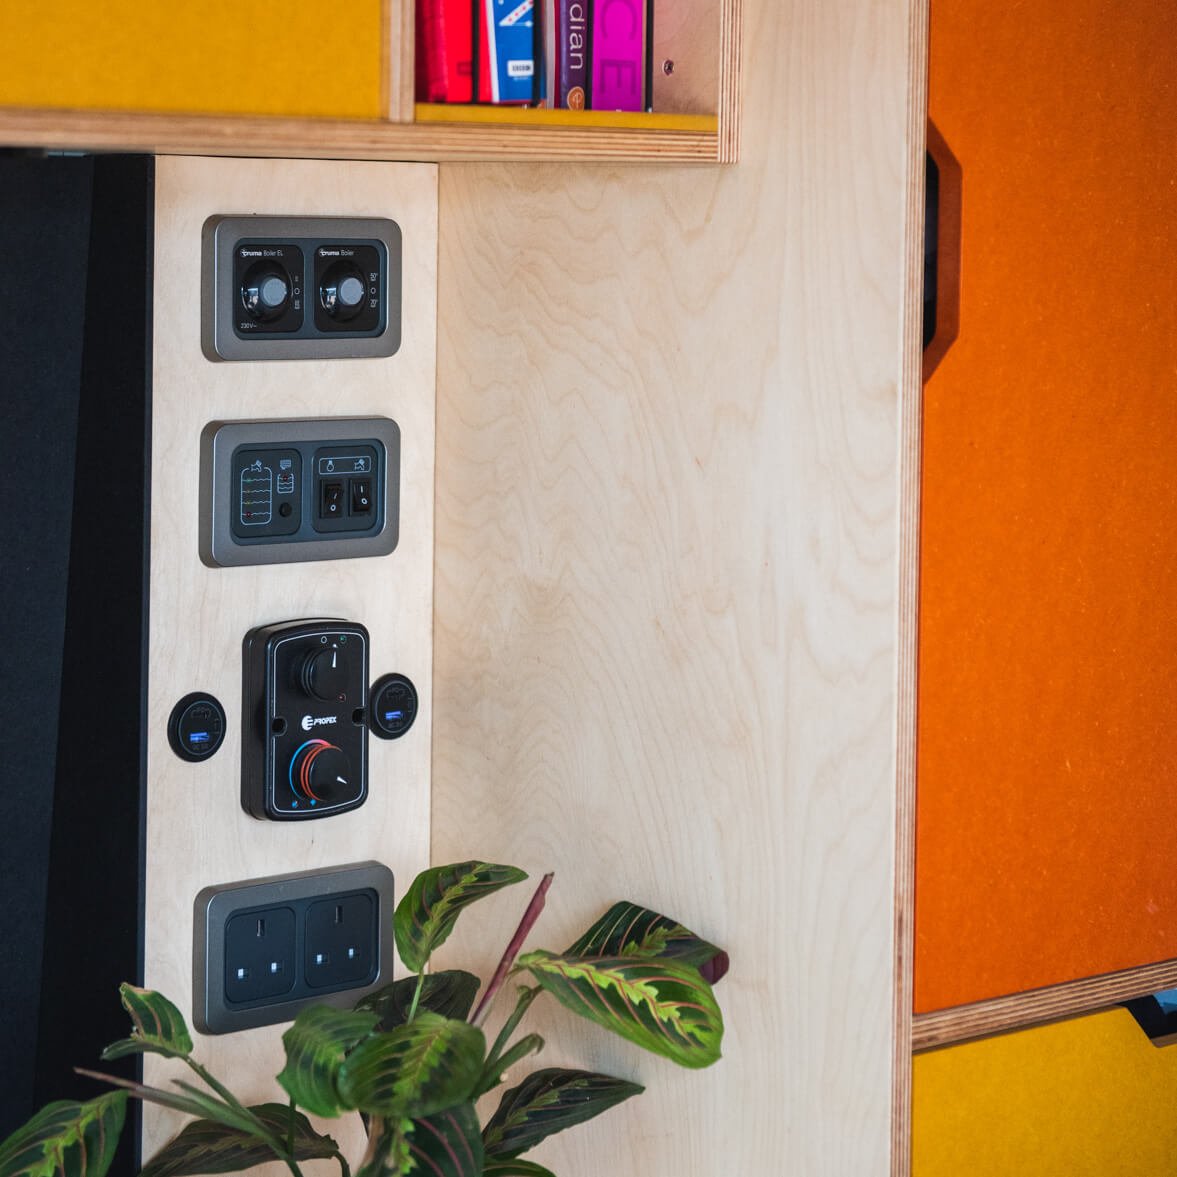
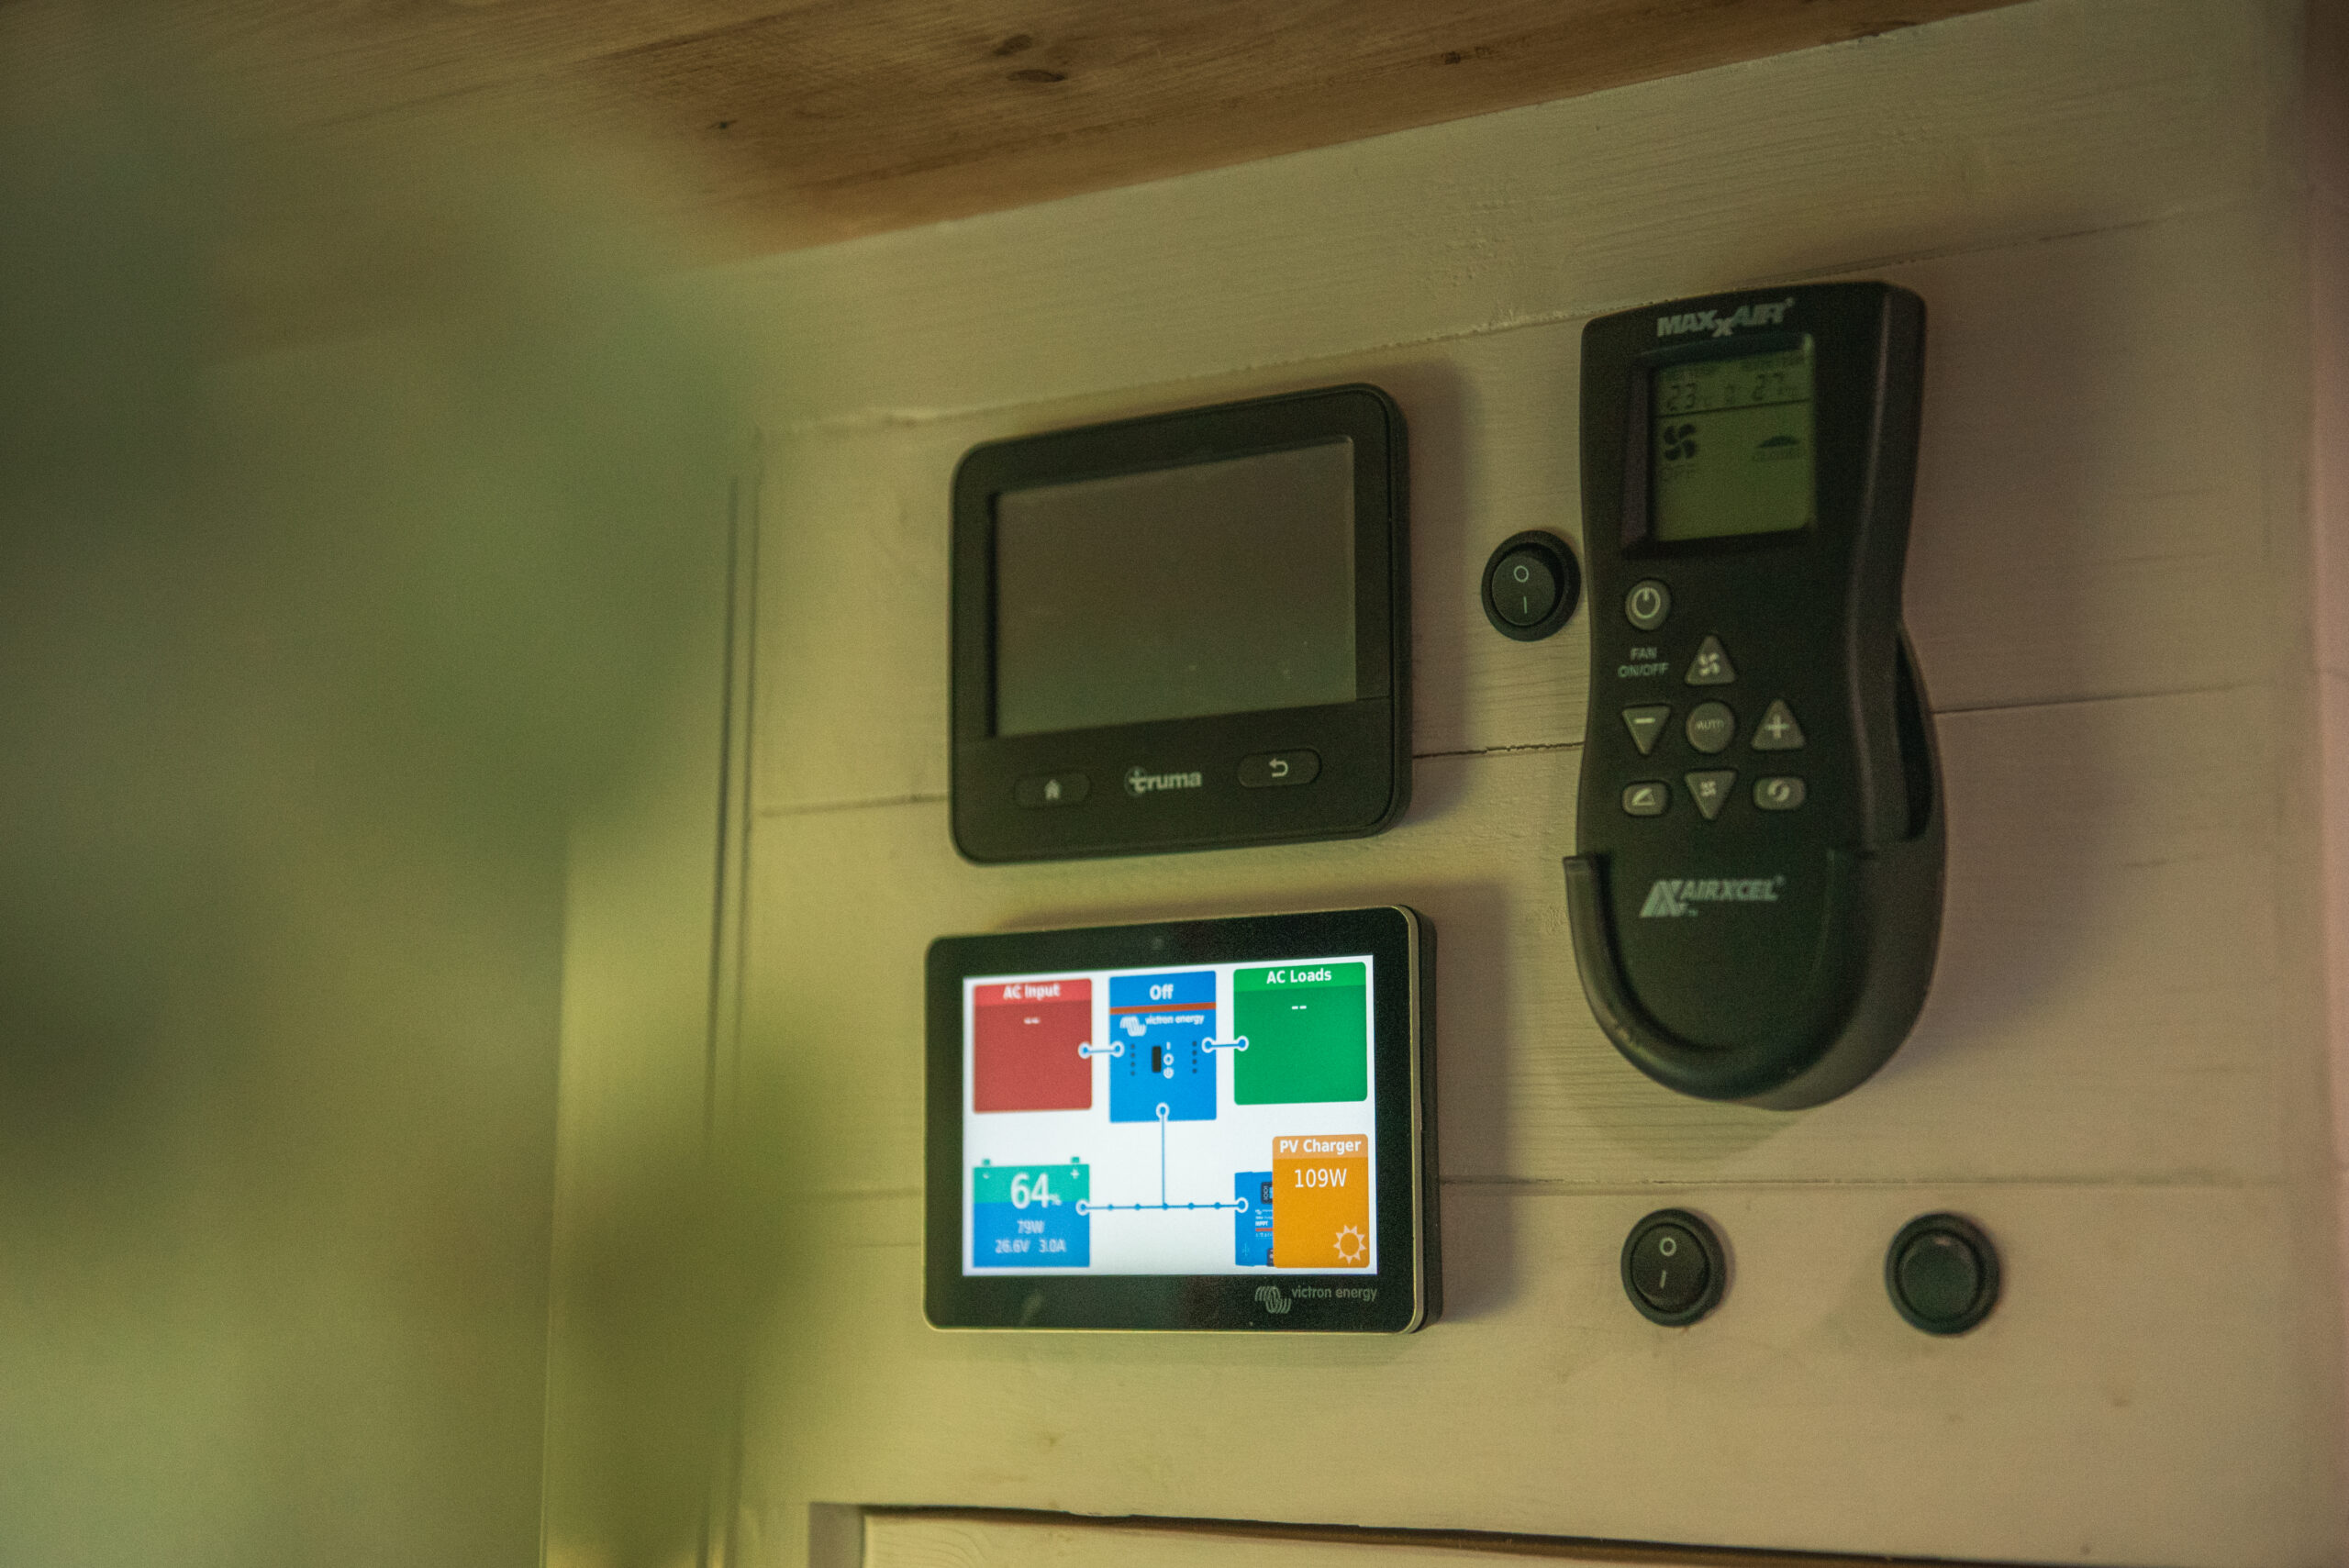
Electrical control panels
You may wish to create a ‘control panel’ for components you will need easier access to such as water pump switches, thermostats and battery monitors. You should consider where in your van is a logical place to mount this. Some people choose to have these visible, however, it may be a good idea to contain them within a cupboard due to visible LED lights on certain components which can be annoying at night.

The control panel is typically made up of multiple electrical displays and switches which all have power and control wires feeding into them. Fortunately, these wires tend to be small as they only carry a small current so it’s easier to fit all of your controls in a more compact area.
Control panels usually include some of the following items:
- On/off switches for inverters, water pumps, fans and heaters
- Heater thermostat (remember, this should be positioned within the room to work correctly, so cannot be mounted to a control panel within a cupboard)
- Water and/or gas level indicator
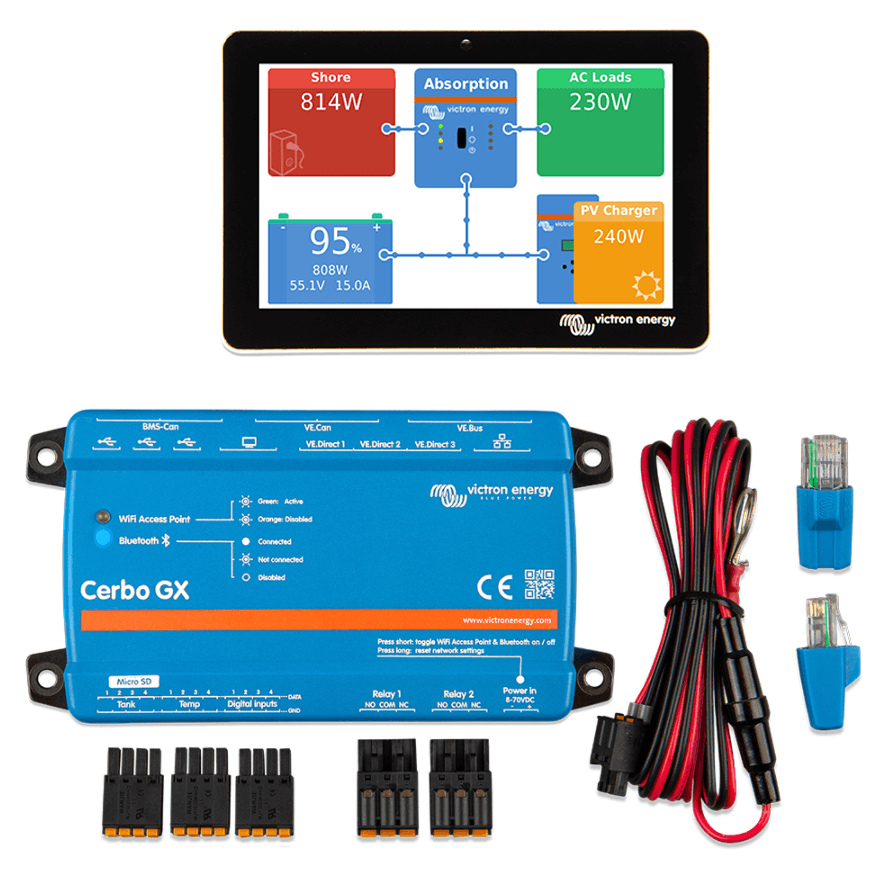
- Battery monitor and Cerbo GX screens
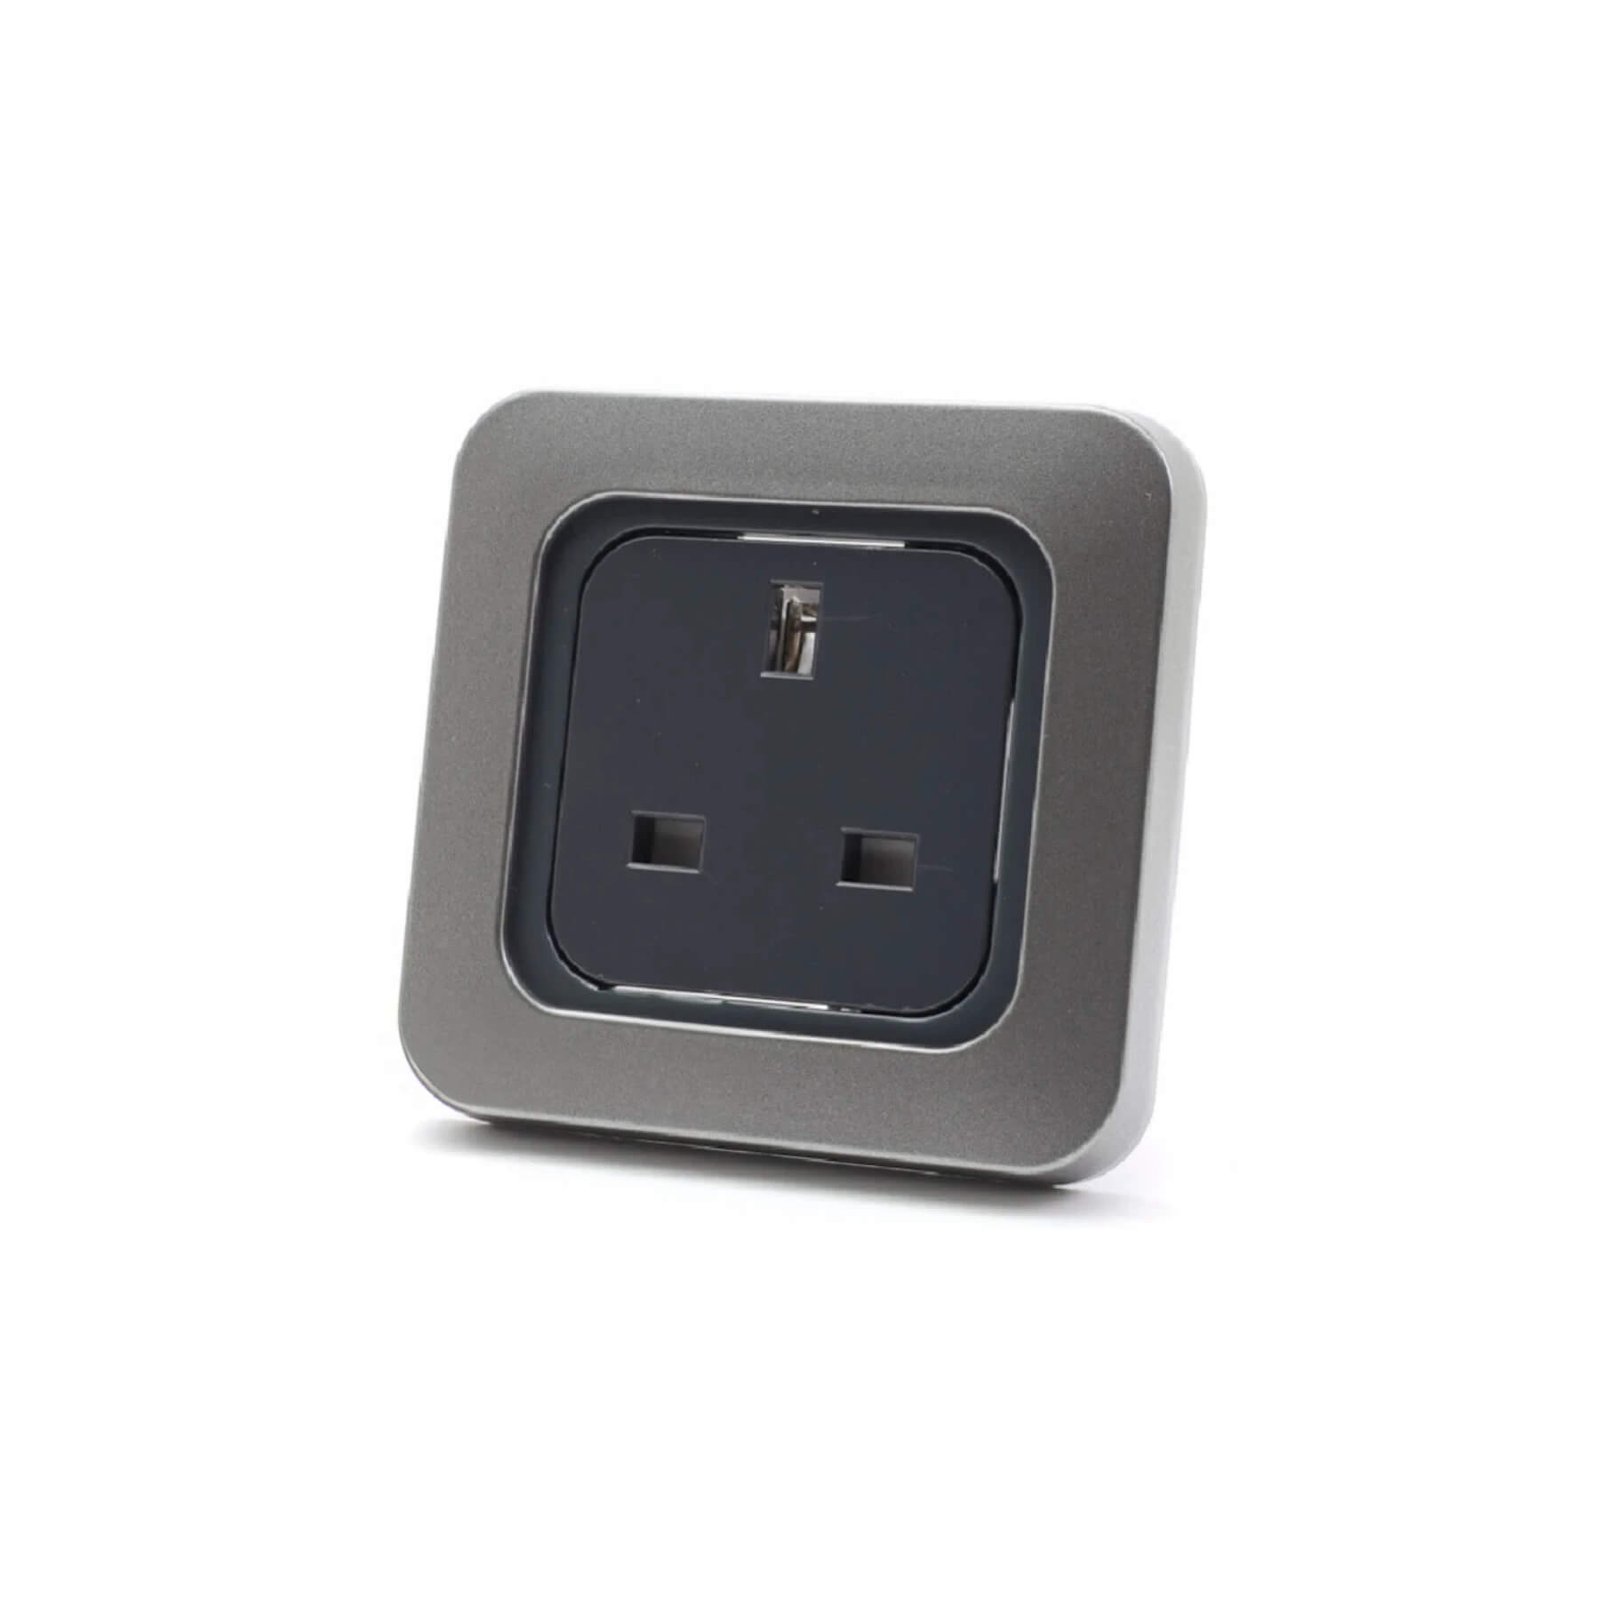
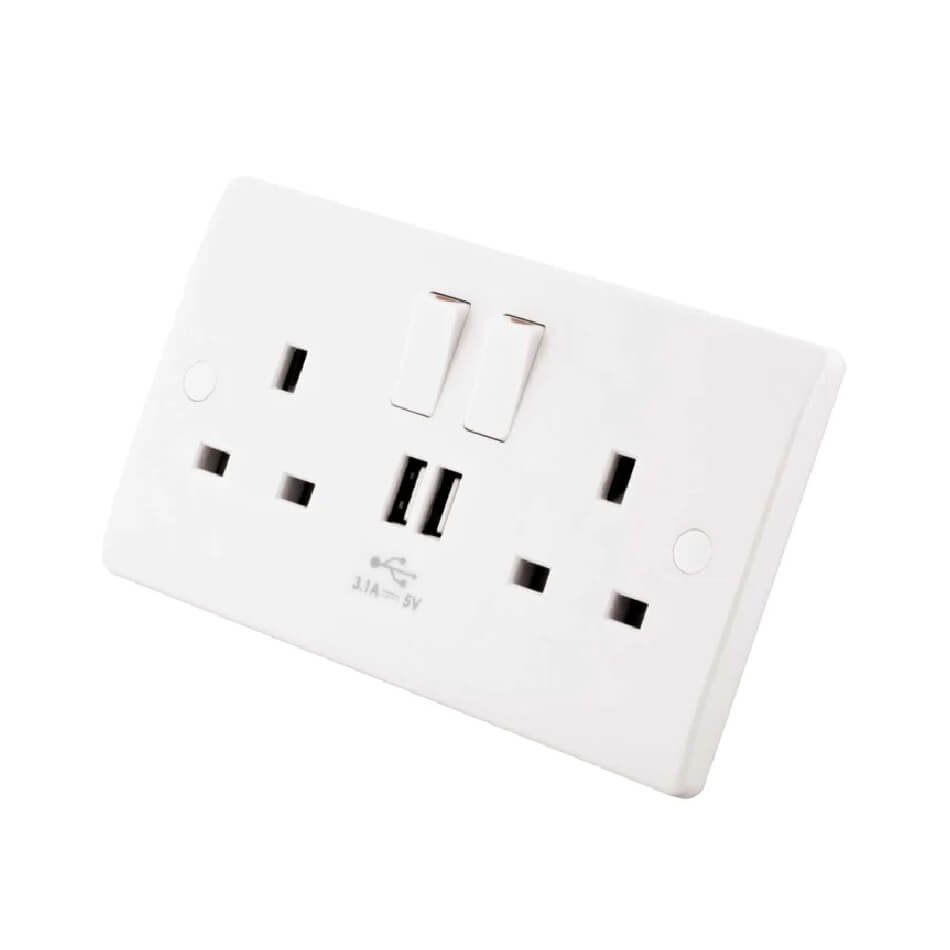
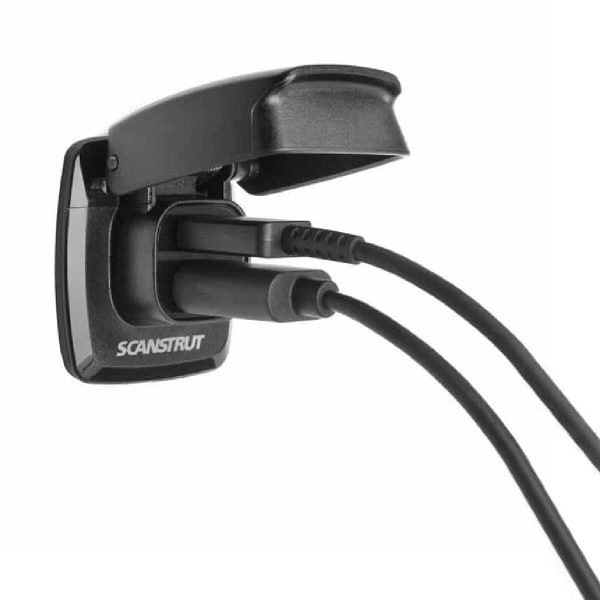
- 12V chargers and/or mains plug sockets
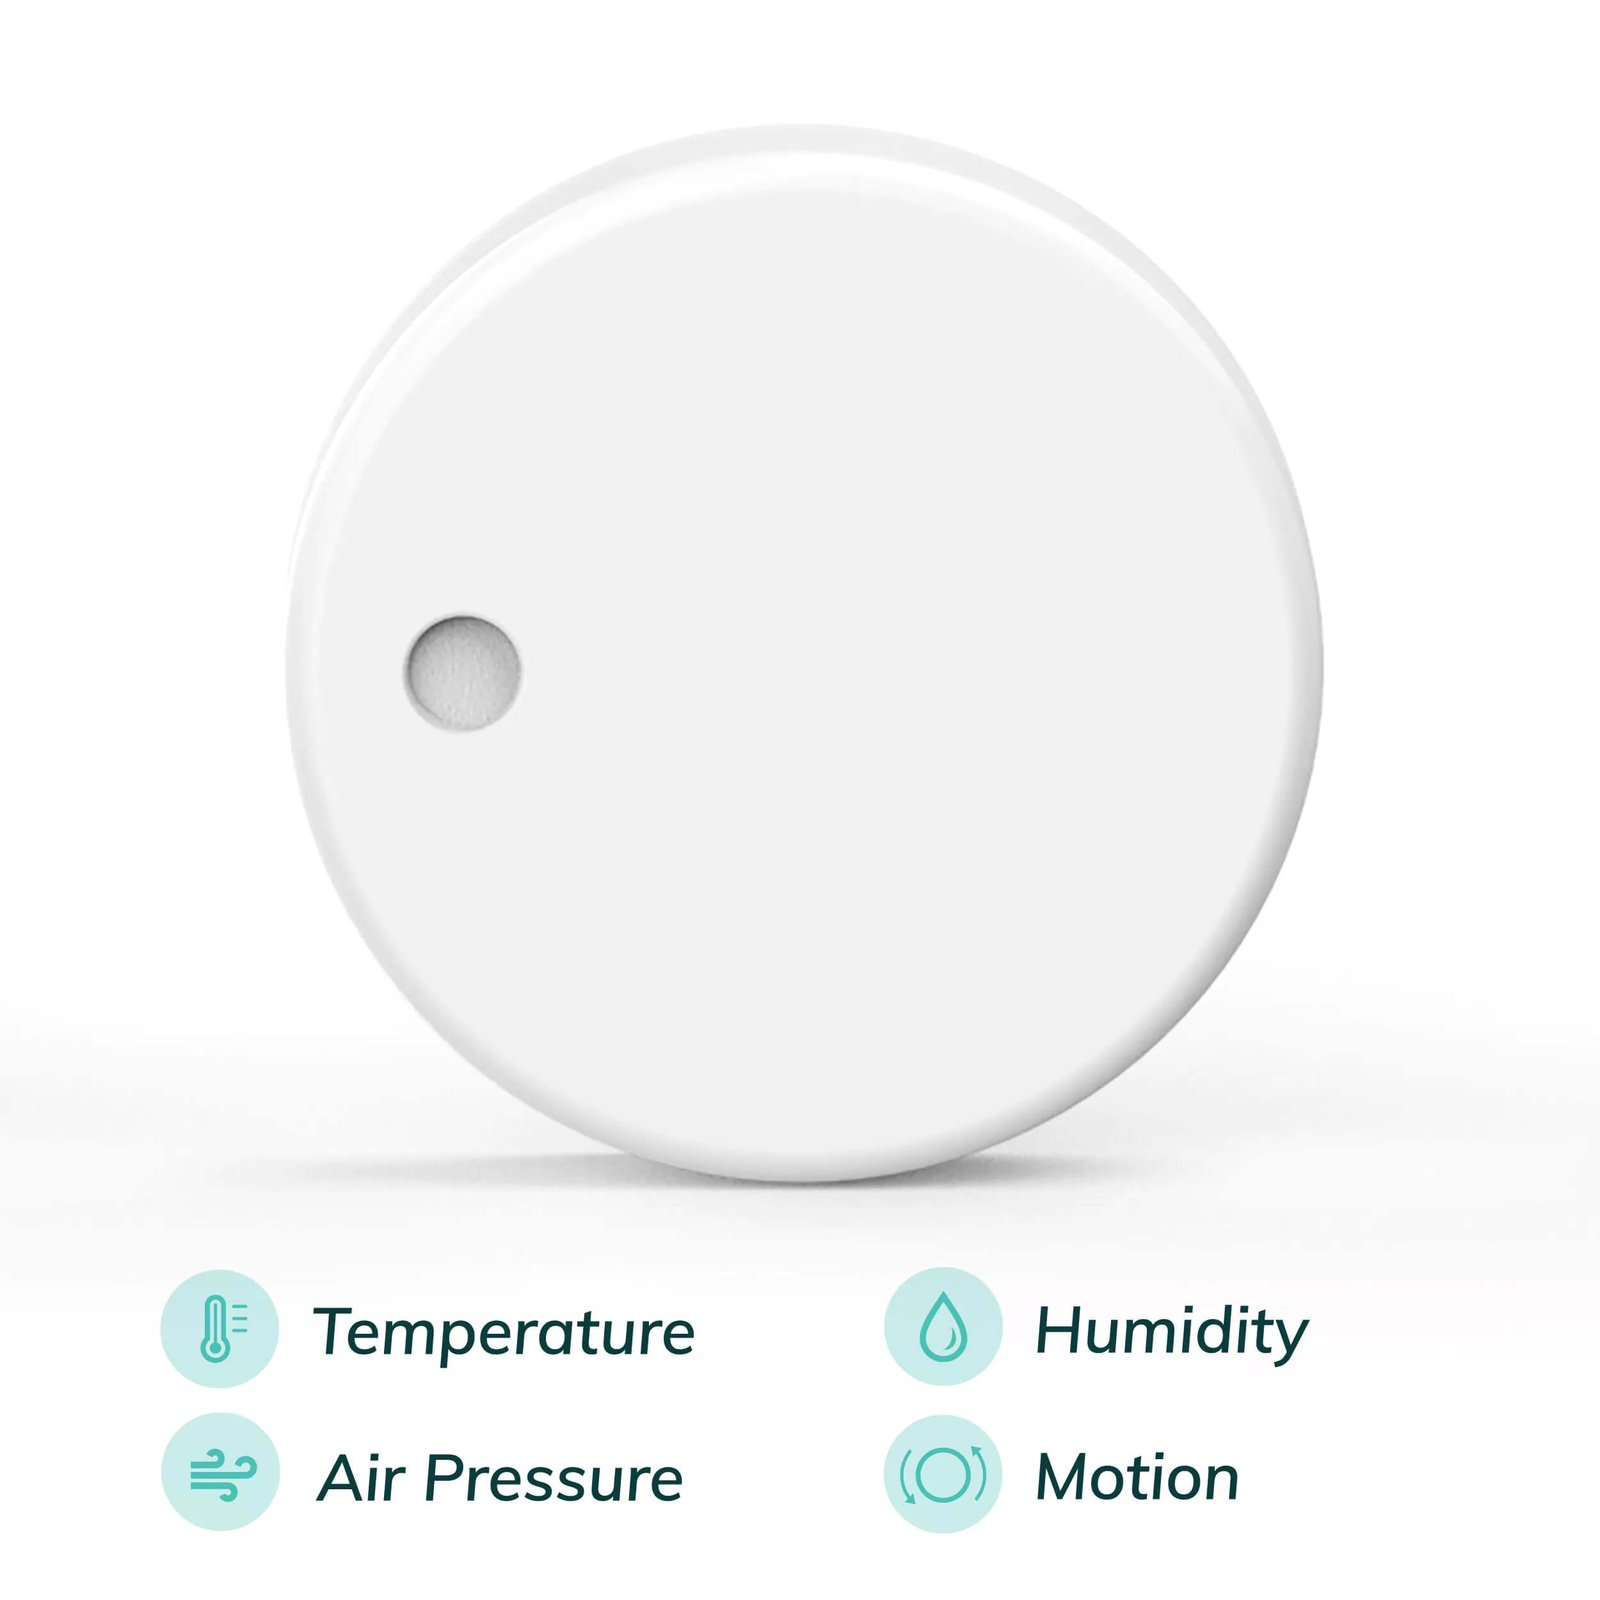
- Ruvvi tags

Final considerations
Don’t try to cram too much into a small space. Instead, mount everything against a wall to avoid encroaching on floor and storage space, whilst allowing for adequate clearance around all major components. This will make connecting wires and servicing in the future much easier.
You will need to gain access to both the front and rear of your systems board to make connections and mount equipment, so it will need to be built separately from the structure it will be attached to.
Each product and wire needs to be securely held to prevent mechanical wear. P clips and cable ties can help control an unwieldy mess of cables.
Batteries should be fixed in position as low as possible. The system needs a supply of cool air and somewhere for the hot air to escape, so don’t box your entire electrical system in a small sealed area.
The number of cables adds up quickly and can make connecting everything difficult if you haven’t left sufficient room behind the systems board.
Feeling confident about the installation but still need guidance on how to spec your system? Reach out to our team, and we’ll help you design a custom campervan electrical setup tailored to your needs.
Campervan electrics leaving you confused?


Be the first to comment!